
Hi, I'm Kara.
Nice to meet you!
Welcome! If you're looking for a place to be inspired, encouraged, and giggle a tiny bit, you're in the right place!

Some people dream of running marathons or climbing Everest or going to Tahiti, but not me – I dream of getting trim. on a wall. in a particular pattern. That’s it. Just kidding…Tahiti would be wonderful, but no thanks on the marathon or Everest.
I think I wanted to do a square-trim accent wall even before we found our new house, and then when I saw the master bedroom I said “THAT’S IT! That’s the wall!” And Cory said, “Oh no. The wall for WHAT?!” He knew that meant a project was coming. bahaha.
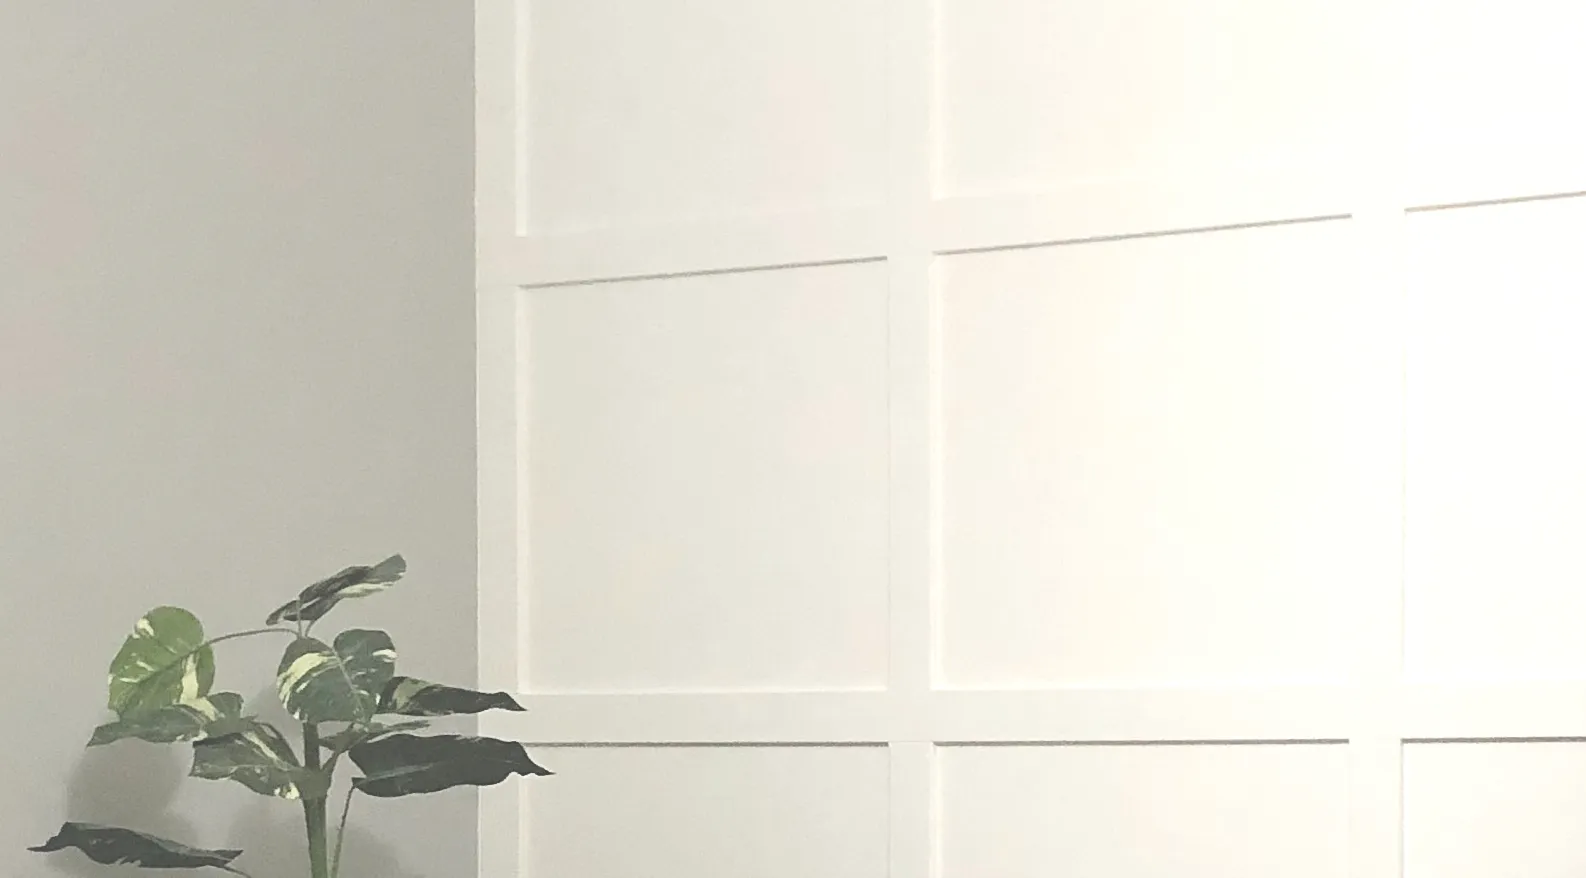
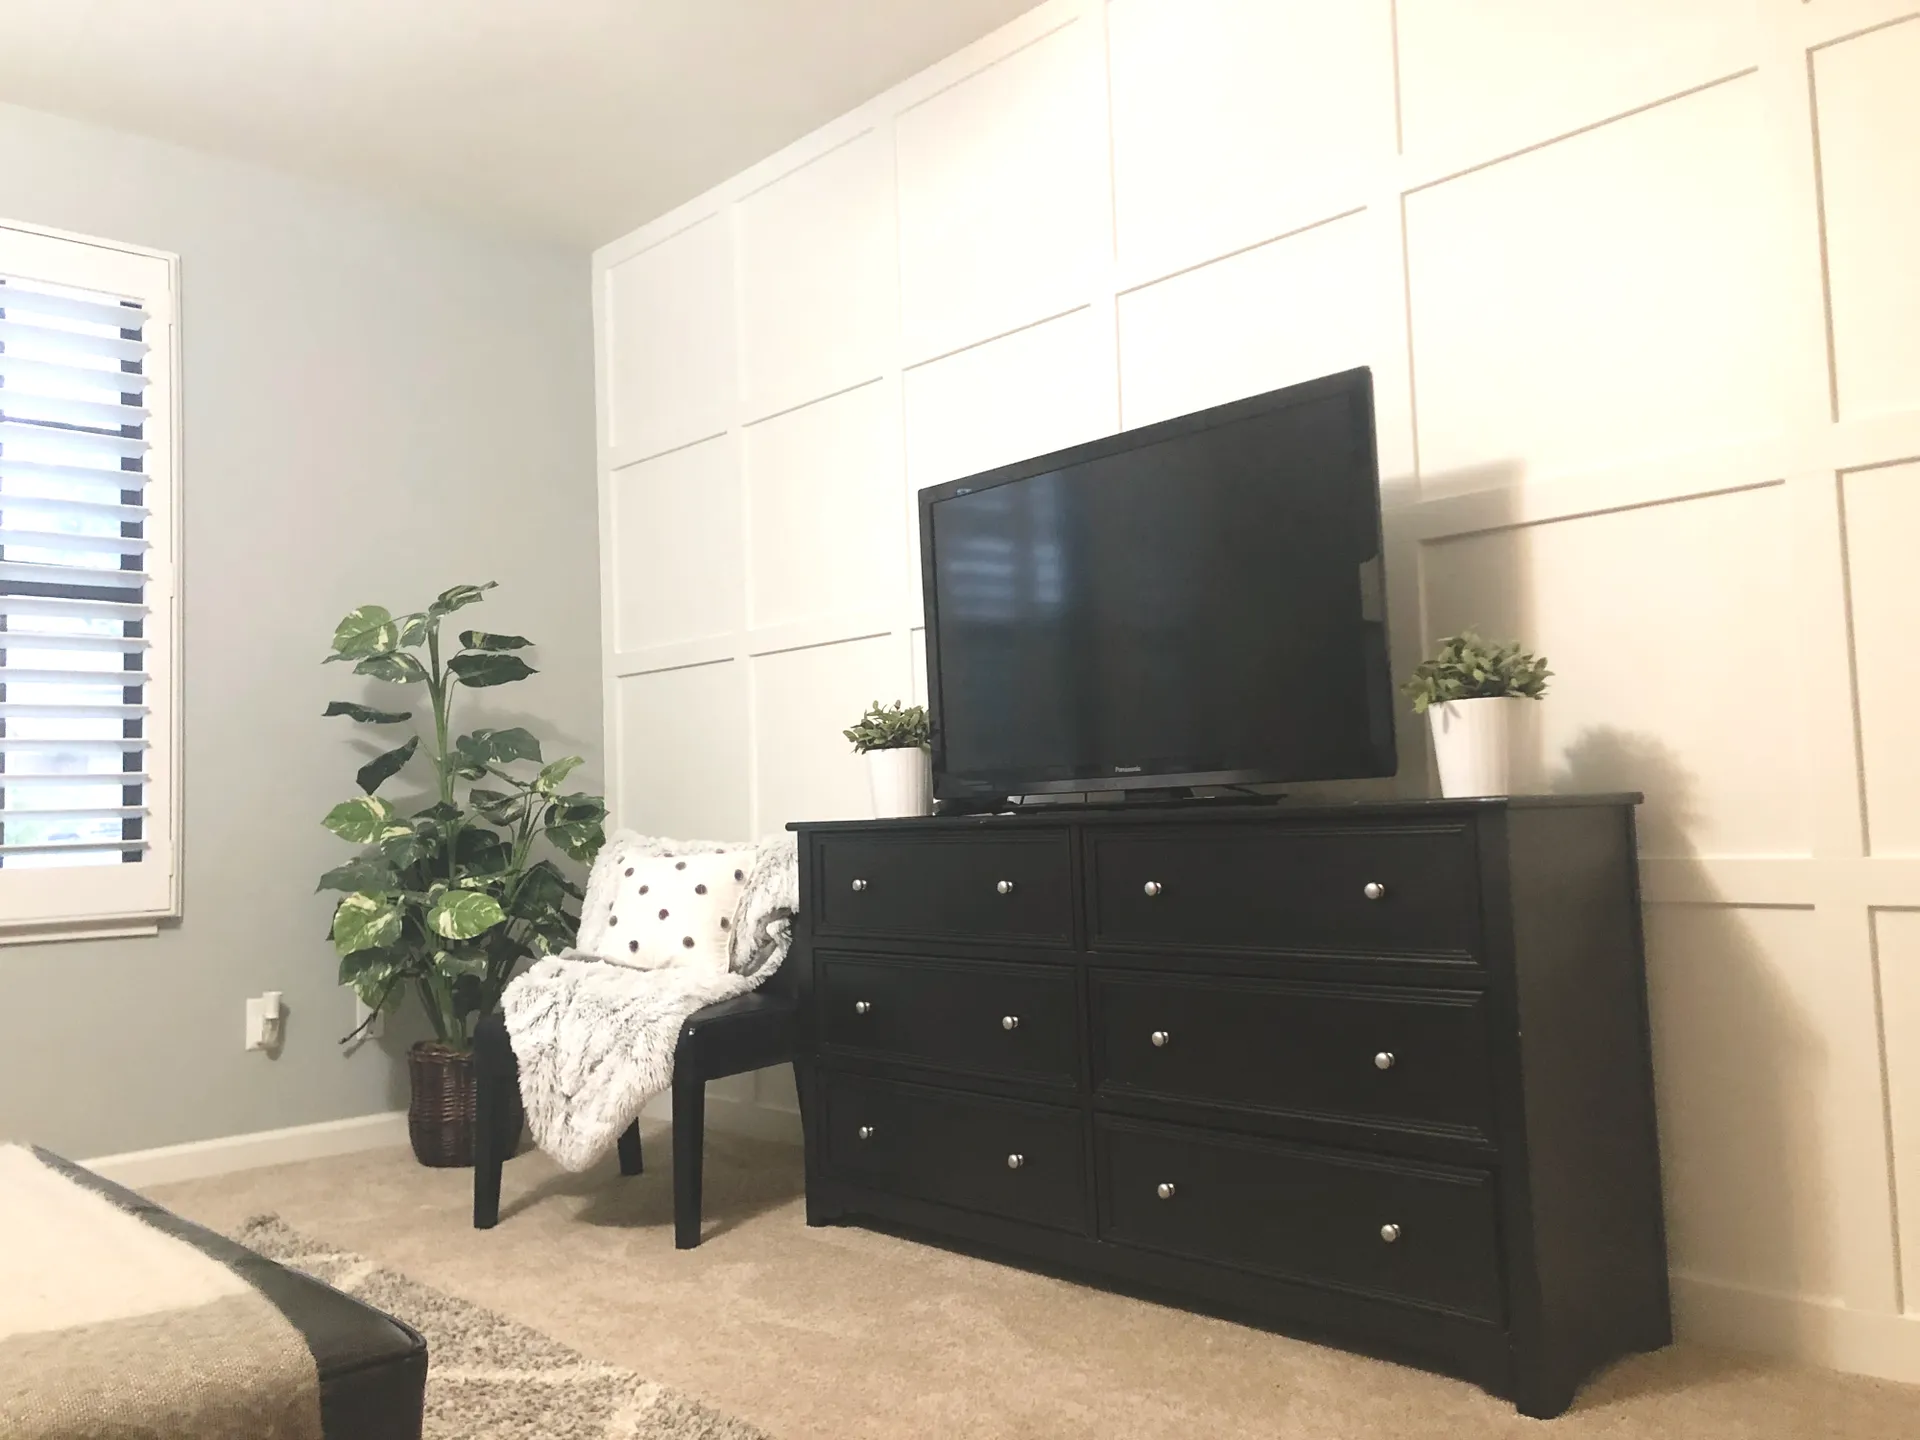
After getting settled in our house, I patiently waited for Cory to say he was ready for a project. When the magical time came, we had to make a plan for the trim pieces. It involved a lot of math, which we both like and are (surprisingly?) pretty good at.Before I bore you with the math, let me show you this beaut of a wall. Let’s look, shall we?


Okay, friends, this work of art doesn’t just happen. Let me fill you in on the math…
Kids – if you think you’ll never use math in real life, you’re wrong. You’ll use it…with a calculator, but still. Pay attention. (I have a good friend who was a math teacher and I bet she’s THRILLED at these words I type.)
Our overall goal was to make the squares as “square” as possible (rather than rectangle). I knew that I wanted four squares making up the height of the wall, but we needed to figure out the exact measurements first. Hopefully seeing our thought process below and “showing our work” helps, if anyone else wants to tackle a project like this.
Vertical measurements of the wall:
- A. Height of the wall (typical 8 ft. ceiling = 96 inches )
- B. Width of trim (we used 2.5″ trim) x (# of squares + 1) = space trim will take up (2.5 x (4 + 1) = 12.5 inches )
- C. Subtract B from A (96 – 12.5 = 83.5 inches )
- D. Divide C by # of squares (4) = vertical size of square, not including trim (83.5 \ 4 = 20.875 inches)
- E. Add D + trim size (2.5″) x2 = size of the square, including trim (20.875 + 5 = 25.875 inches )
Then we needed to find out how many squares would make up the length of the wall and the horizontal measurements:
- A. Length of the wall (in our case it was 175 inches )
- B. Divide line A by vertical size of square (previous line E) to find out approximately how many squares we’re talkin… (175 \ 25.875 = 6.76 squares ) Based on this, we figured we’d round up to do 7 squares length-wise , but we had to figure out the exact math…
- C. Width of trim (2.5″) x (# of squares + 1) = space on wall trim will take up (2.5 x (7 + 1) = 20 inches )
- D. Subtract C from A (175 – 20 = 155 inch square space without trim)
- E. Divide D by # of squares (7) = horizontal size of square, not including trim (155 \ 7 = 22. 14 inch )
- F. Add trim size (2.5″) x2 = size of the square, including trim ( 27.14 inches )

This math shows us that the squares will be 25.875 x 27.14 inches
, which is close to “square,” so we’re GOLDEN! That’s all we want. You won’t notice if they’re not exactly square, so we’re good. Woot!

Then, Cory says you GOTTA mark it out before you start. Use a pencil to mark where each trim piece will go, and make sure it all works out. You’ll want to know if the trim will run into any outlets, etc. and make any adjustments, if necessary. Cory said we needed to adjust in a few places, so marking it out definitely helps.
Then, once it’s all marked out, use a nail gun to hang up the trim, use wood putty to fill in the nail holes, caulk the seams, and paint, paint paint! We actually had painted the wall white before adding the trim so it was just a matter of painting the trim itself.
That’s it! What do you think?? The great thing about this accent wall is that it looks great in ANY color, so if I get sick of white, I may have to try another color.
Where do YOU need an accent wall? Go. for. it.
Huge hugs! XO!
~ Kara

Questions/Comments?...if so, please email me
here.
Disclaimer: Happy Place Happy Face is a participant in the Amazon Services LLC Associates Program, an affiliate advertising program designed to provide a means for sites to earn advertising fees by advertising and linking to Amazon.com. A.K.A. I could earn a small commission, at no extra cost to you, if you purchase items through my links.XO!

Thanks for stopping by this happy little corner of the internet.


@ kara_vandyke
