Welcome! If you're looking for a place to be inspired, encouraged, and giggle a tiny bit, you're in the right place!
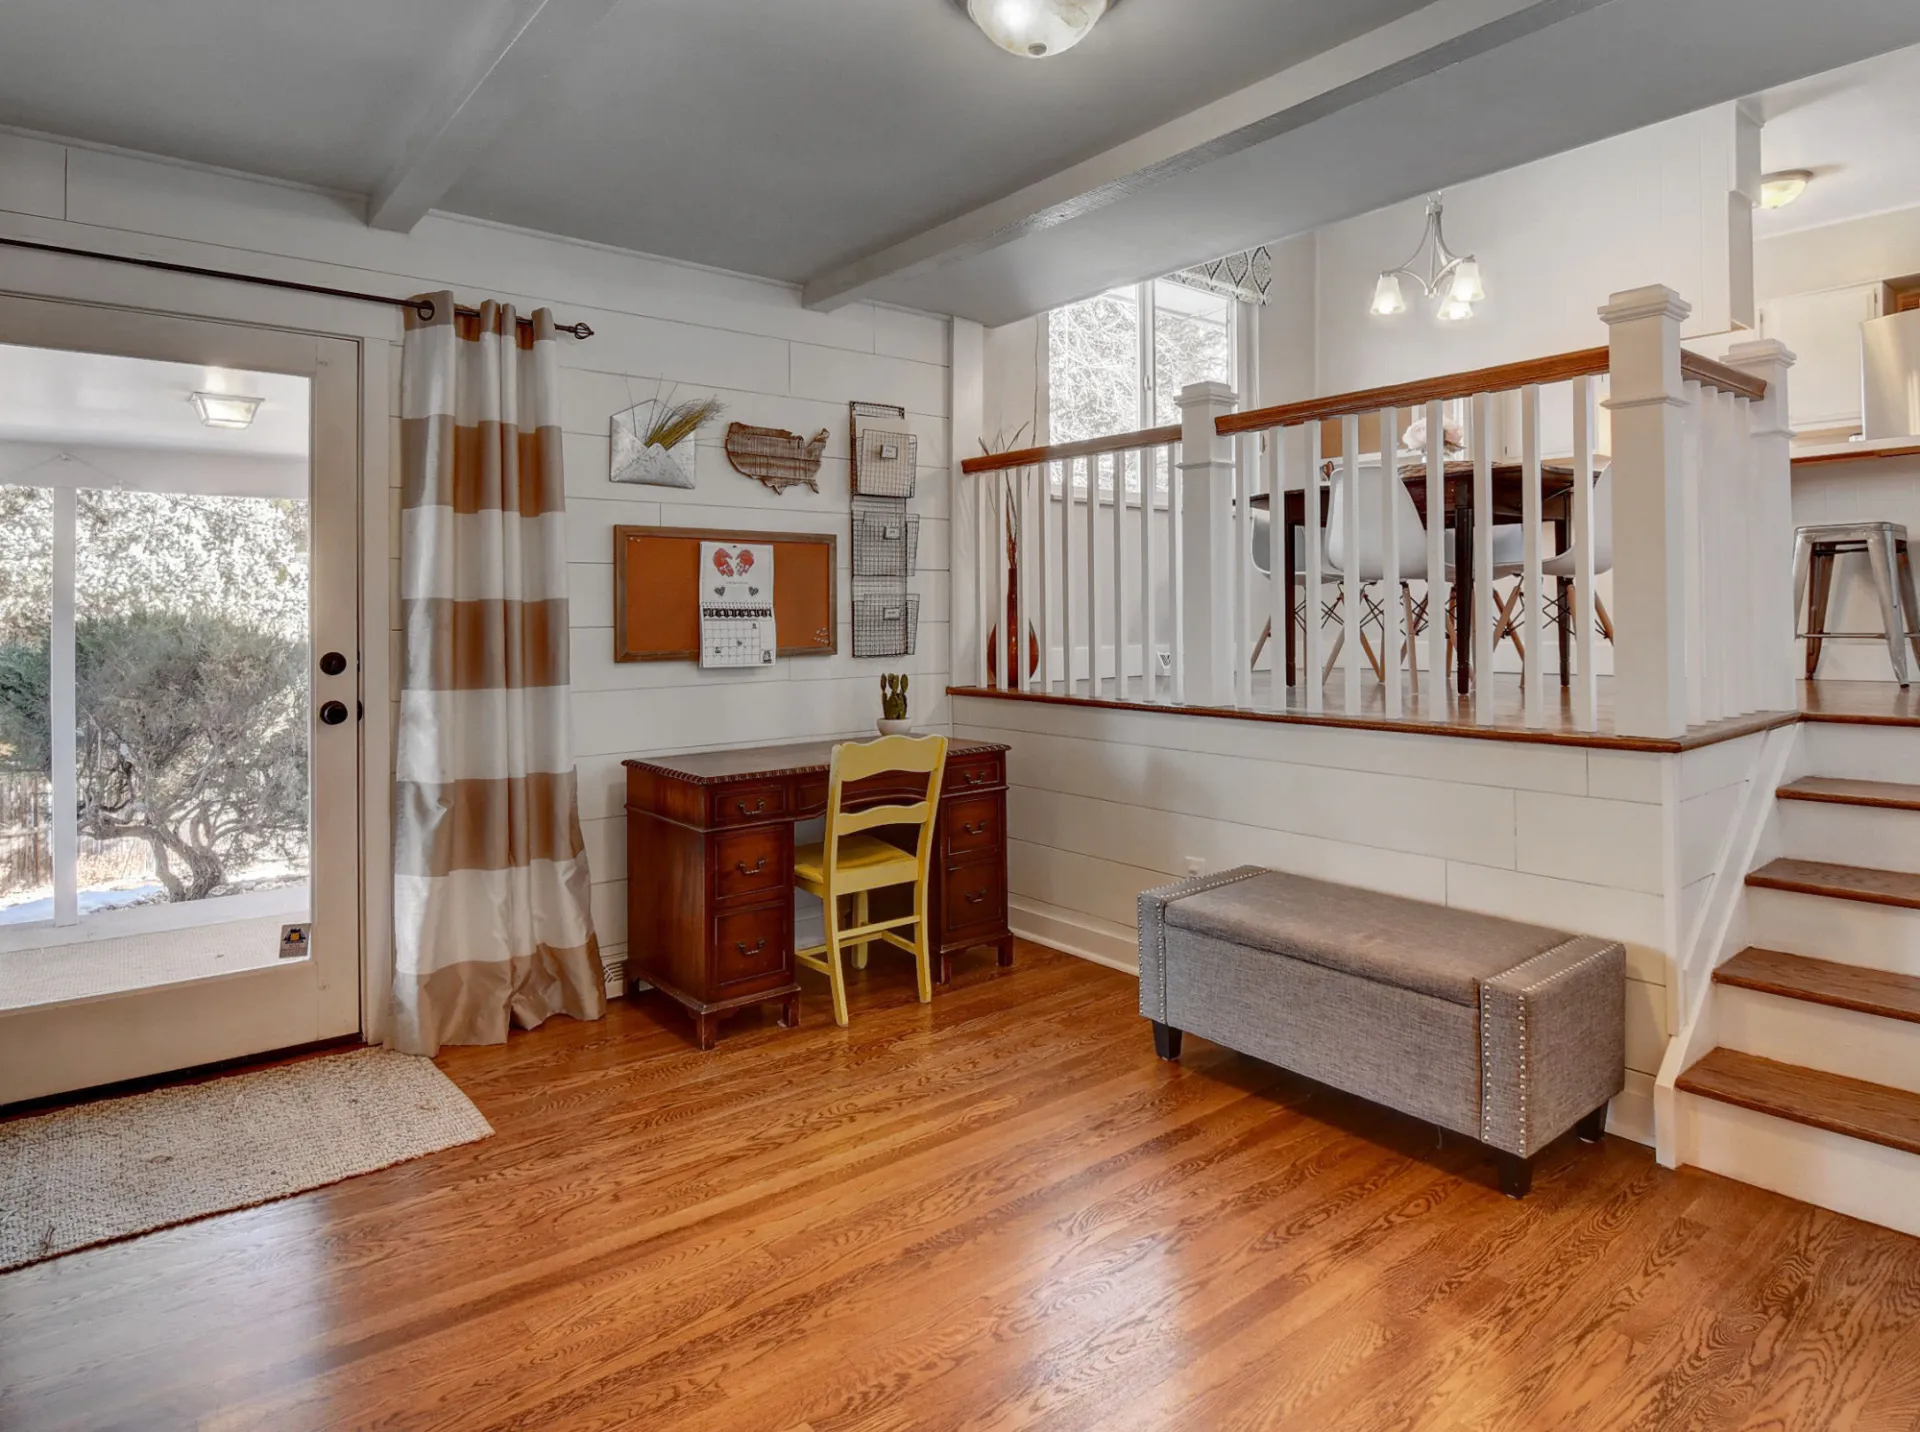
Isn’t it funny that the shiplap craze really is just a bunch of white stripes on a wall? But yet it looks so, so good. At least I think so! I hope it never goes out of style. White shiplap just makes everything look so bright and airy and I LOVE that.
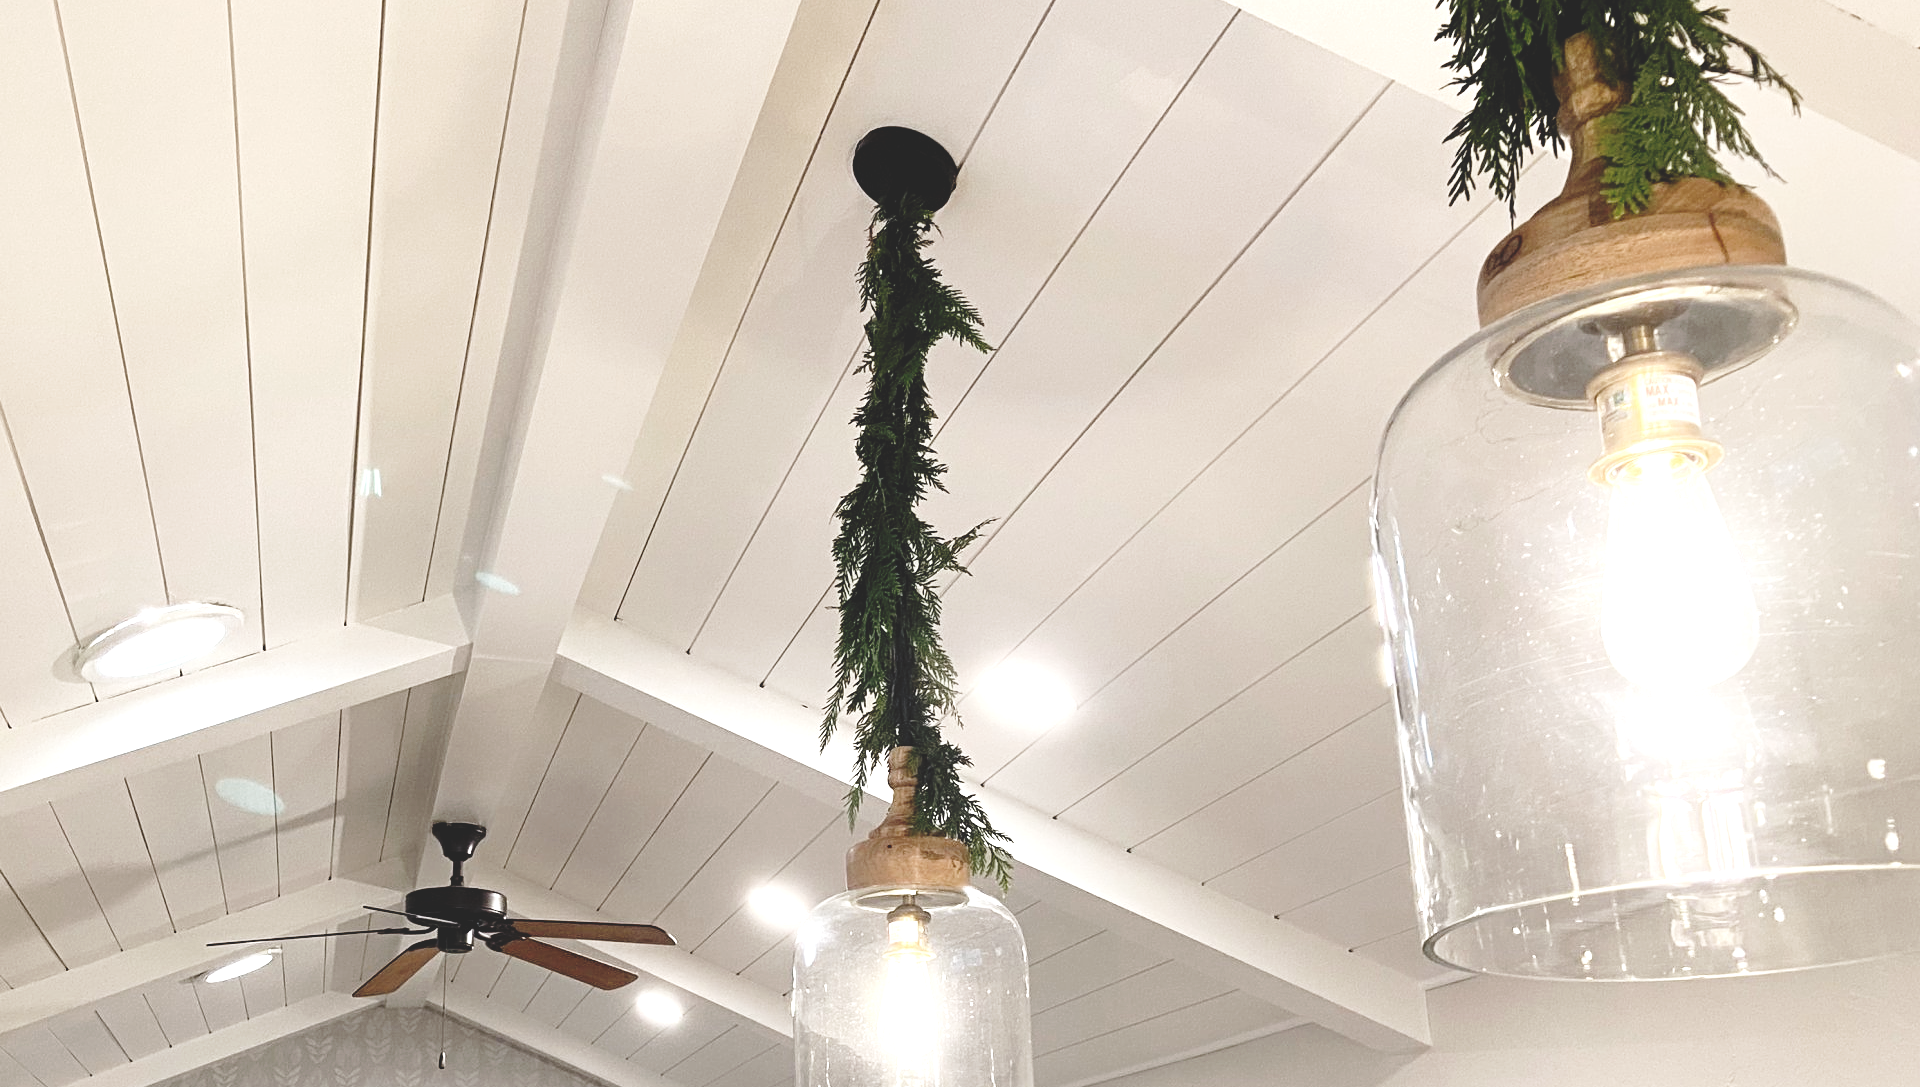
We’ve had a little bit of experience with this shiplap stuff I speak of. In our first house, we shiplapped an entire room, and in our current house, we’ve shiplapped a vaulted ceiling, a small accent wall, and wall in the basement. And when I say “we,” I mean my handsome handy husband! 


 ,
,
So we’ve done two different methods, but I’m going to focus on the one we did in the living room at our first house (or is it the family room? I can NEVER get those two straight!).
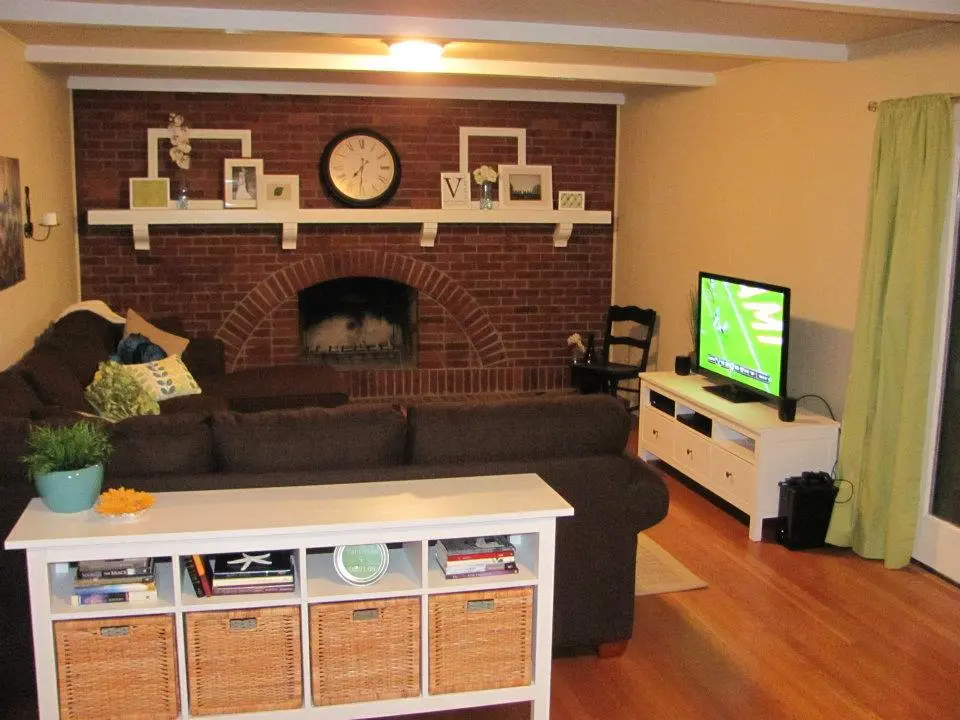
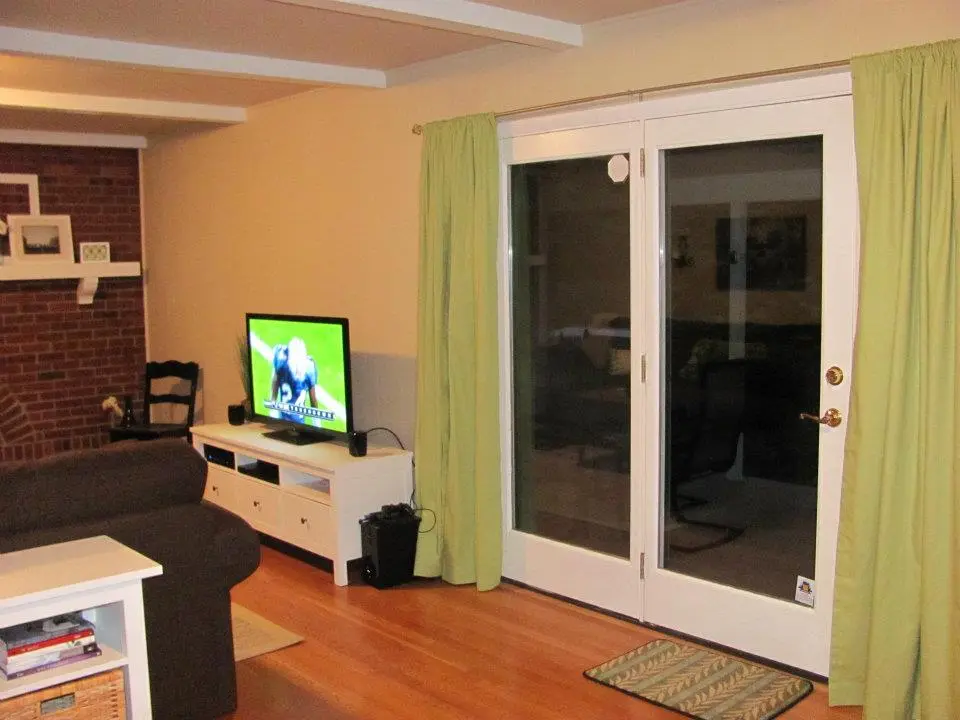
Here is the “Before” of this room, before we shiplapped and white-washed the brick:
Aaaand “After.” LET THERE BE LIGHT!…


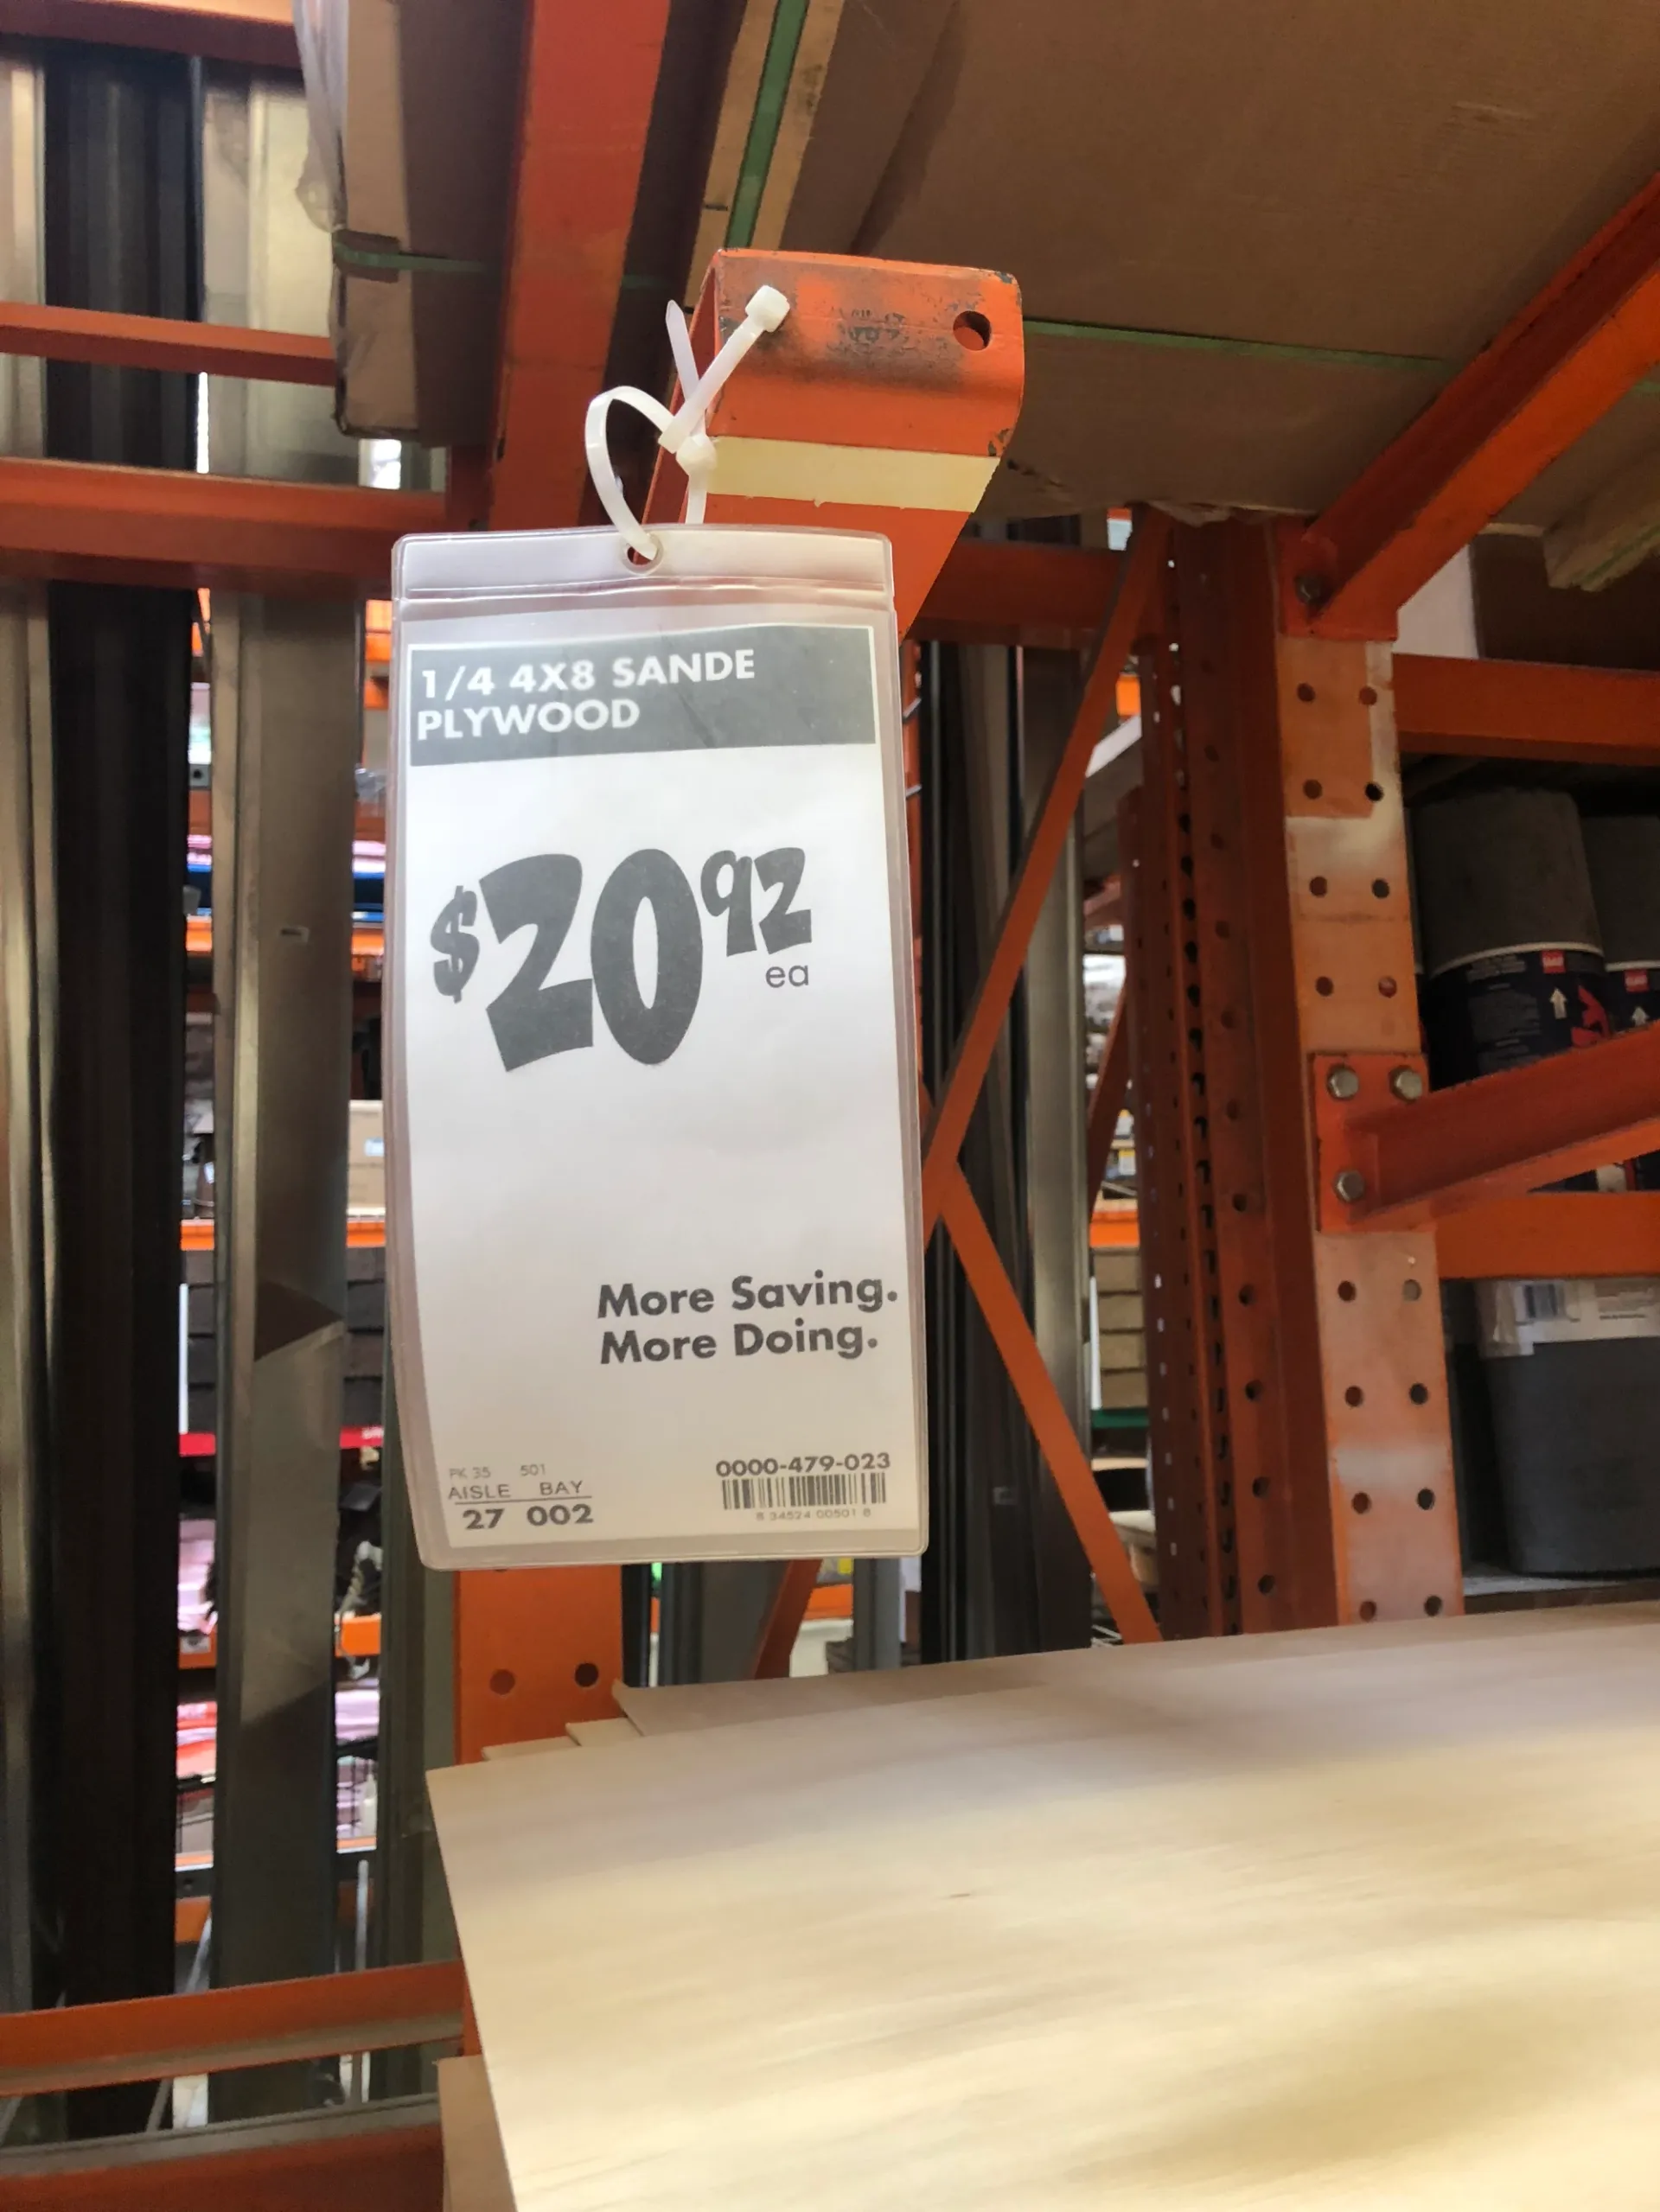
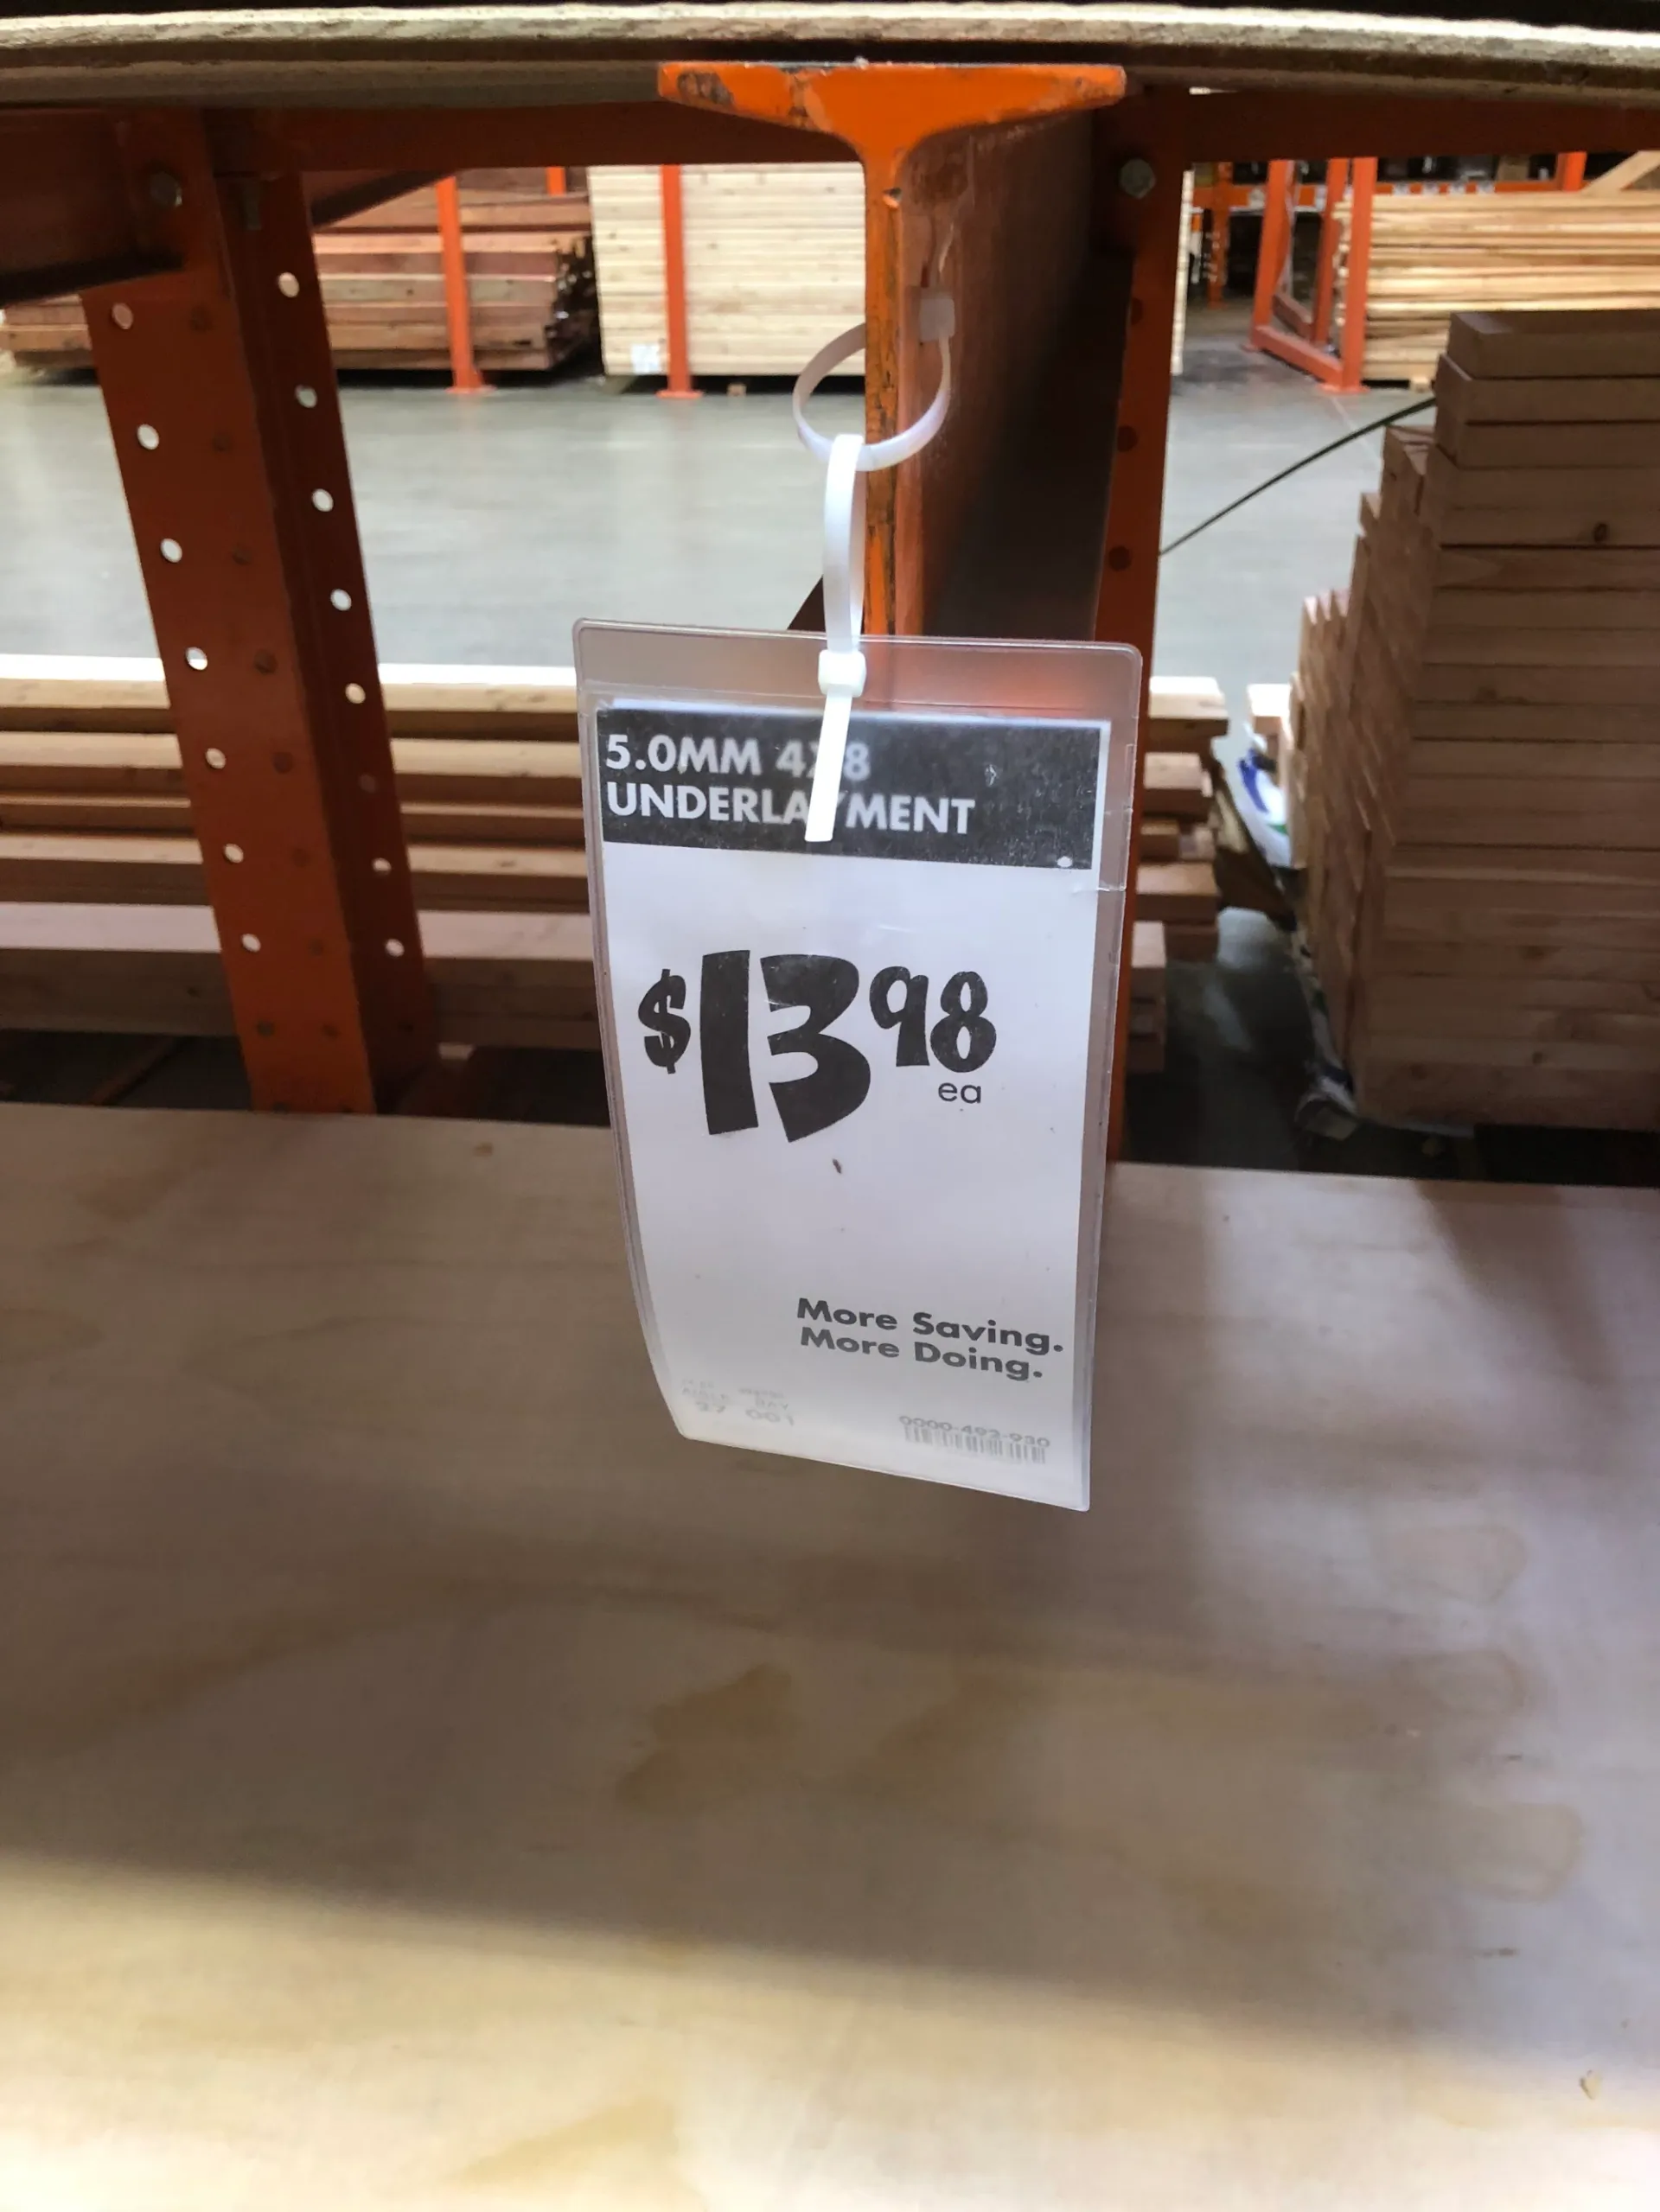
SO. How did we do it? We were, and still always are, on a tight budget for my crazy house project ideas, so we did the budget-friendly method: buy and cut down 4 ft. x 8 ft. plywood boards . I found these two pictures from way back then, and I’m pretty sure we went with the cheaper option (below, right). It doesn’t need to be fancy plywood – just something smooth and paintable.
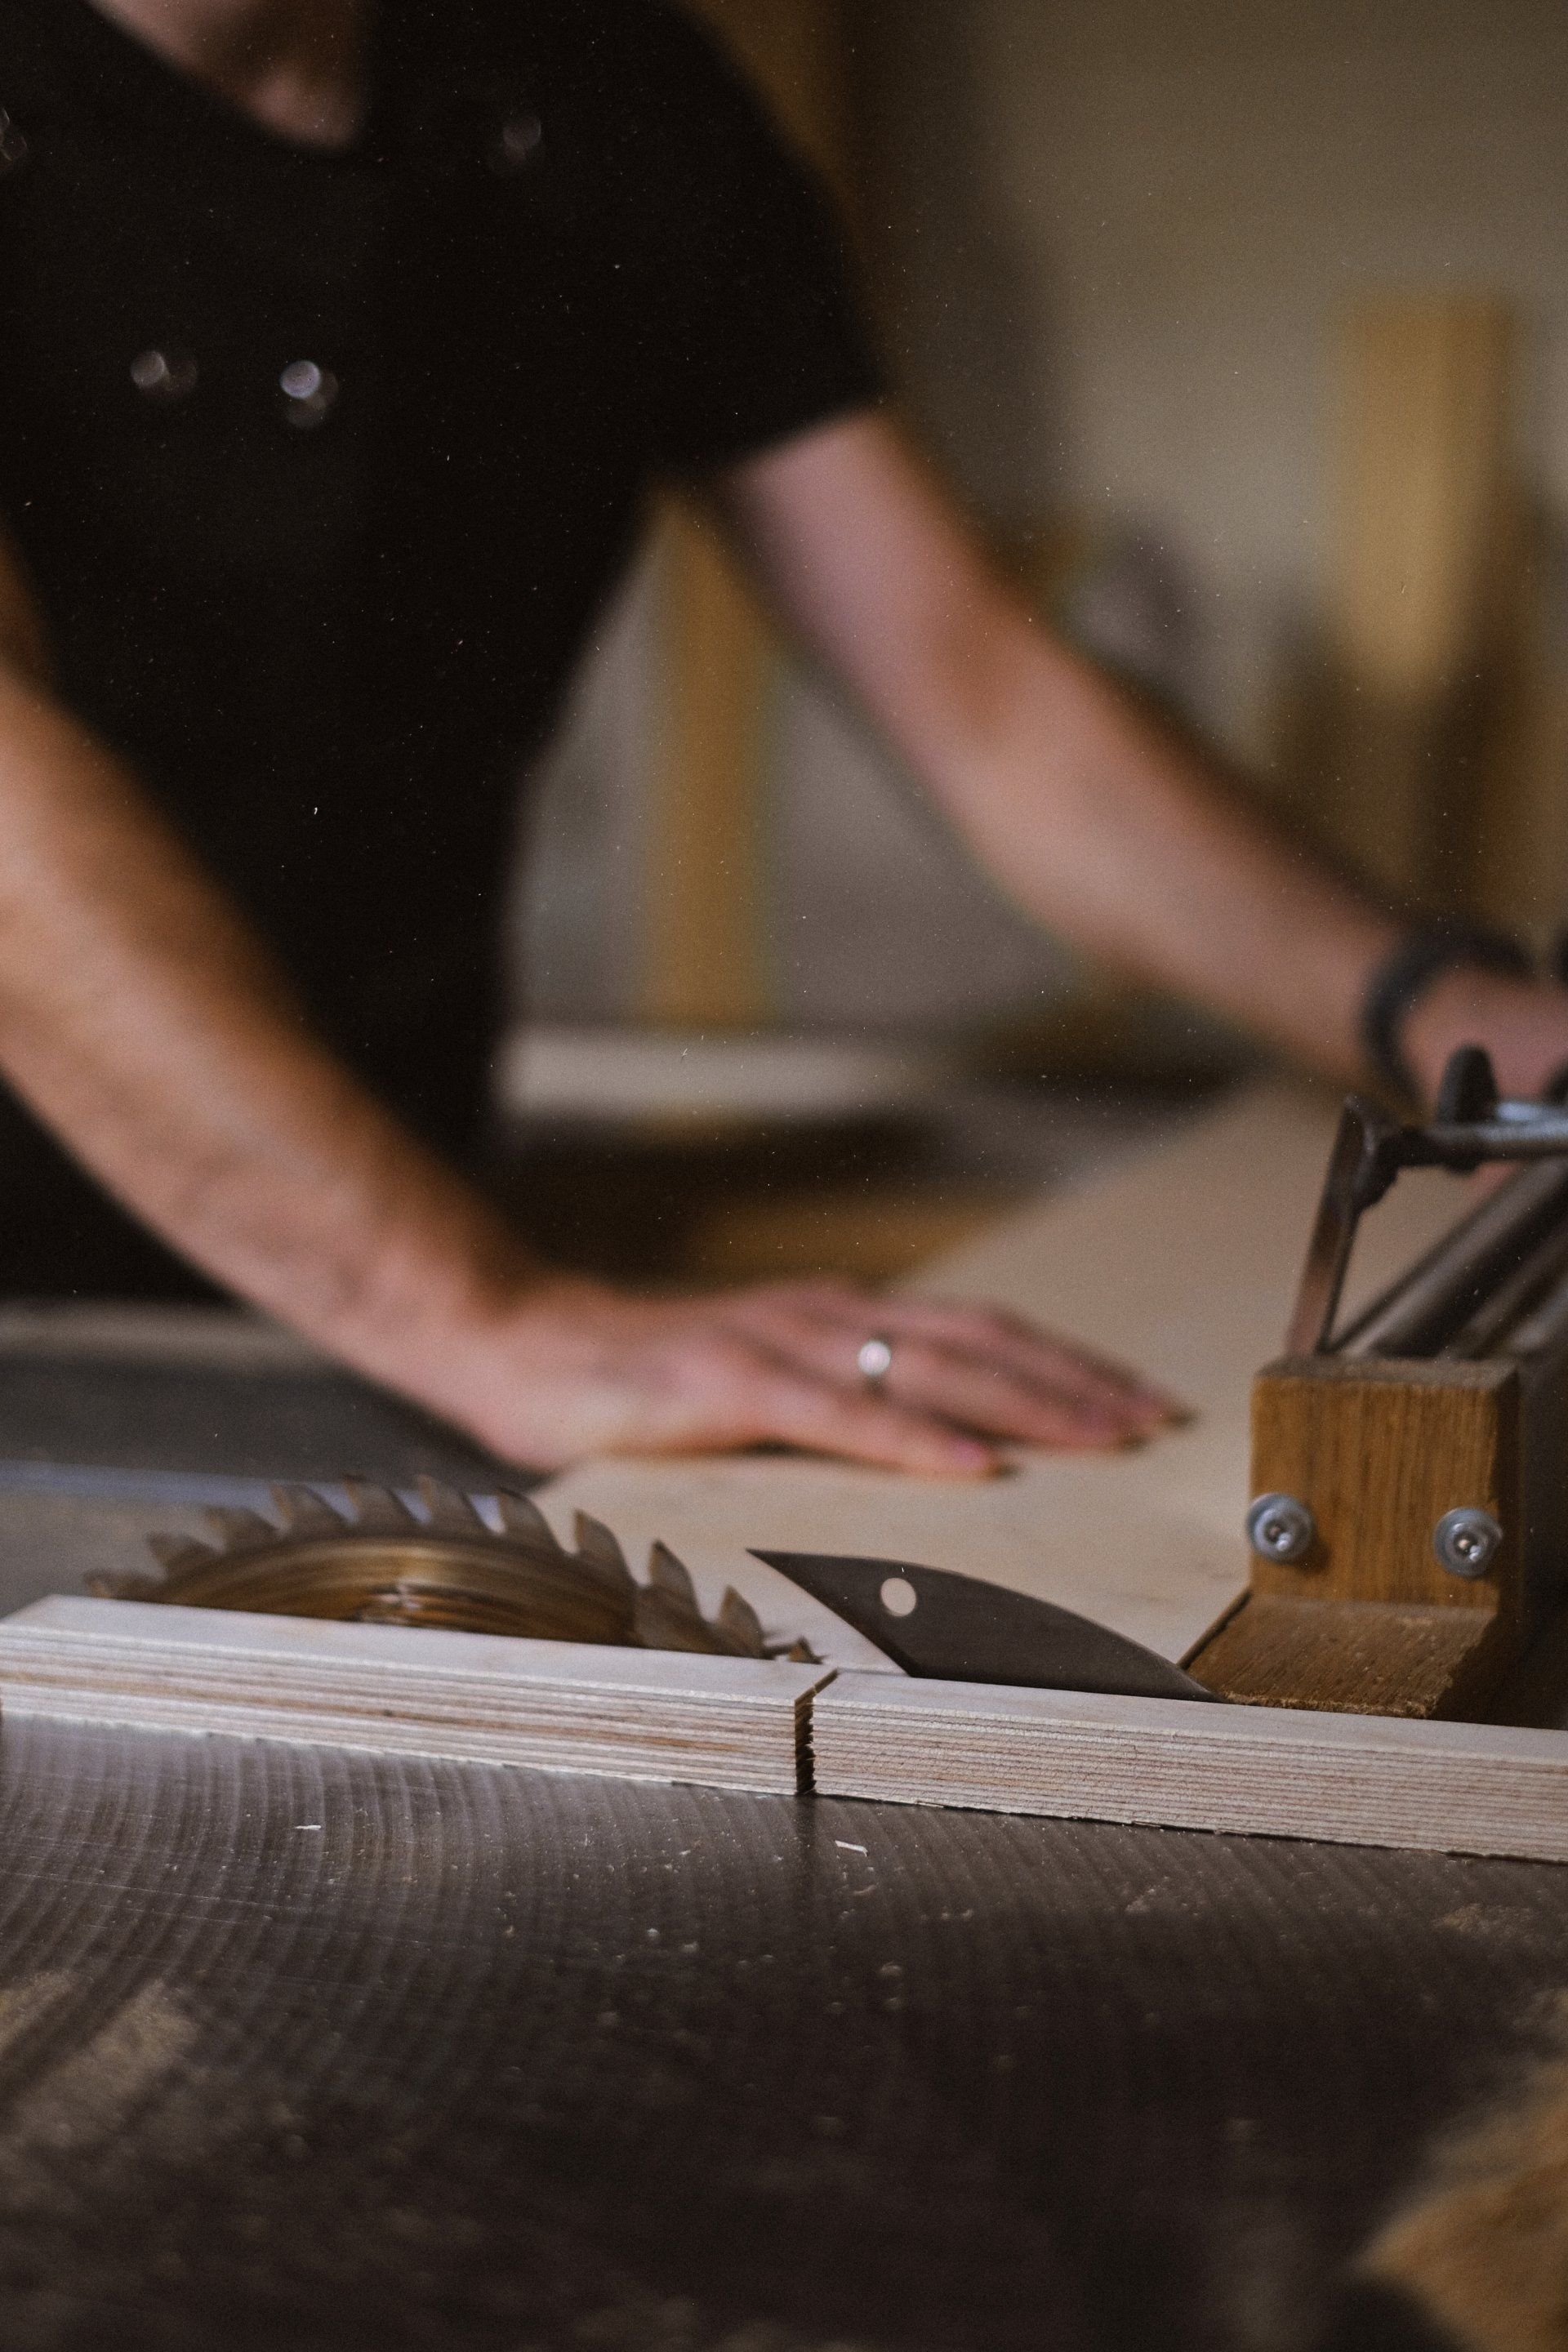
Then, you can have Home Depot or Lowes, or wherever you buy it from, cut the boards in strips — how awesome is that?! At least they did a few years ago when we did this. Otherwise, I think they may charge you a minimal amount, which is totally worth it in our opinion. Since we wanted to use the lengthiest part of the boards (8 ft.), to lay horizontally on the walls, we figured that we would cut the 4 ft. side down to 8 inch wide pieces (4 ft. = 48 inches divided by 8 inches = Six 8in. planks per plywood board = PERFECTO!).
Note: We had heard/read that you should account for the width of the saw blade, so technically you should cut them just a hair shy of 8 inch pieces (1/8 inch, maybe?) . BECAUSE… each time time you cut a strip, you take out an 1/8 inch, which means the last strip will be quite a bit thinner than the others, if you know what I mean? And that’s no bueno! Even though we tried to account for the blade, we still somehow ended up having some strips that were thinner, so we set those aside to use for the bottom row that would need to be cut down anyway. I hope this helps!
The next thing we did was paint the edges of the shiplap
, as in, the actual top and bottom 5 millimeters that will butt up close to each other. Sounds crazy, right? But trust me, it’s a pain to jam a paint brush in the cracks to try to paint these parts, once it’s on the wall. Just lay all the boards on top of each other and paint a thin layer or two of paint on each side. Be careful not to layer it on too thick though, or the boards will stick together (Guilty! Happened to us!) 

(Side note: This post contains affiliate links, which means I could earn a small commission if you purchase through these links, at no extra cost to you! XO!)
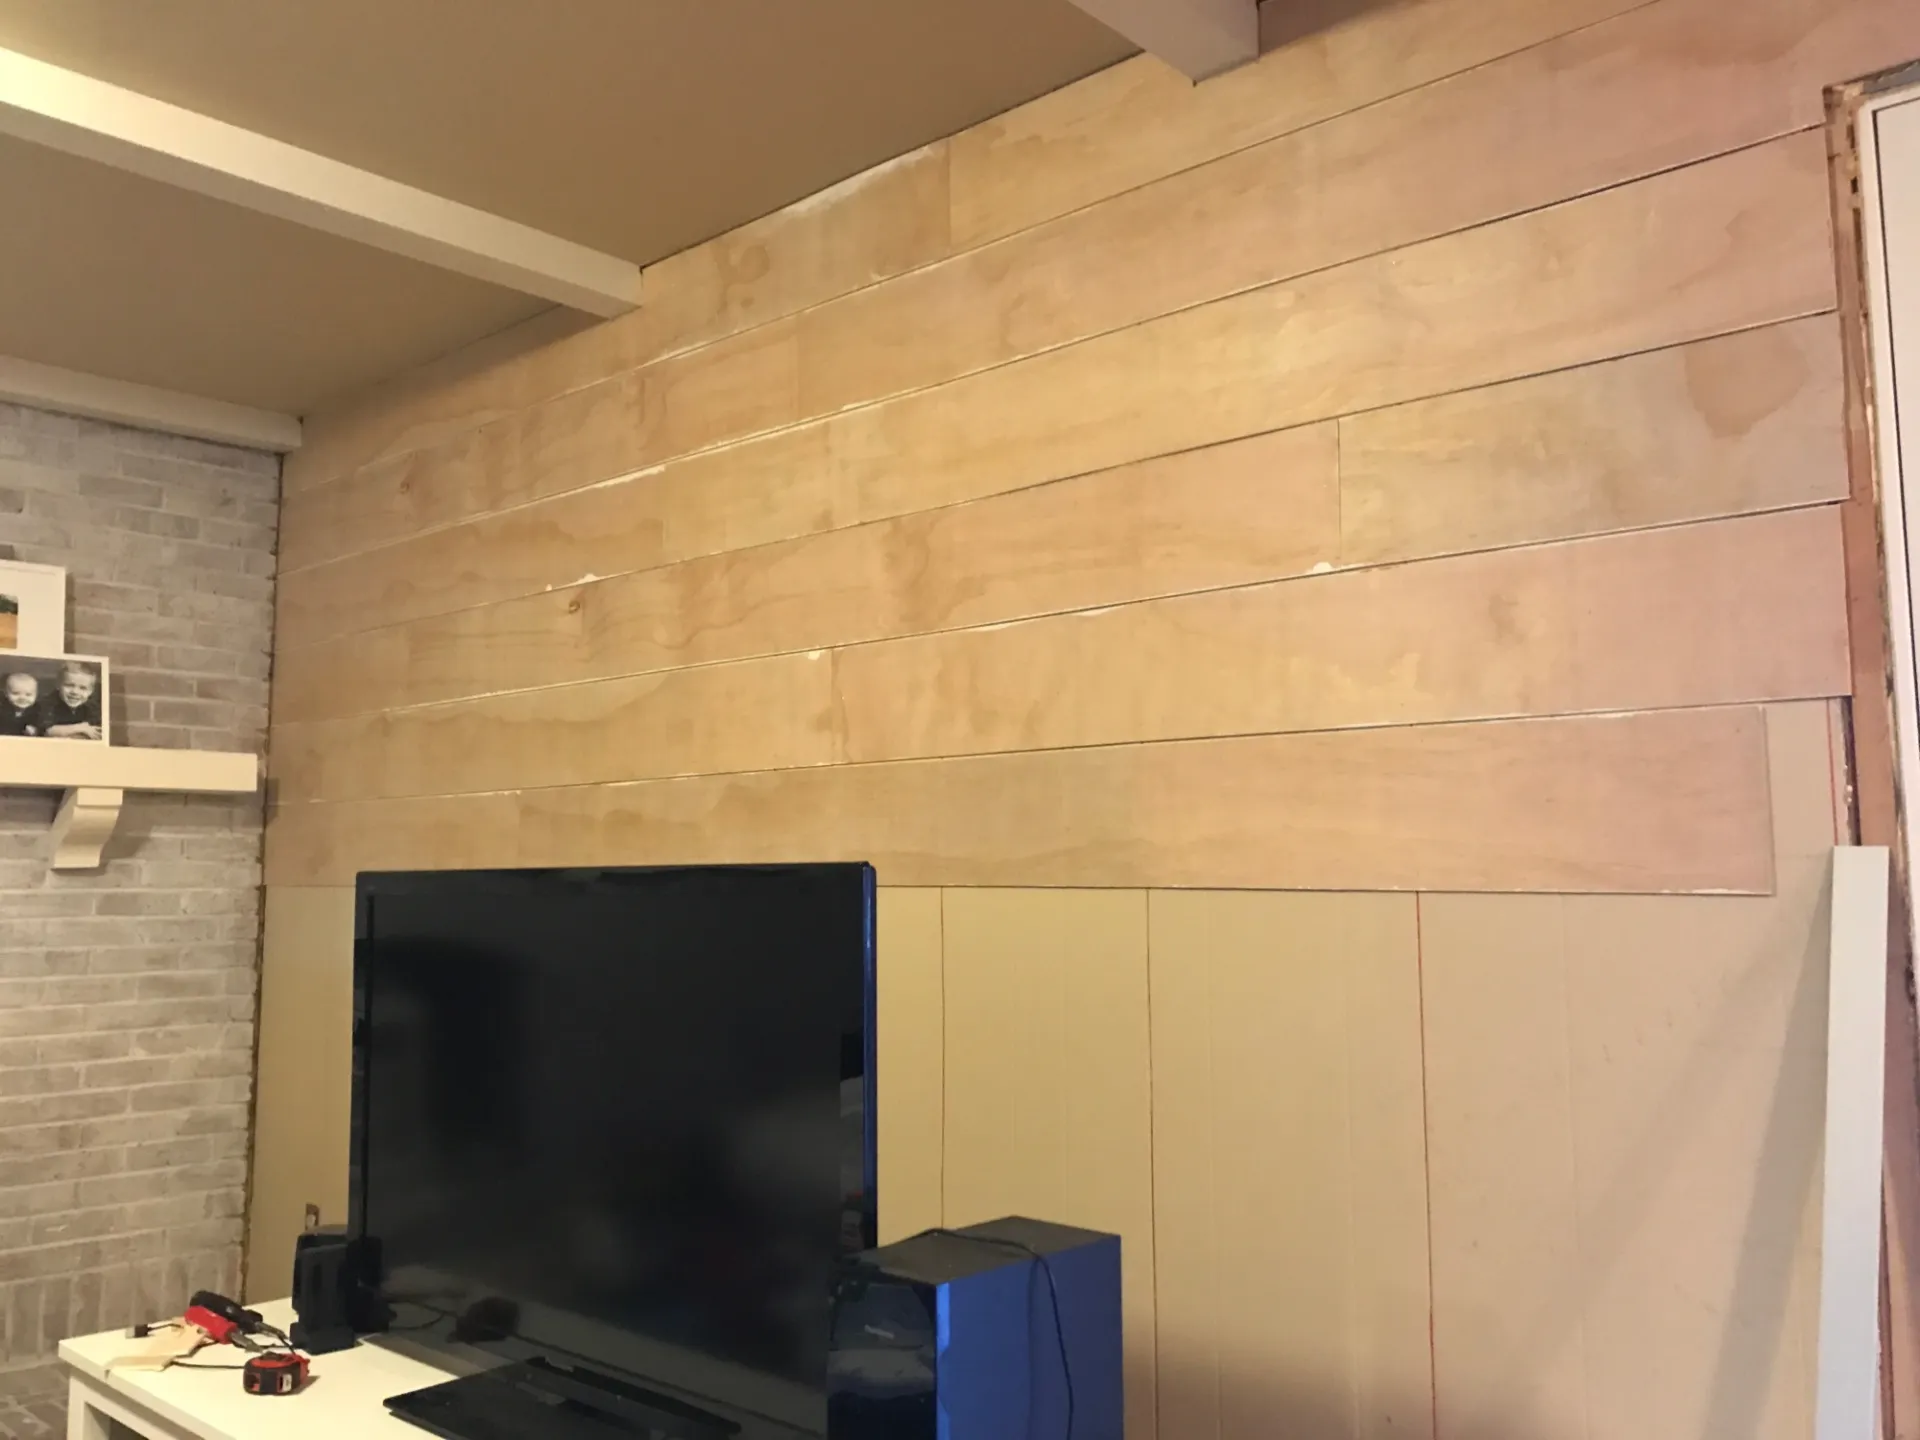
Find the studs in your walls , next. Don’t have a stud finder? Grab one here ! But DON’T mark them with red sharpie like we did. It seemed smart at the time (so we could see the lines easily), but they became hard to paint over, in between the boards.

You’ll also want to decide where you want to start your boards from. Most others say to start from the bottom, which is probably more logical to stack from the bottom up. However, if we did that, we would have ended up with a thinner sized board at the top, and that would have bothered me. I figured the top row was more noticeable than the bottom, so that’s why we did what we did. 
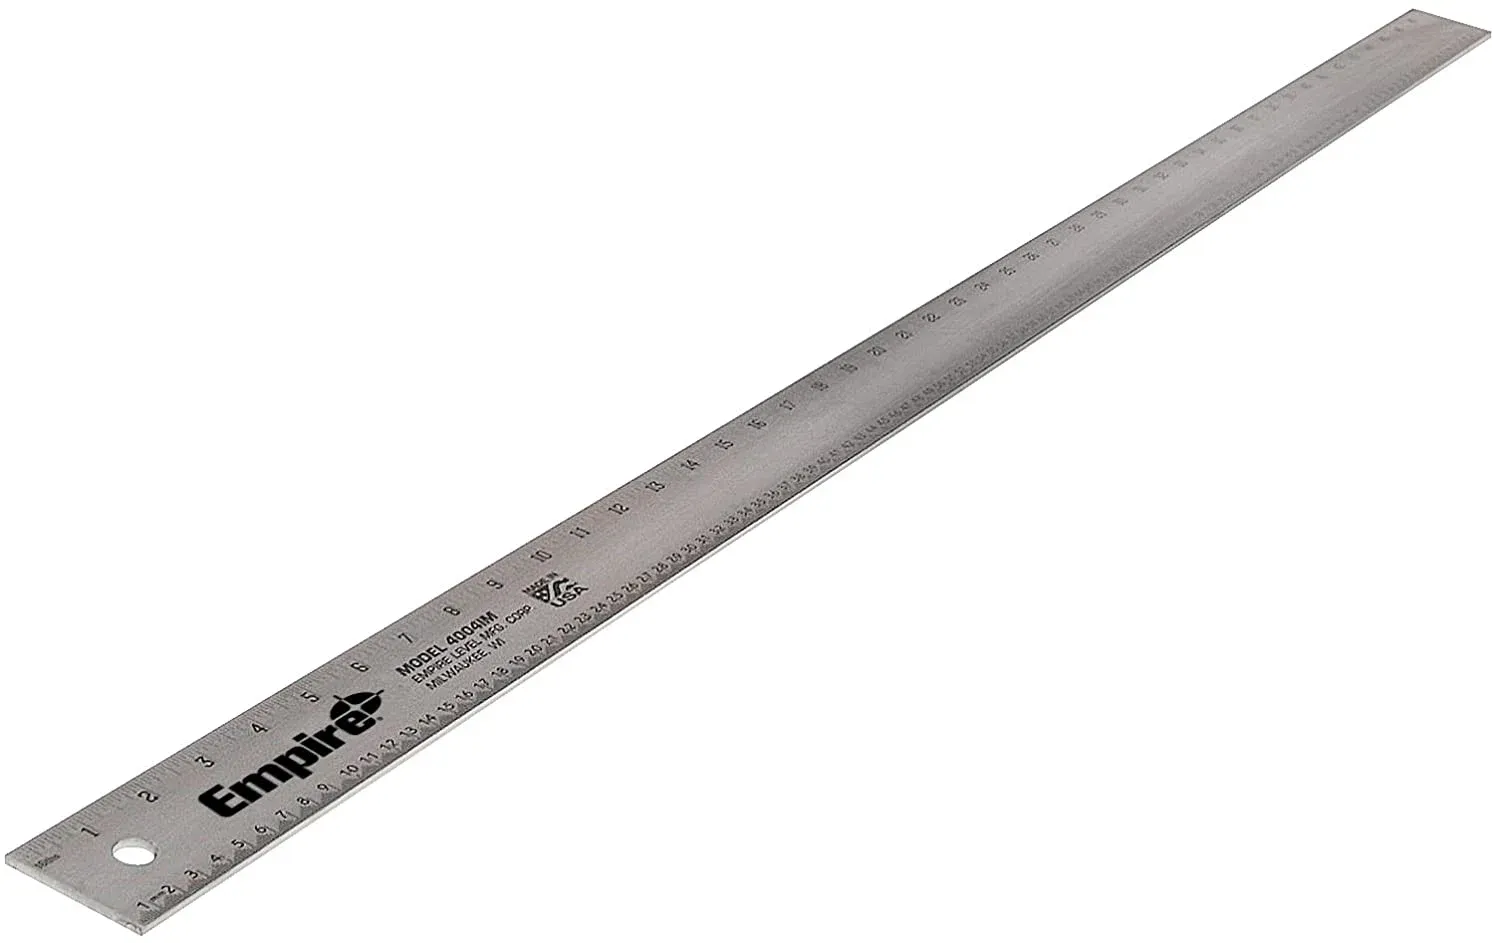
How far apart do you stack the shiplap pieces, you ask? Let me tell you! Get yourself one of these 4 foot metal straight edges here . It’s about 1/8 inches thick. When you’re doing humungous shiplap boards like this, it’s nice to have something longer to hold along the edge when you place the next board in place (Note: This is much easier if you have two people! One to hold the board, and one to nail.) Other supplies: Porter-Cable Compressor and Nail Gun with Hose (this link is the whole kit-and-caboodle! Everything you’ll need!), and a large 4 foot level is helpful, too.
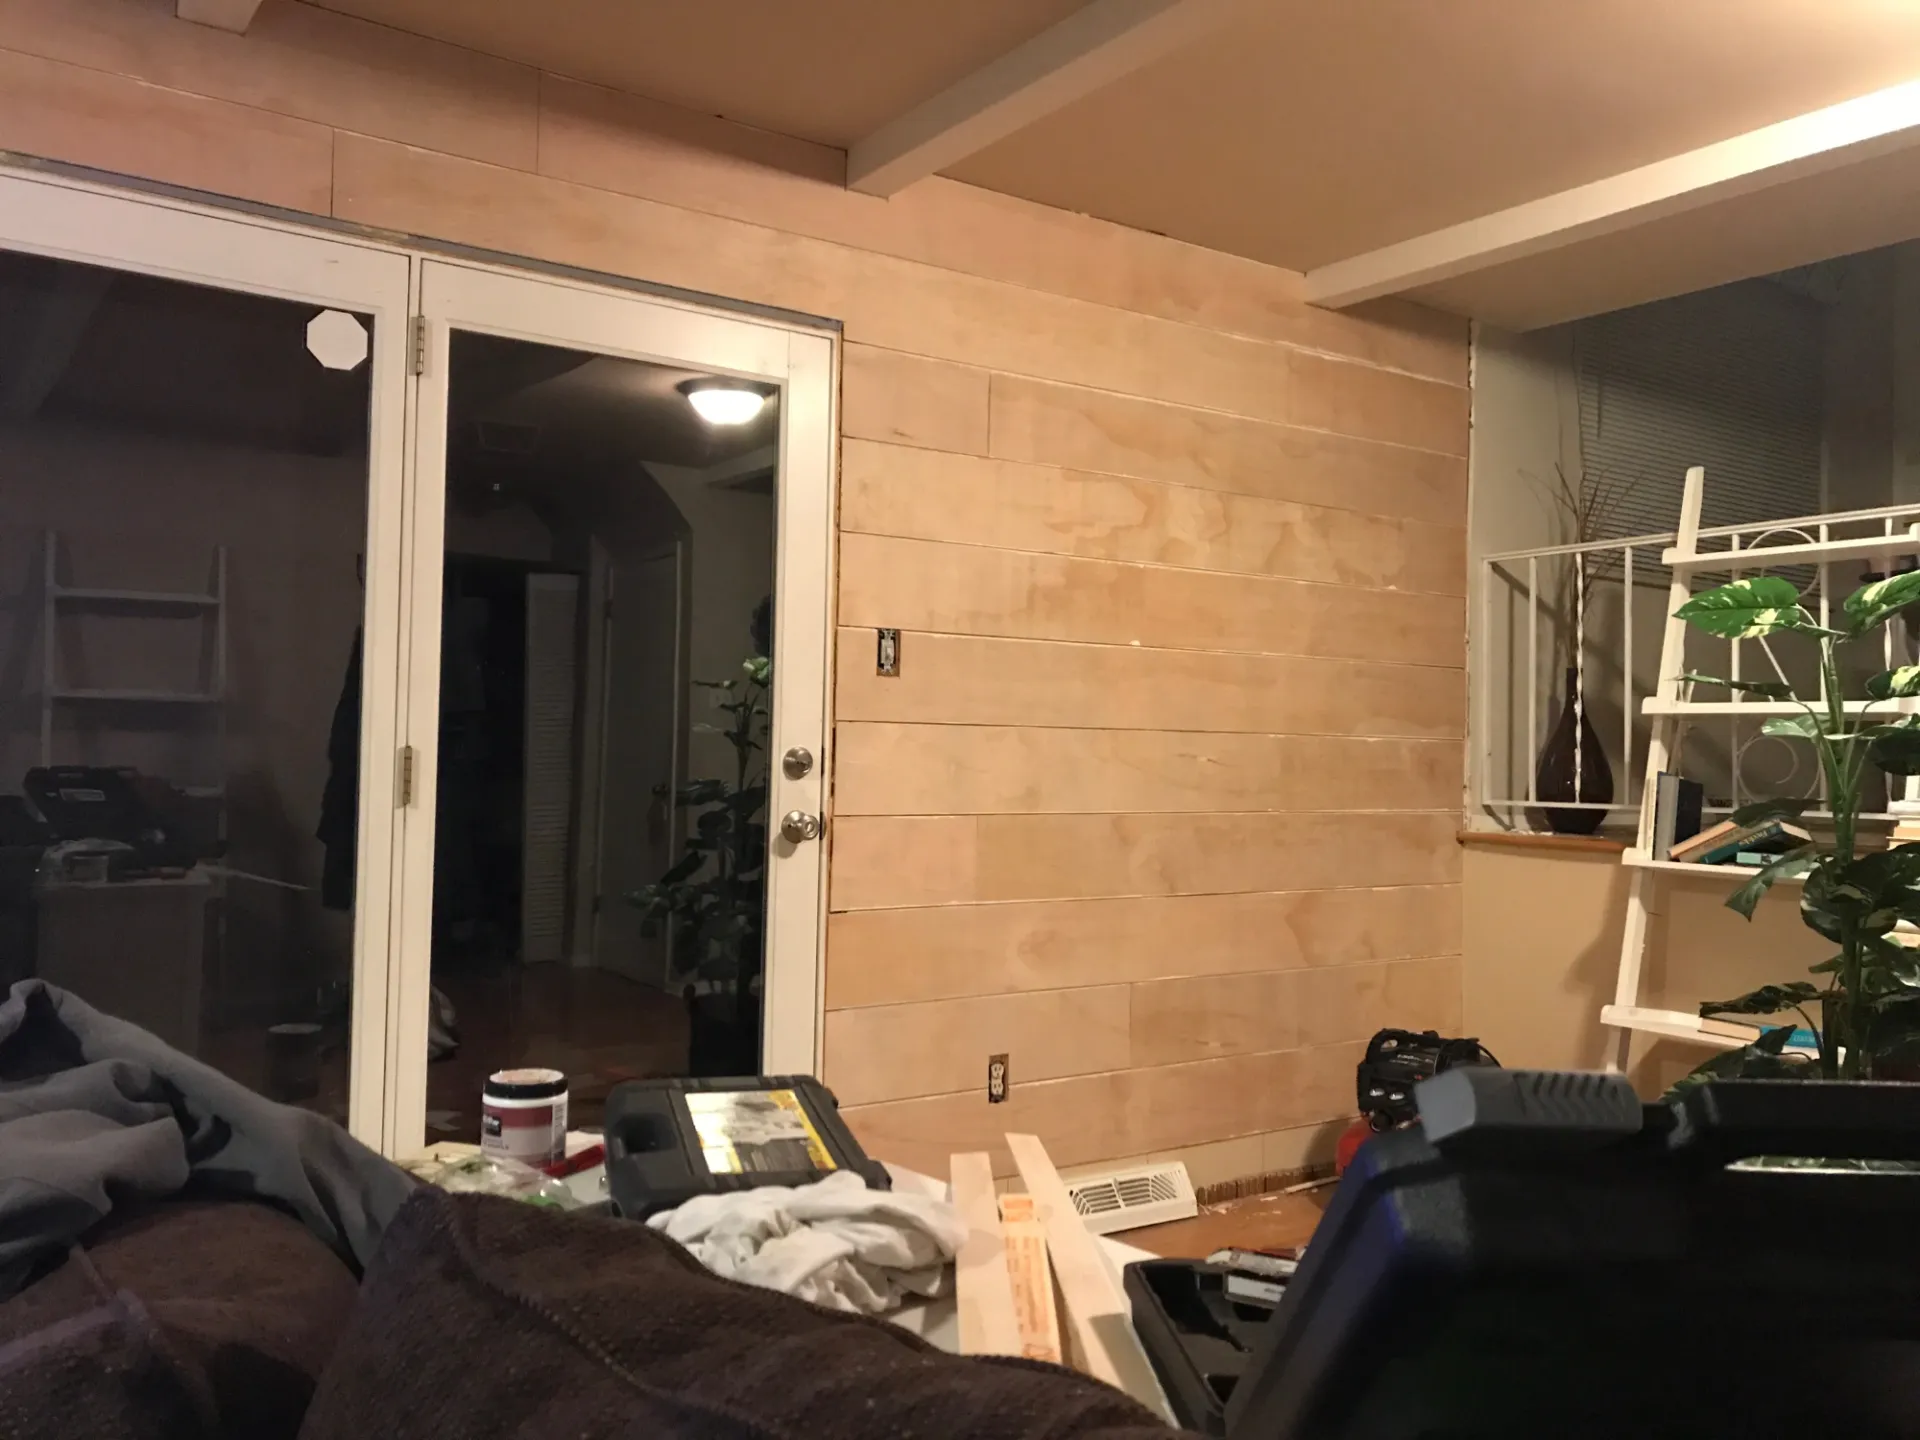
Okay, then the fun part – once you get cruisin! In our case, we installed the boards left to right . When we got to the right side and needed to cut a board, the remaining piece would be the next first piece on the left. Does that make sense? It makes a nice, natural staggered look.
LOOK! 


Once you’ve got all the boards up, you’ll want to add trim pieces to all the edges to hide any imperfections
and caulk where necessary
. Then, give ‘er a good couple of coats of paint
(we used Benjamin Moore “White Dove”) and do a little happy dance
! Woooo!


What do you think? The room was so much brighter! We loved it. 
Thanks for checking out this post! Let me know if you have any questions about the process, and best of luck, if you attempt this yourself! It’s so worth it, and much cheaper than buying real shiplap boards.
XO!
~ Kara


Questions/Comments?...if so, please email me
here.
Disclaimer: Happy Place Happy Face is a participant in the Amazon Services LLC Associates Program, an affiliate advertising program designed to provide a means for sites to earn advertising fees by advertising and linking to Amazon.com. A.K.A. I could earn a small commission, at no extra cost to you, if you purchase items through my links.XO!
Thanks for stopping by this happy little corner of the internet.

