Welcome! If you're looking for a place to be inspired, encouraged, and giggle a tiny bit, you're in the right place!
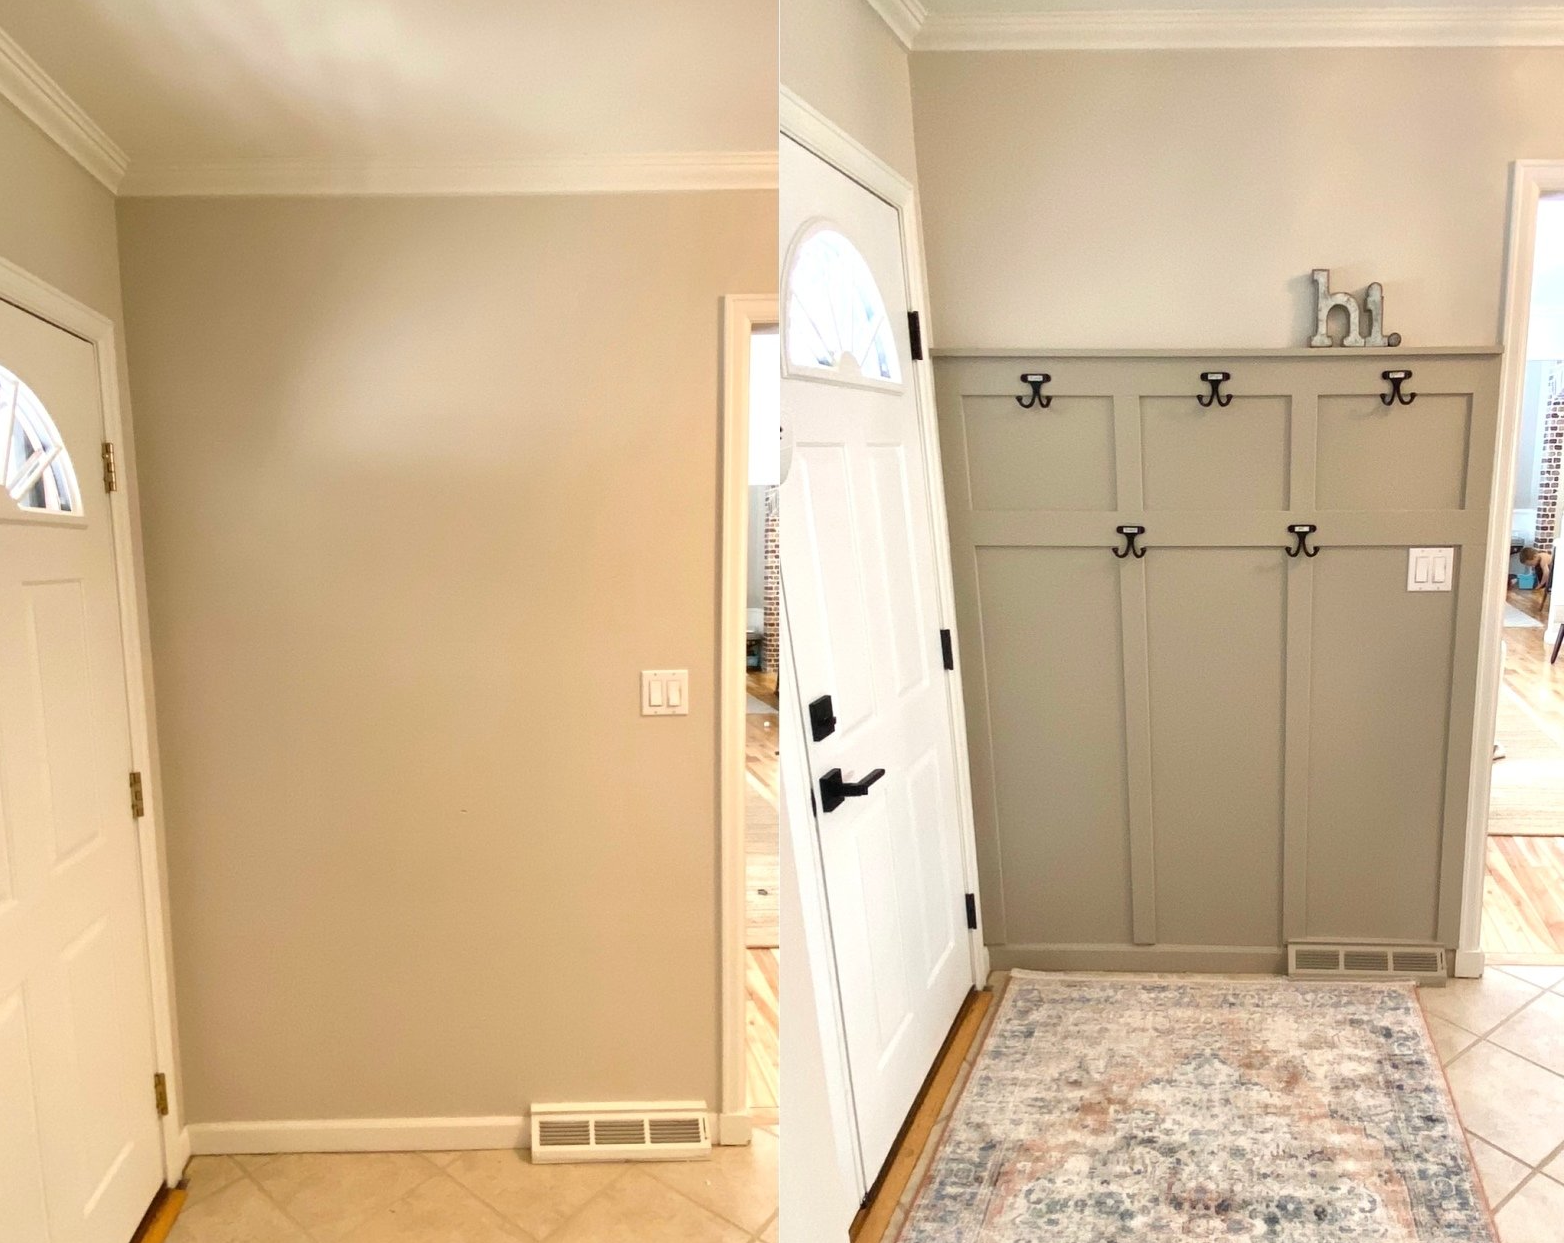
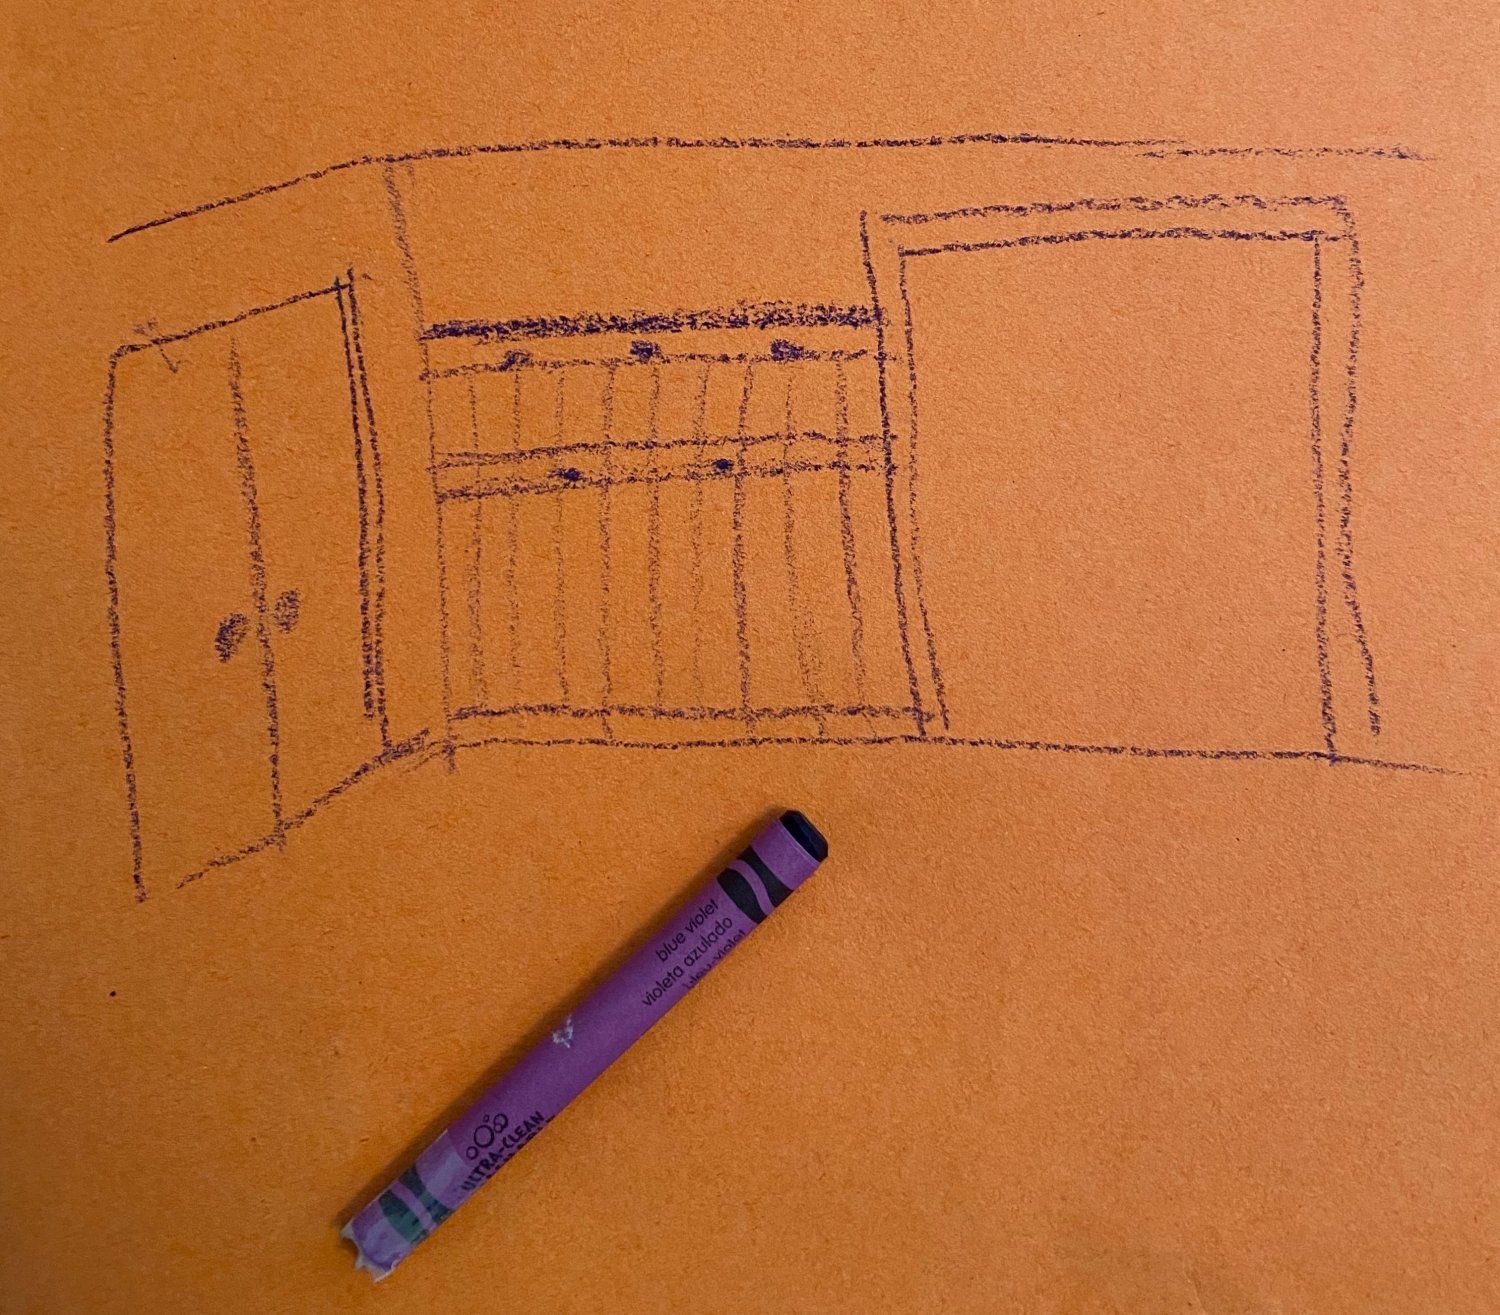
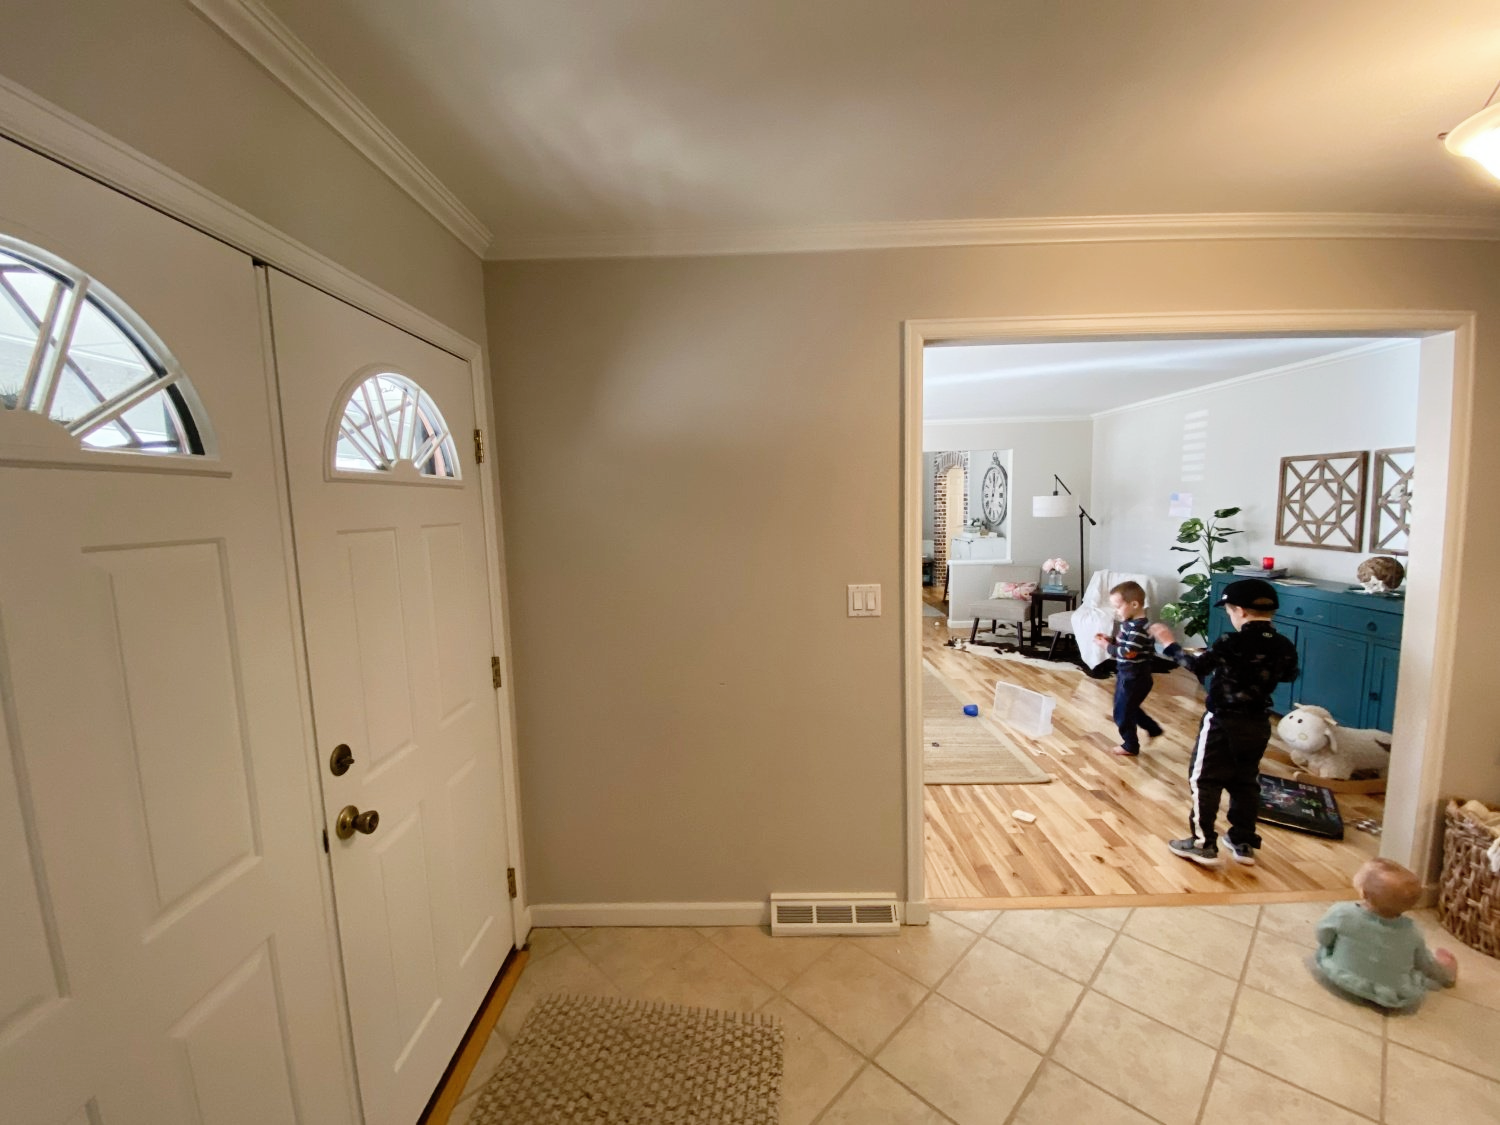
I'm so excited to share about an easy update we did in our entryway. Several weeks back Cory said he was in the mood for a project (music to my ears!) 😉 We had talked about doing this little update for awhile, so it seemed like the perfect Saturday project for us to tackle. I quick drew up a plan with a spare piece of construction paper and crayon (ha!) to show Cory exactly what I was thinking:
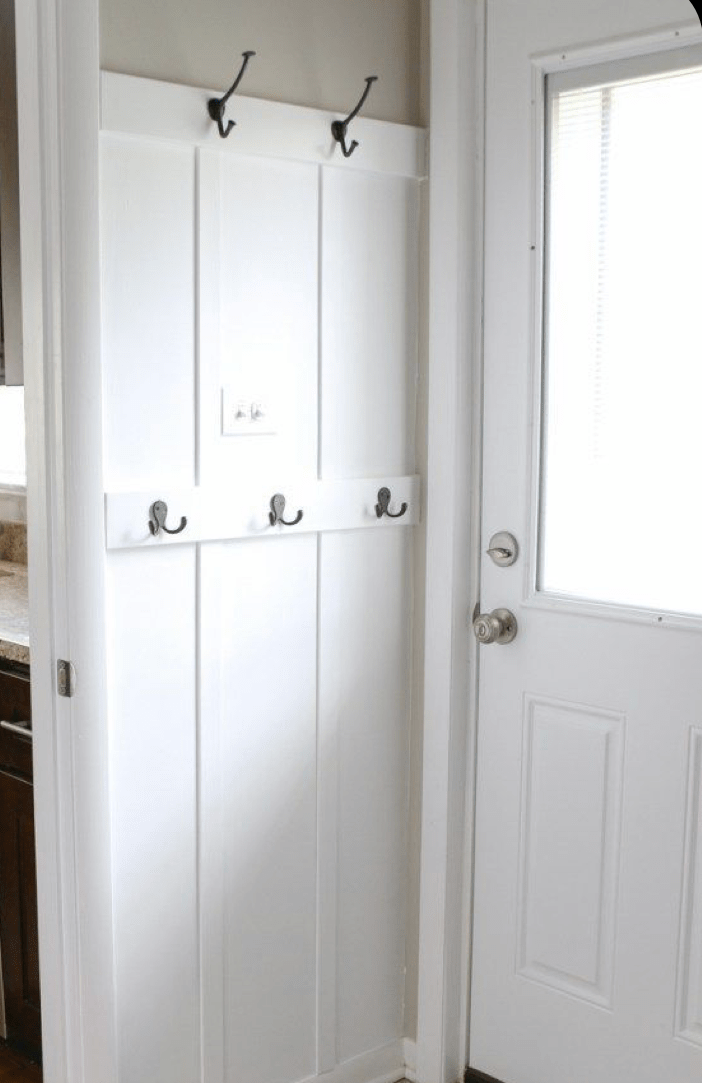
I was originally thinking of using lined paneling (see below Left) but they were all out at a few stores Cory checked. So then I went out to get supplies for plan B, which involved using a smooth panel board in the back and then we would add vertical trim ourselves (see bottom Right).
You may have seen this picture I posted of a l little fiasco I encountered at Home Depot…
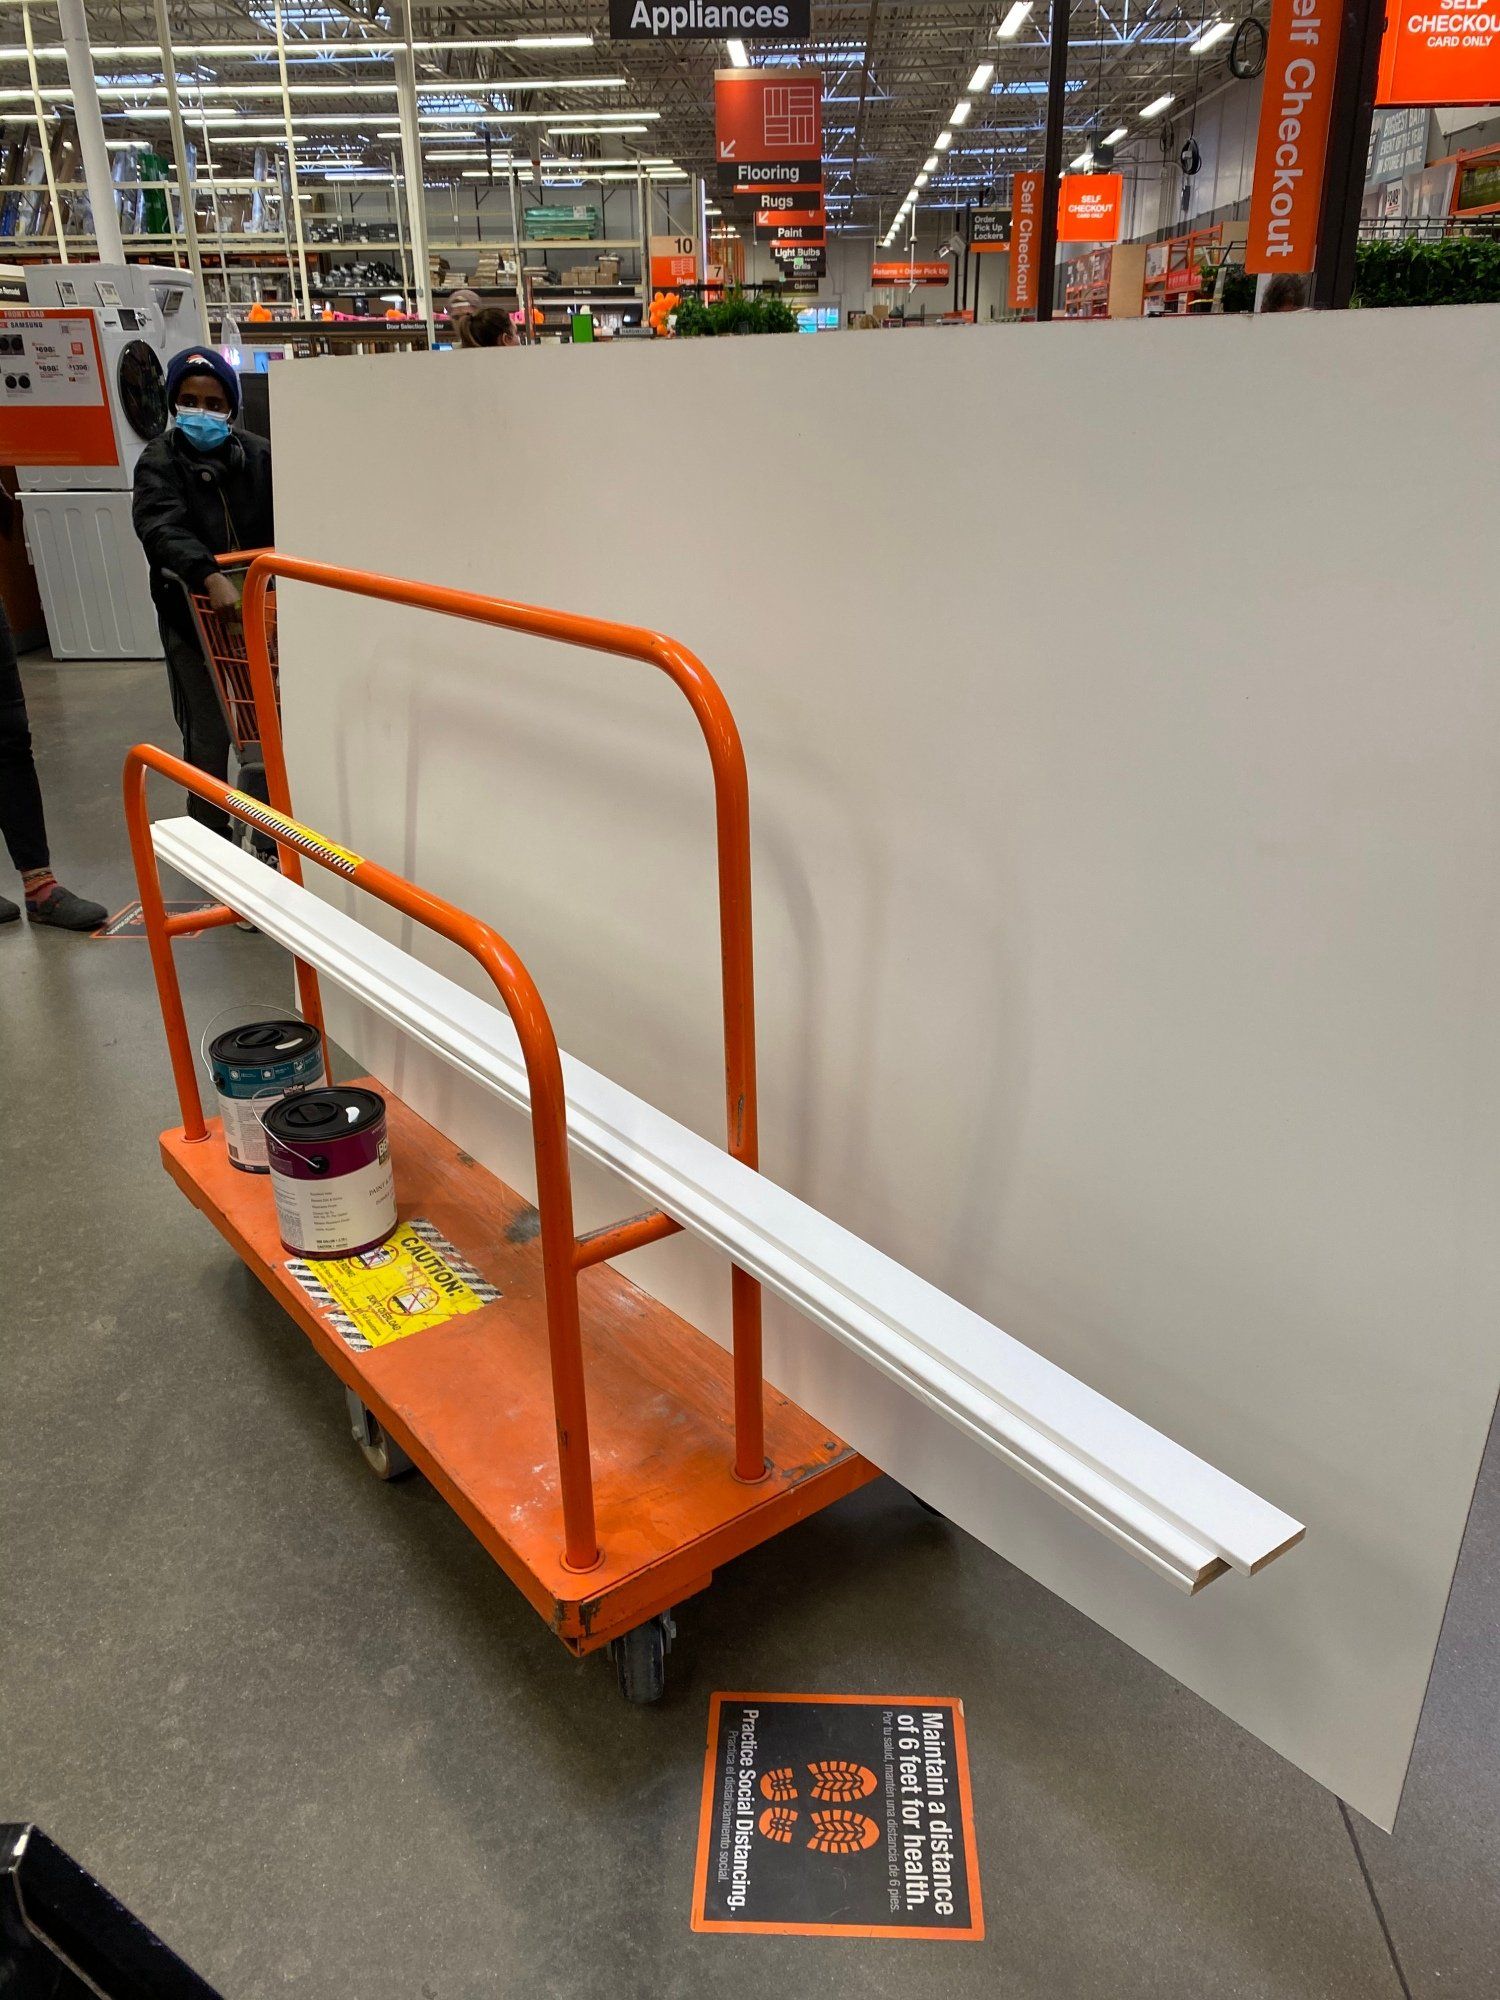
I happily found the panel board, trim pieces, and paint we needed for this project and checked out. I LOVE Home Depot shopping! Anyway, I pulled this big ole cart to my mini van and then it happened…**lightbulb** how was I going to get this big-bad-panel home??!! I opened the trunk and as I struggled to lift it over the back seat, a kind older man named Byron asked if he could help. I was so relieved and thanked God for kind strangers. This strange man climbed into my mini van and yanked this humungous thing over my seats. It was not an easy task, but we finally got it. When the man climbed out of my incredibly messy, toy and snack-strewn vehicle, he said something like, “Wow, you’ve got a lot of ‘Mom stuff’ in there!” lol. How embarrassing! But I thanked him profusely and learned a very big lesson that day. 🙂
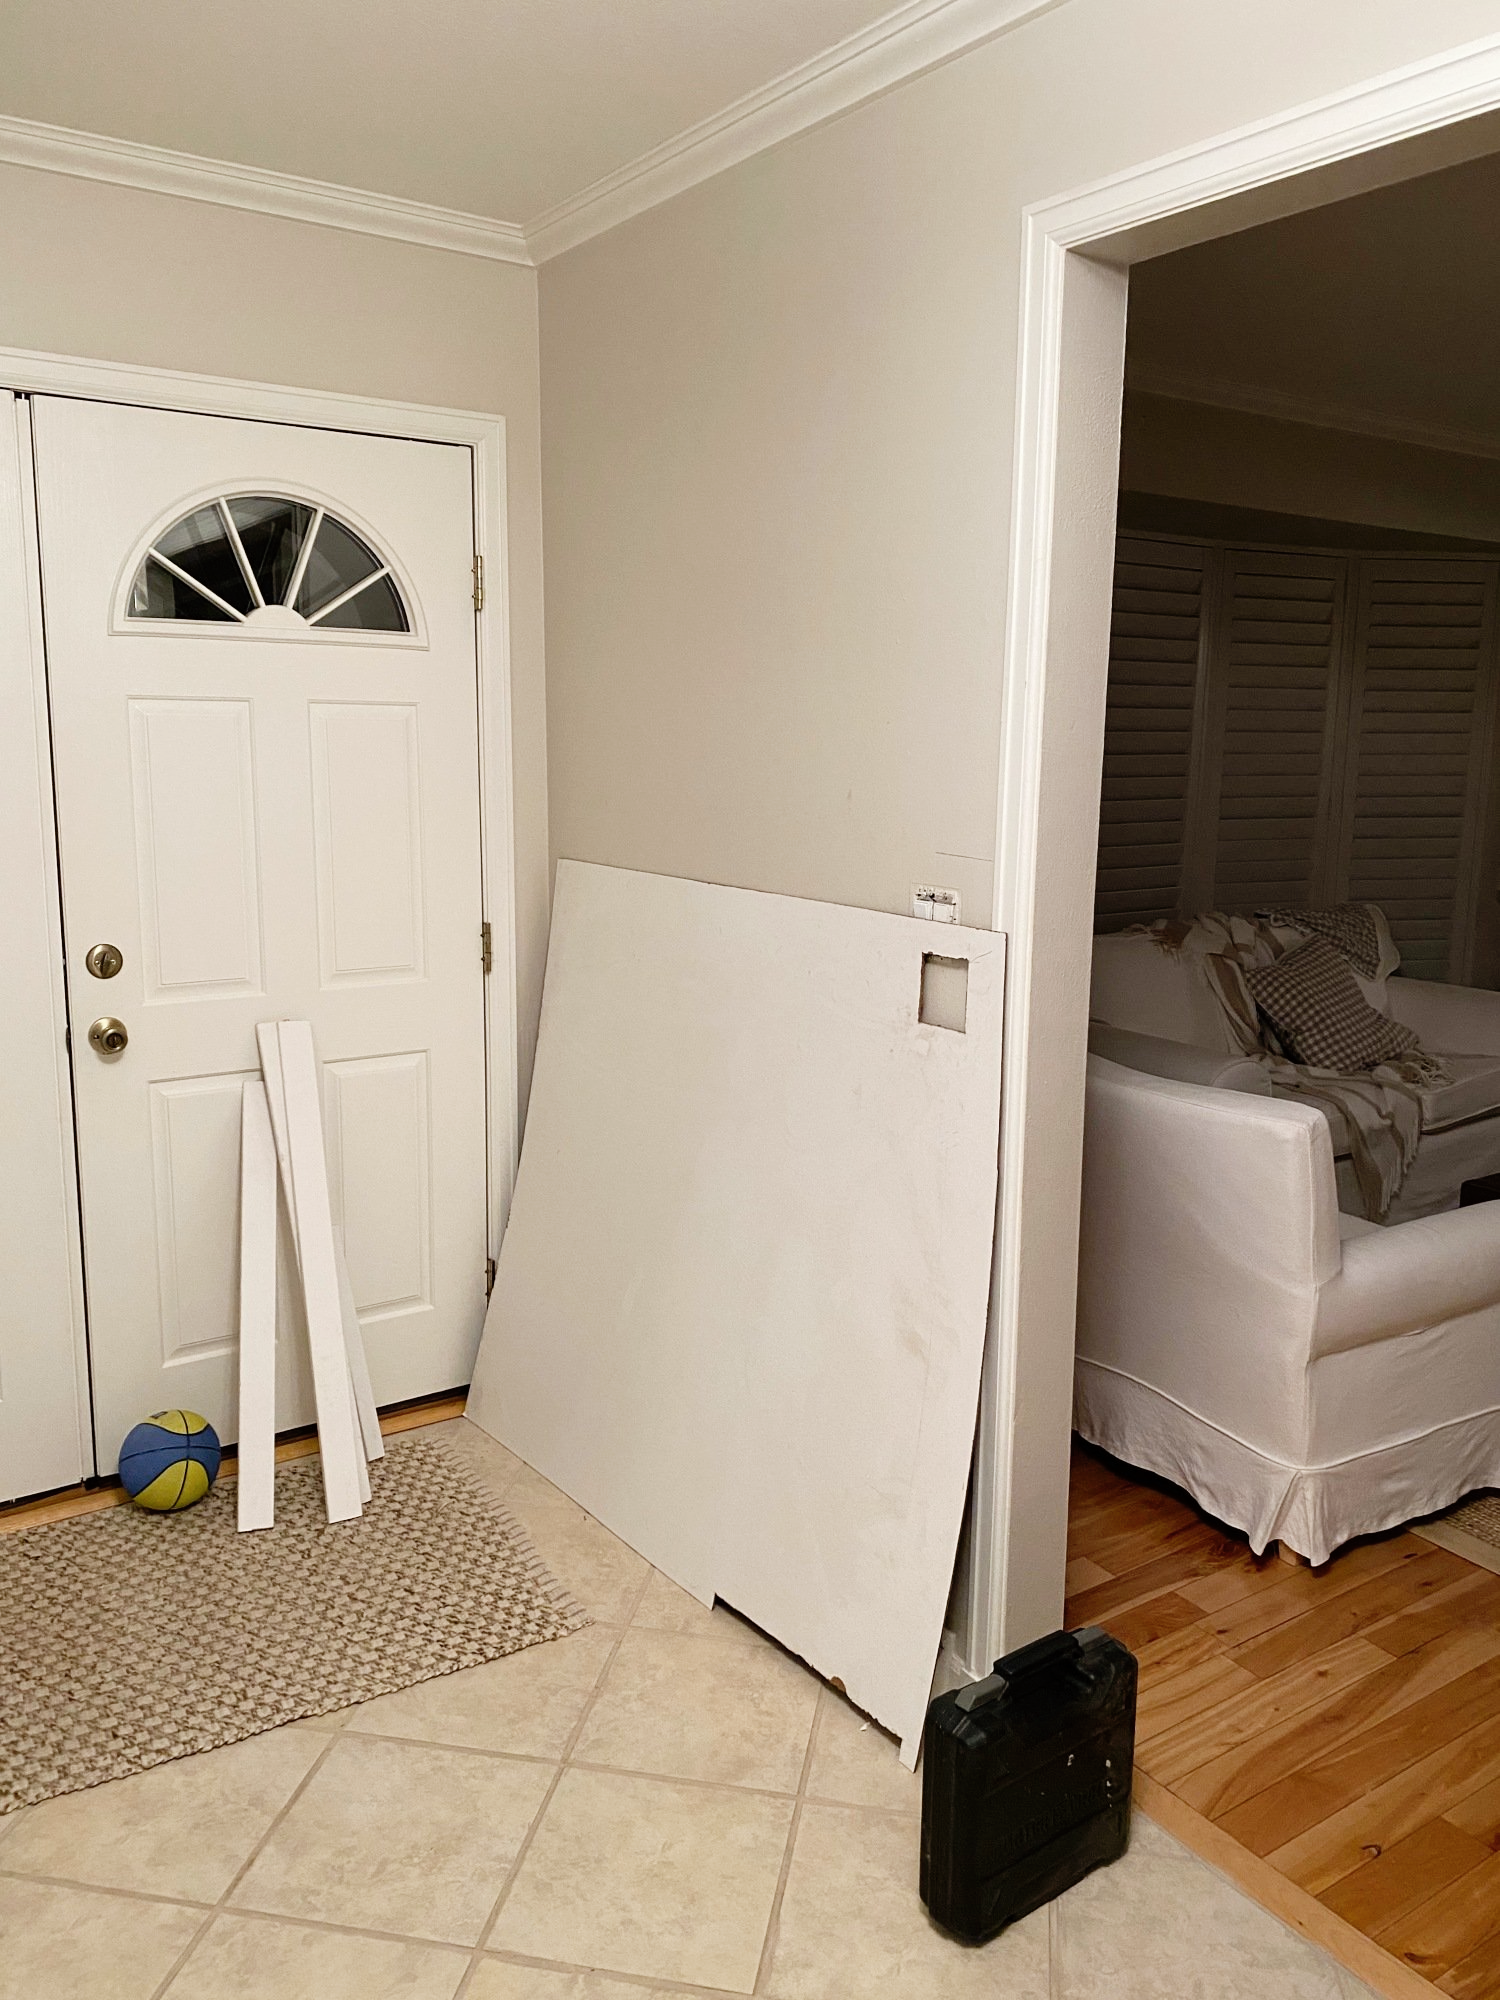
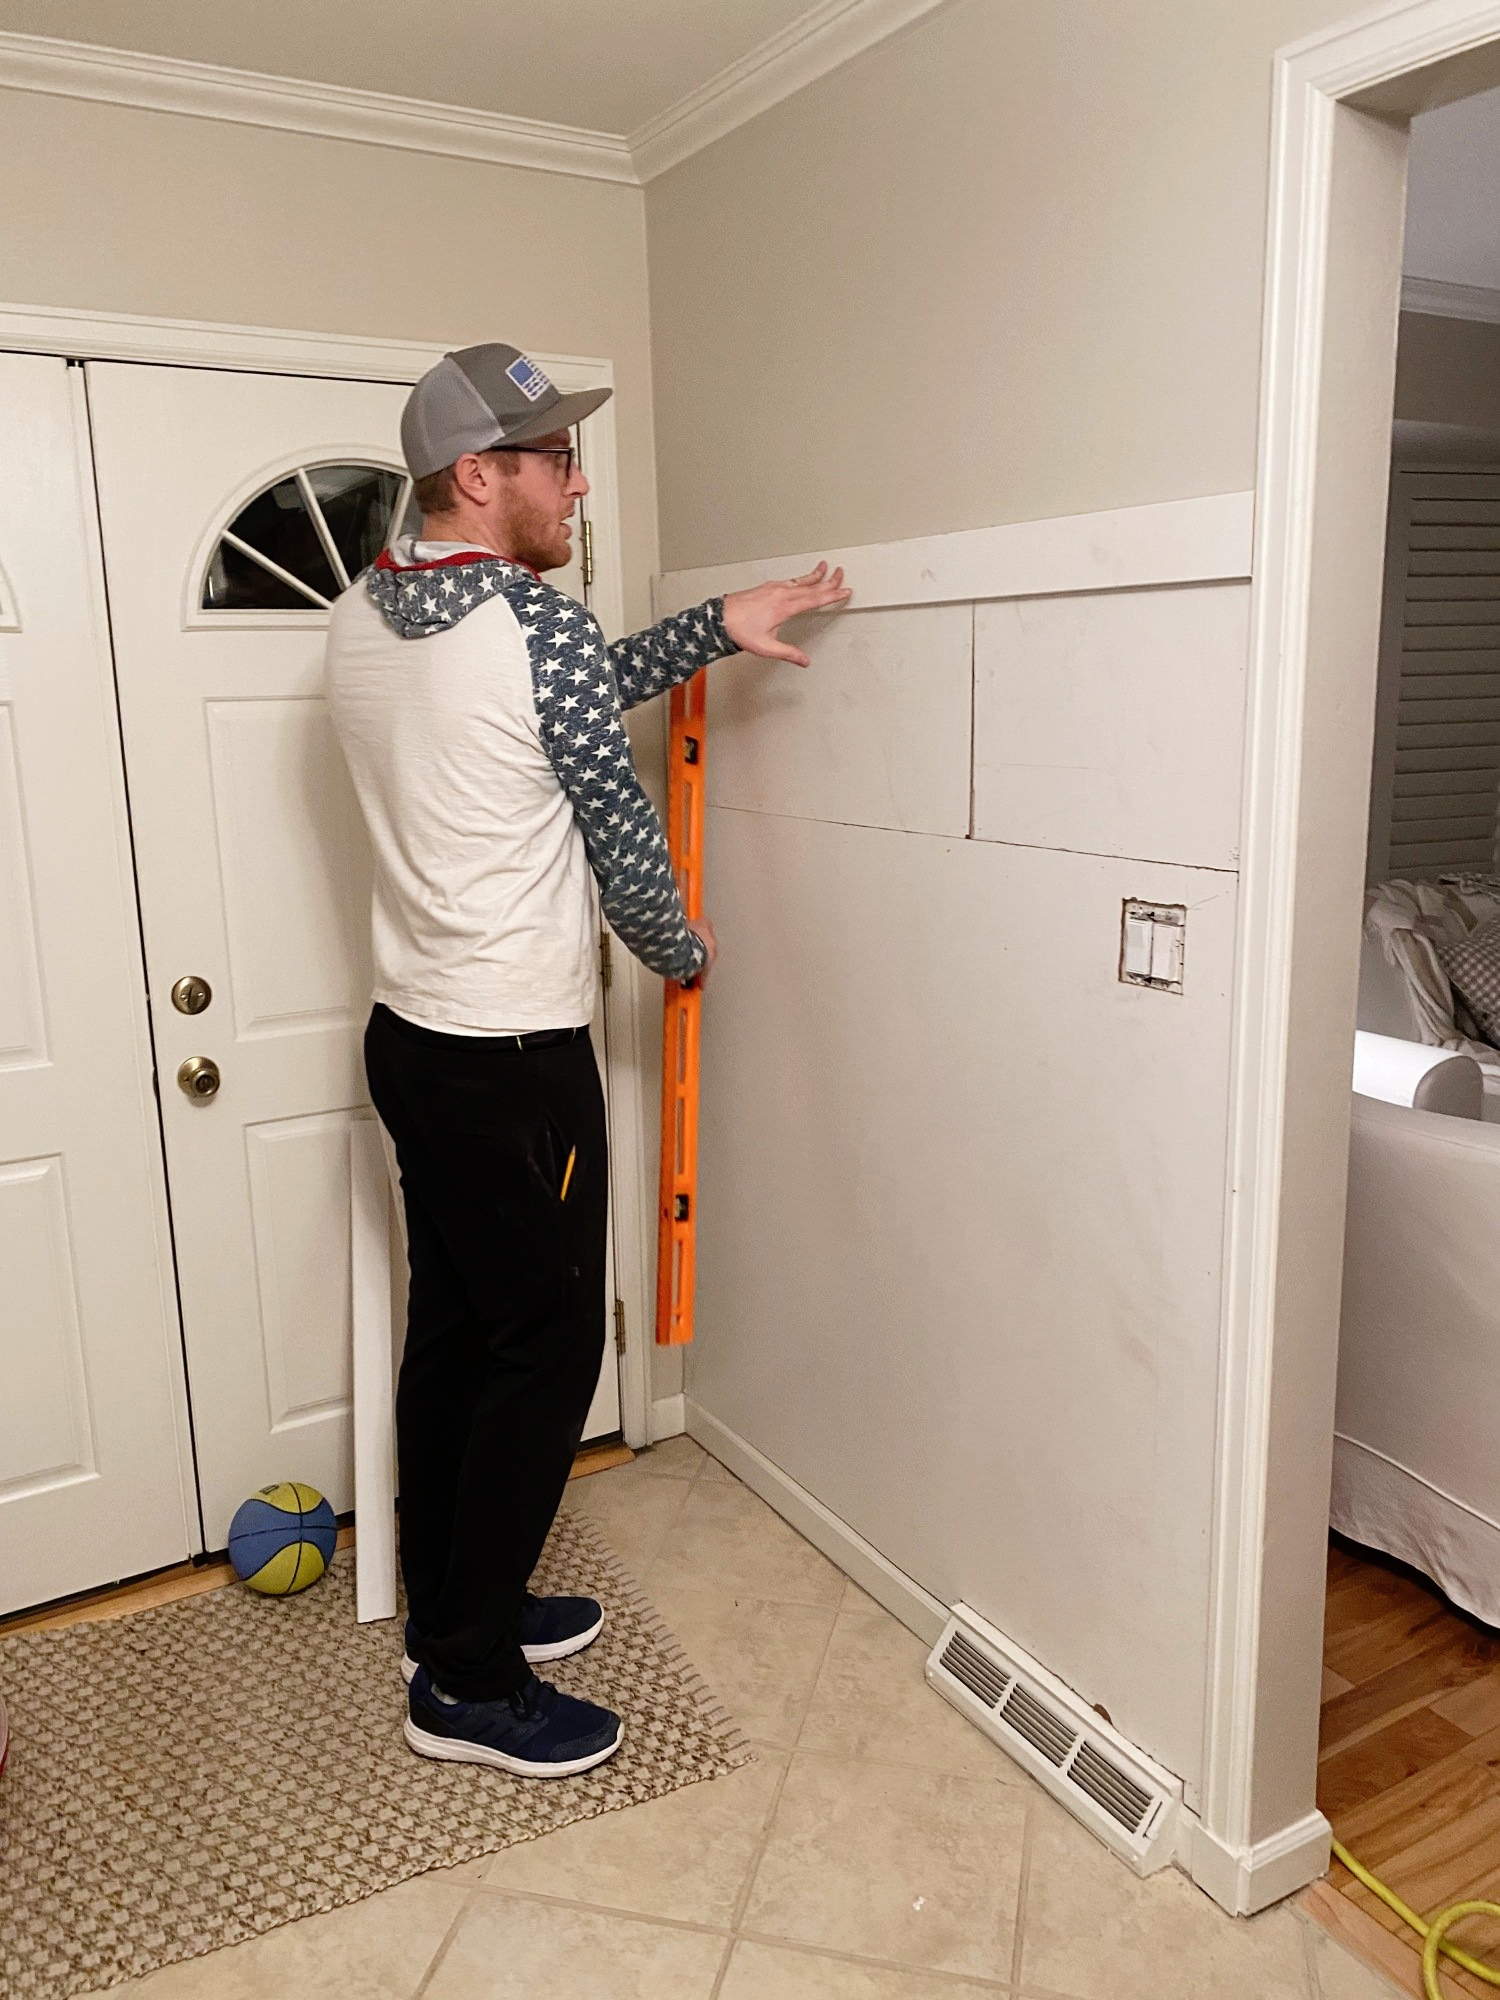
Okay back to the project! First step – cut the panel board to size, and Cory used his sawzall tool to cut the outlet hole.
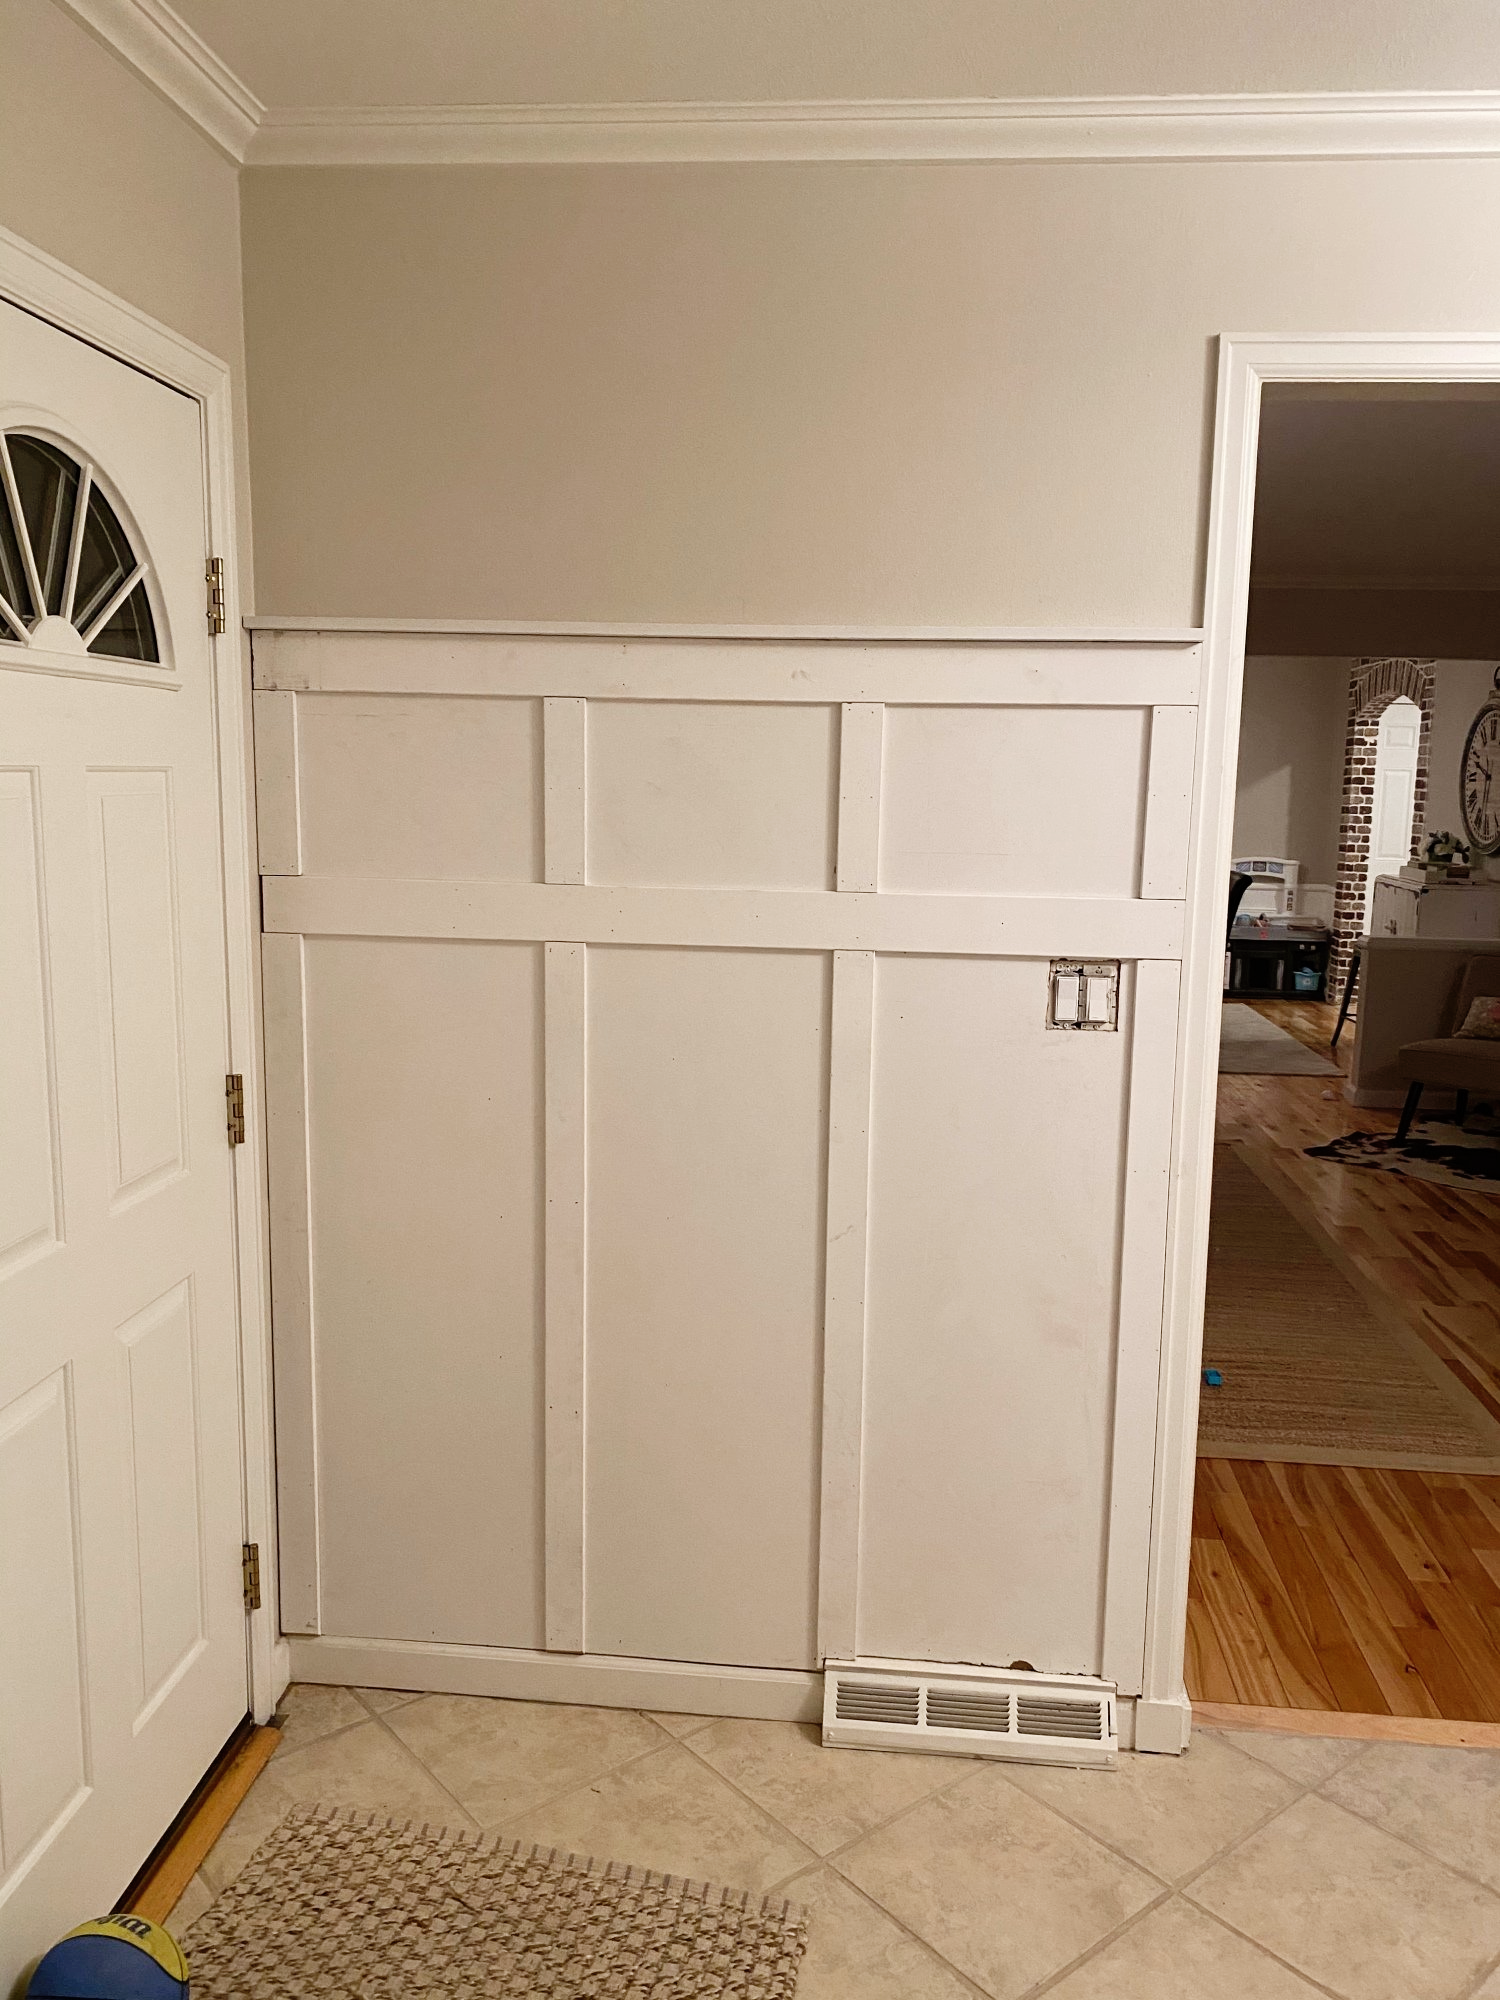
Then, cut the trim pieces to size and nail in place (we use a nail gun).
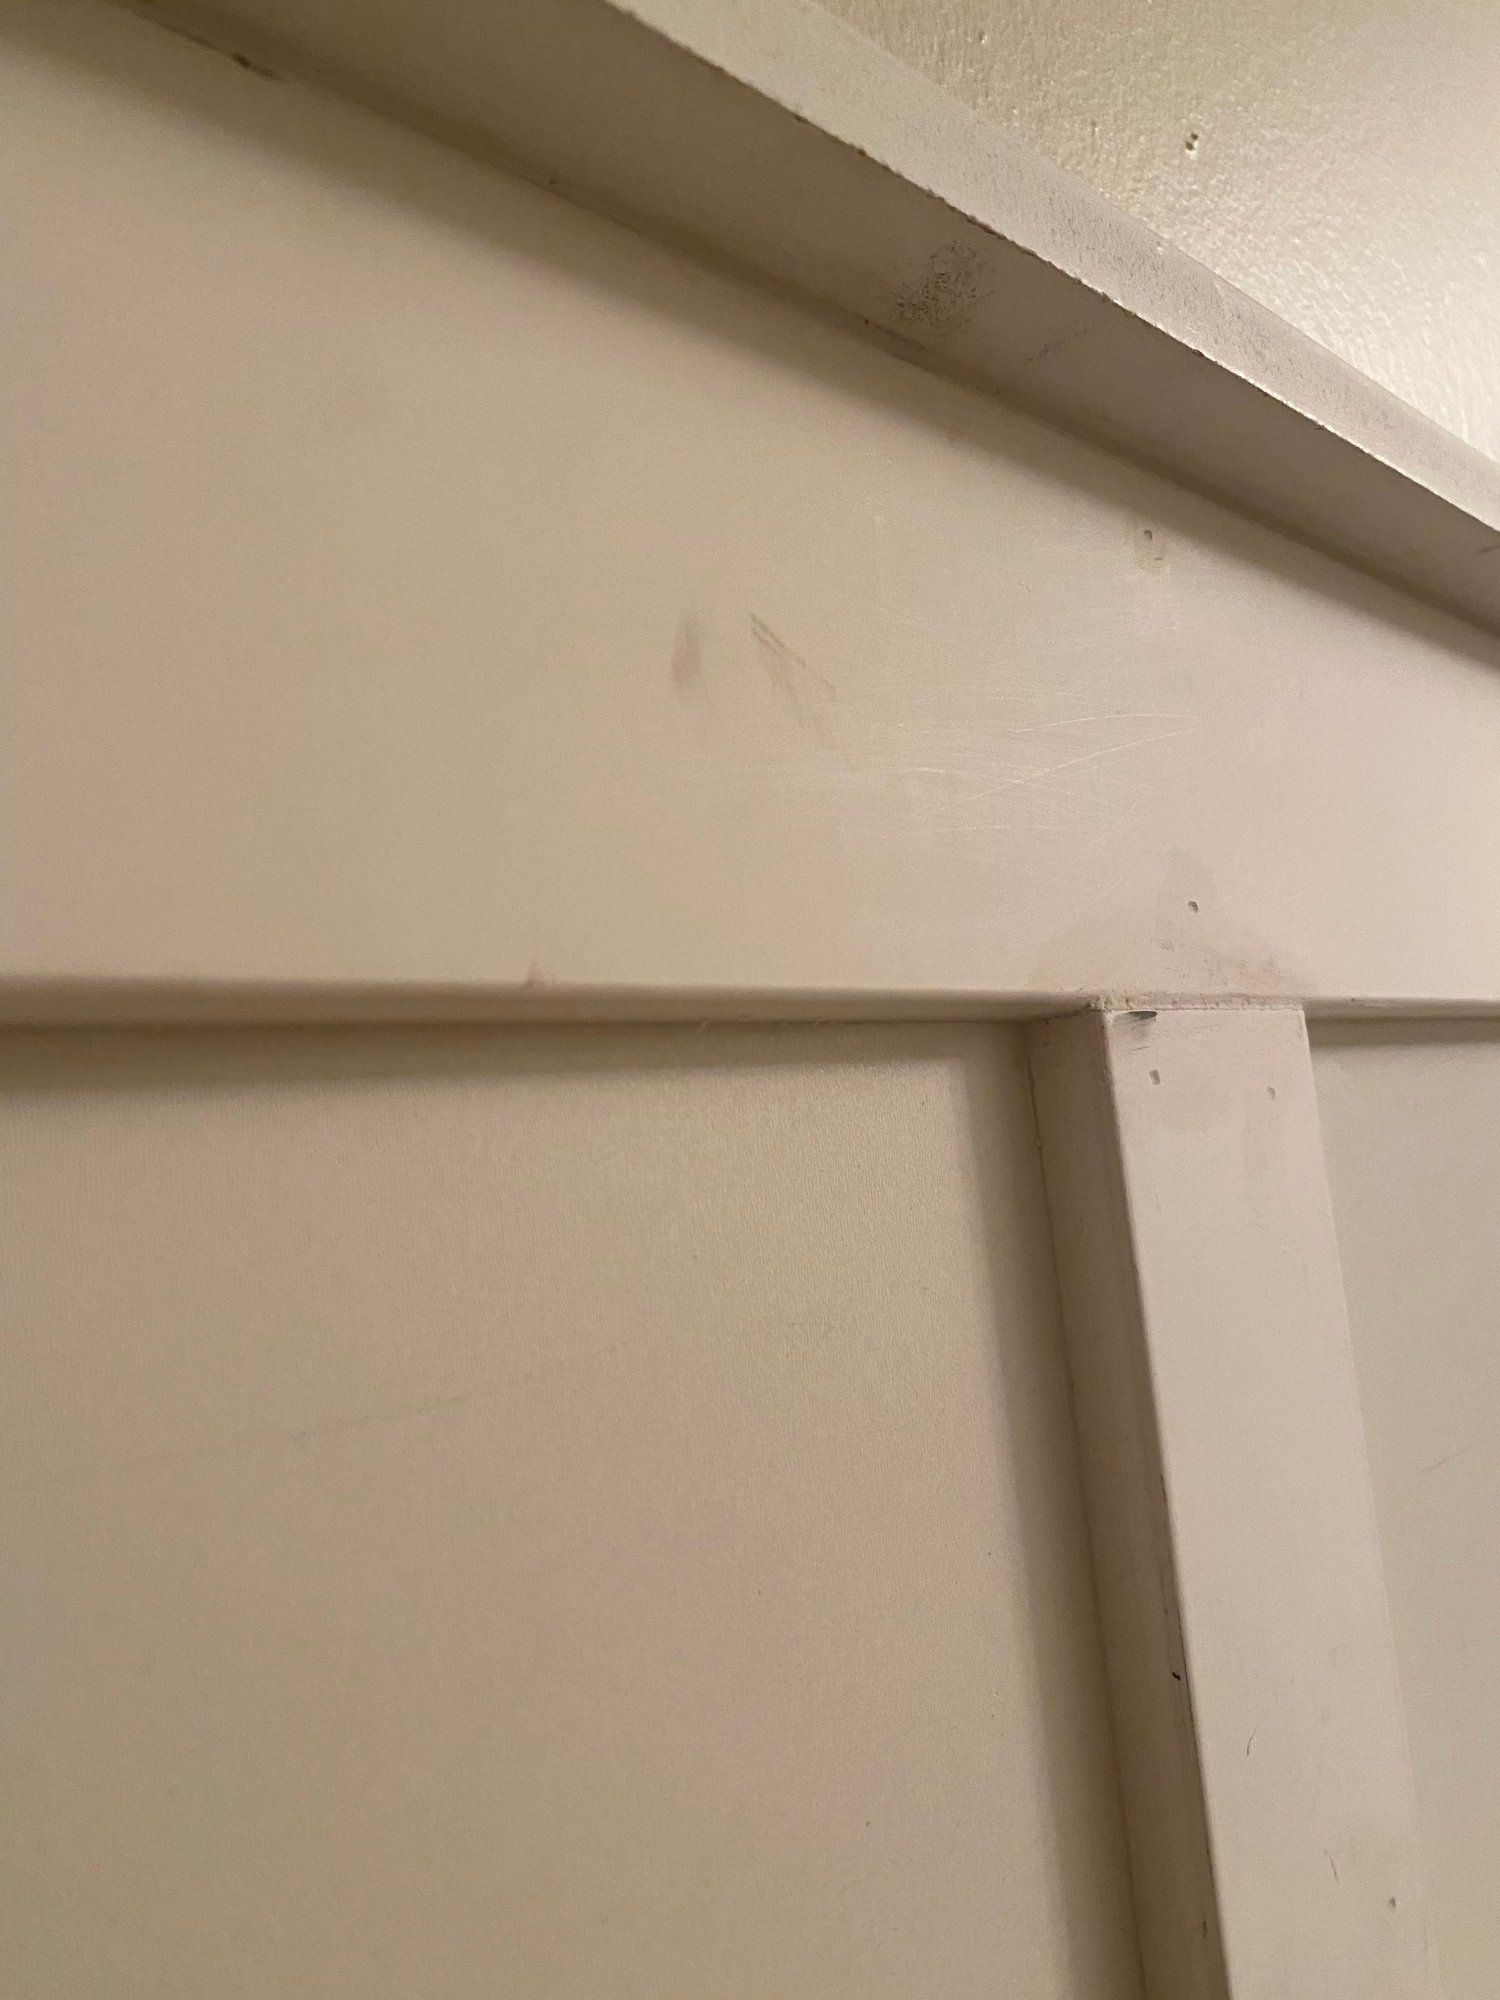
Voilá! Next up: Caulking and sanding! Sometimes we use wood filler for the nail holes, but this time we used caulk – either works!
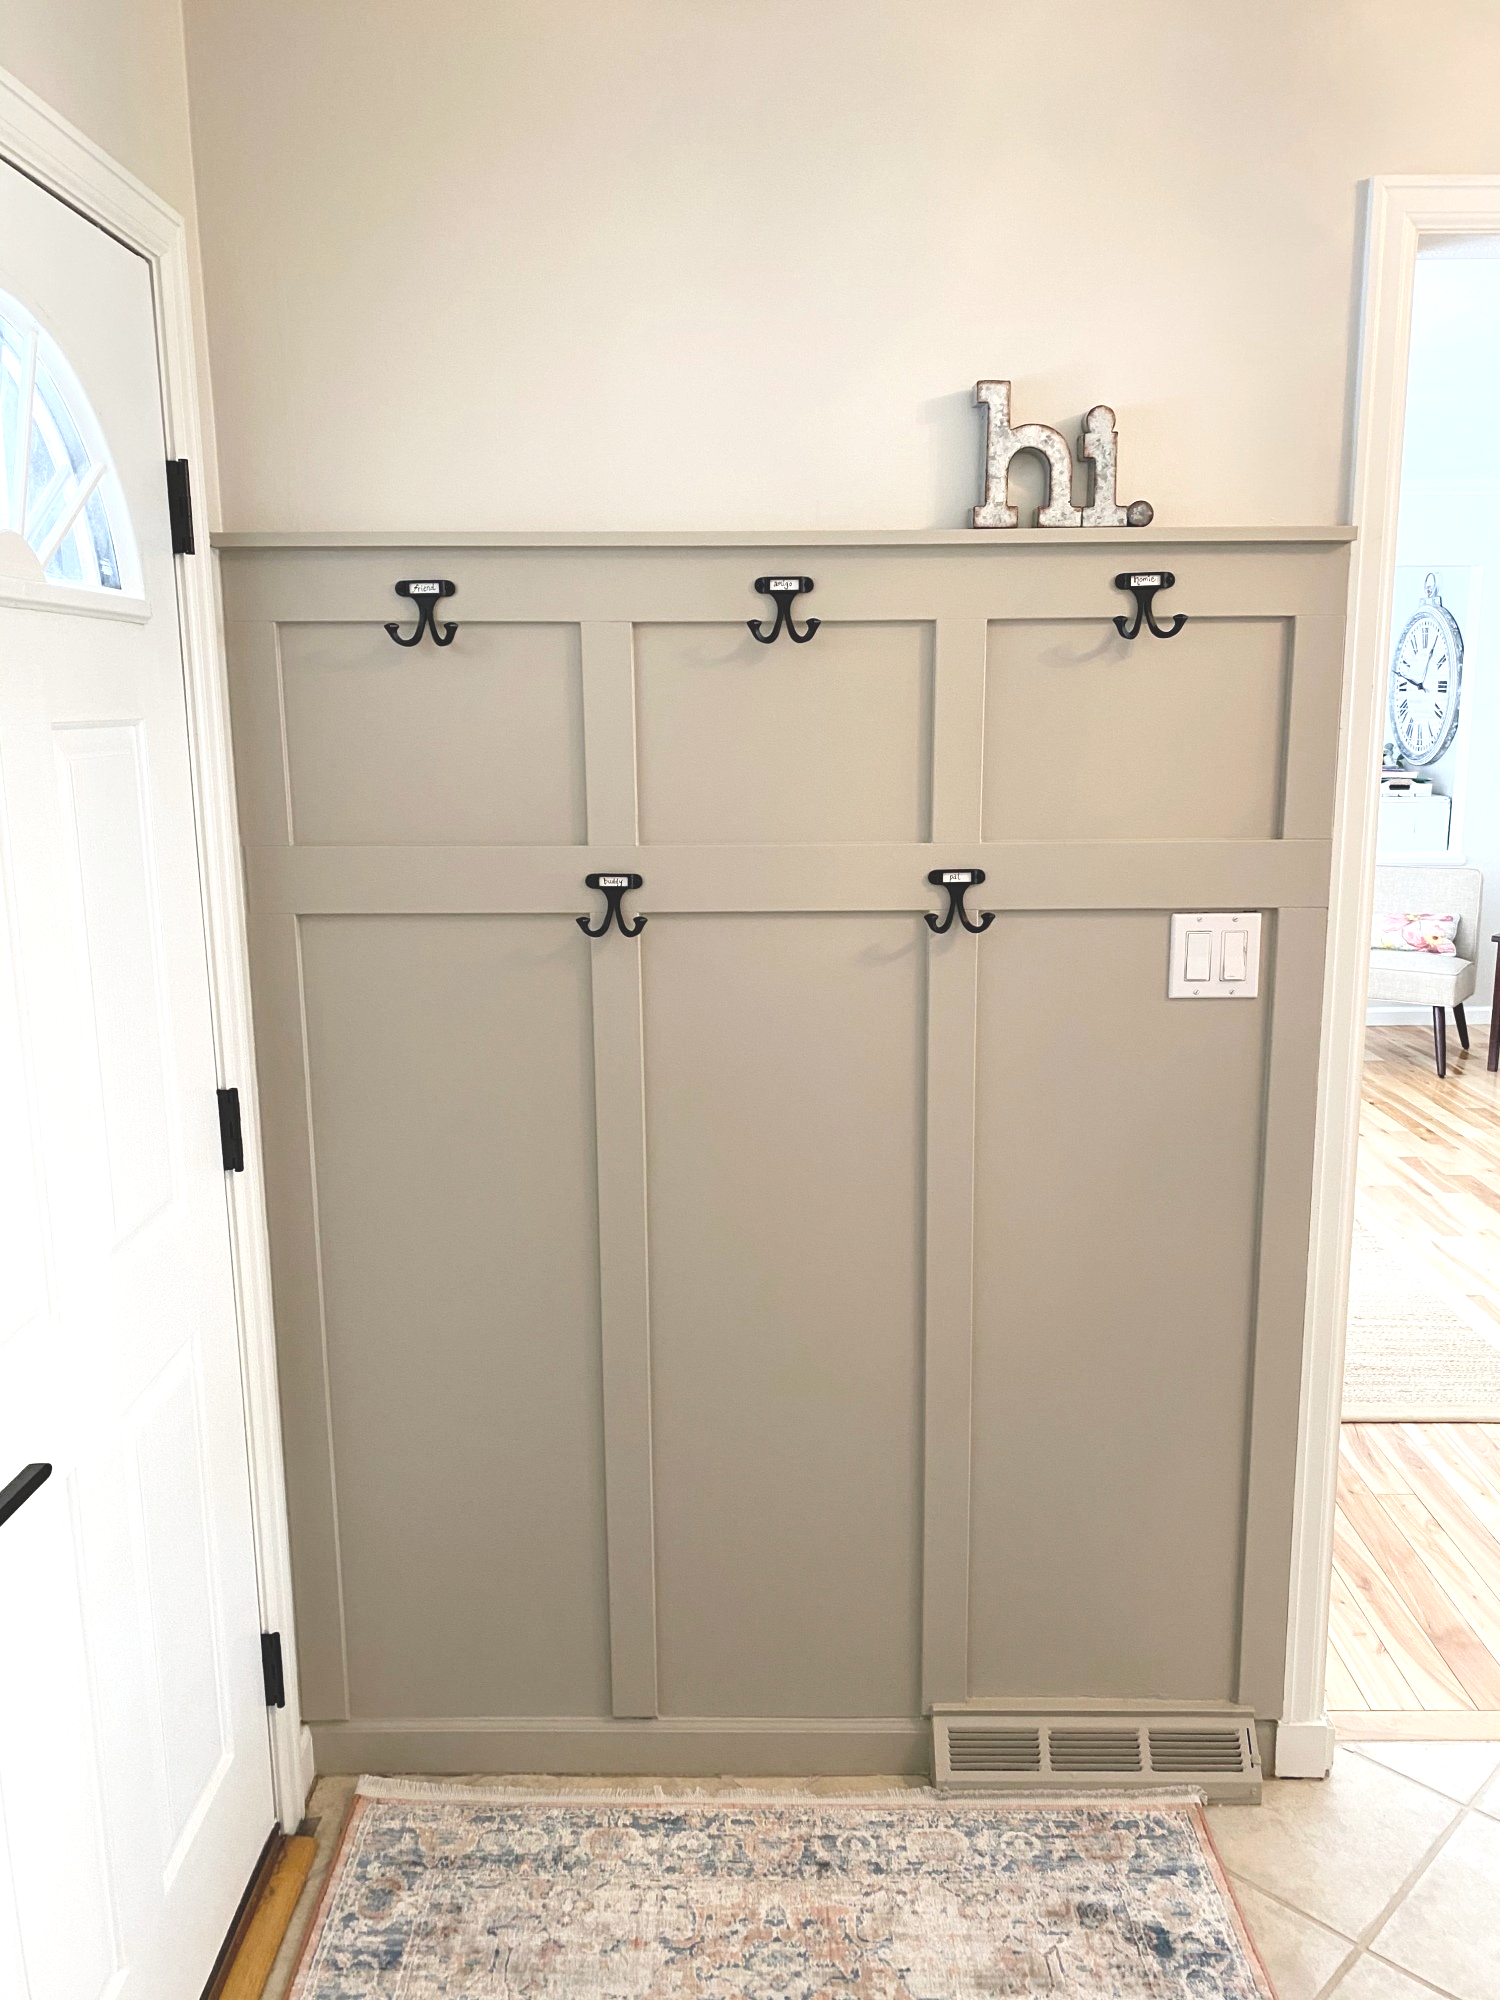
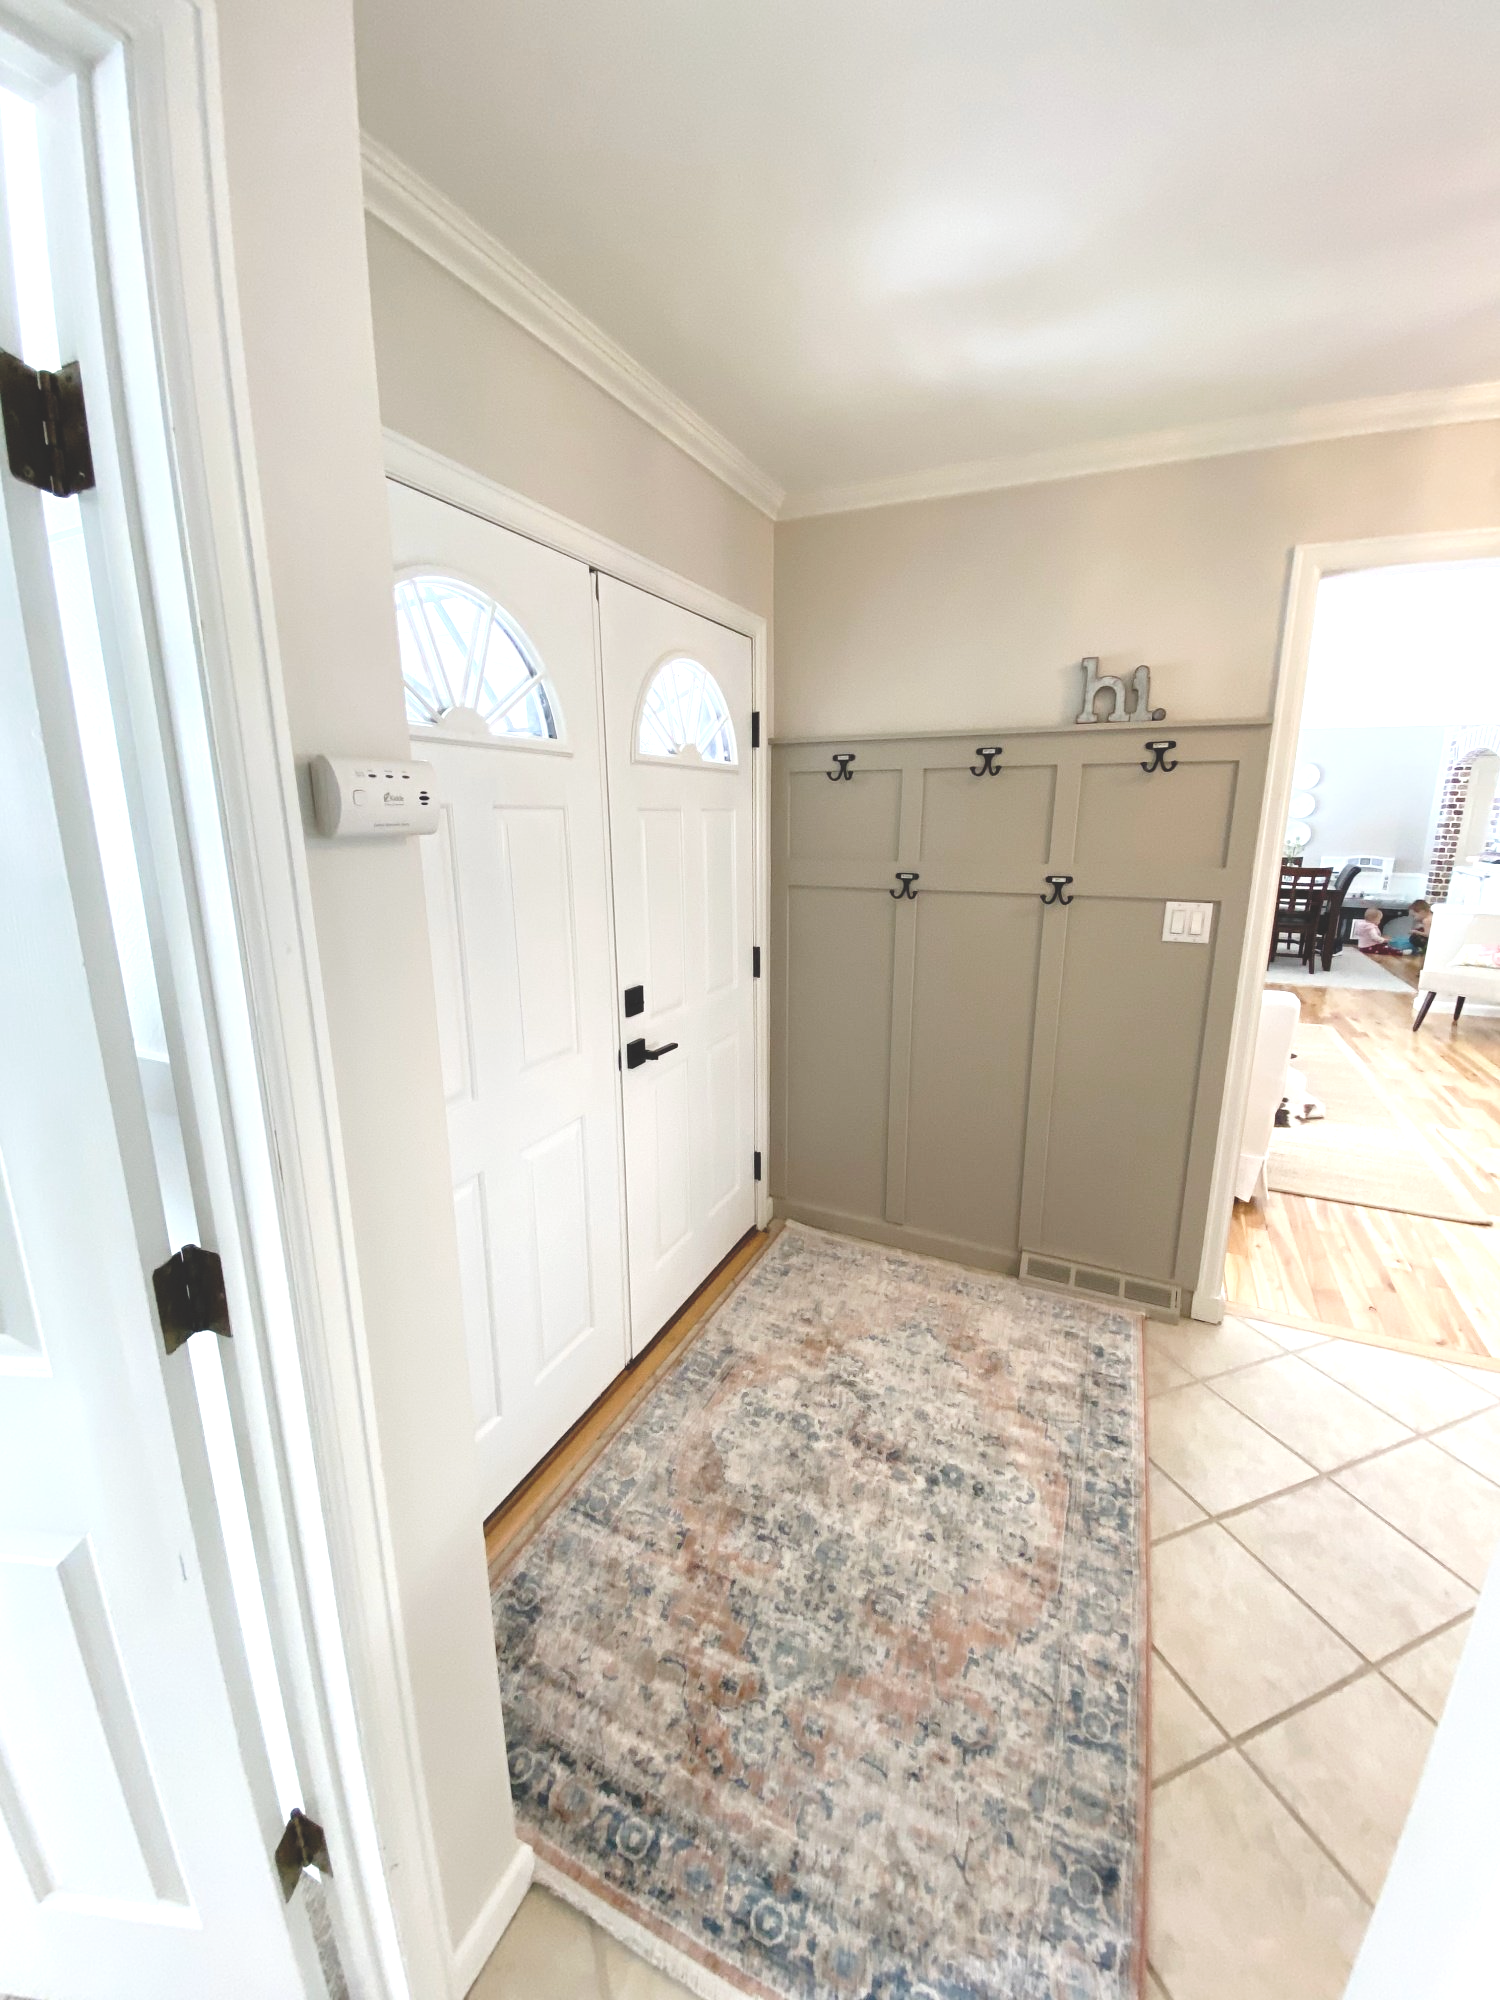
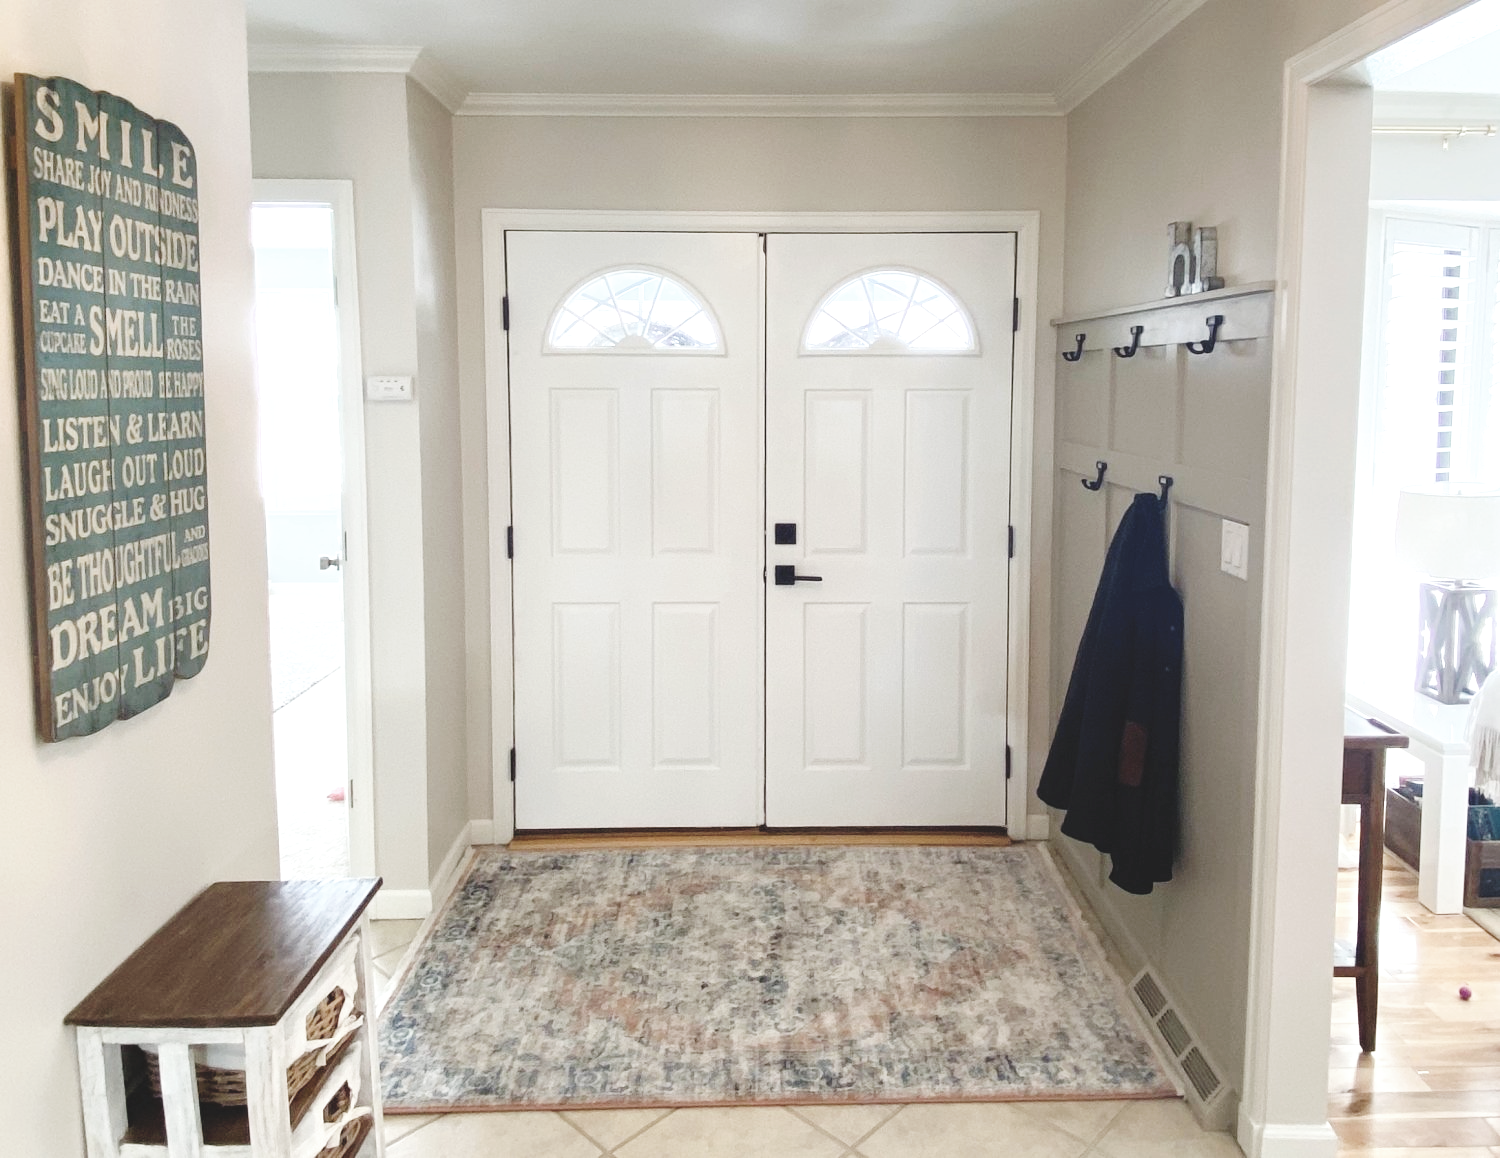
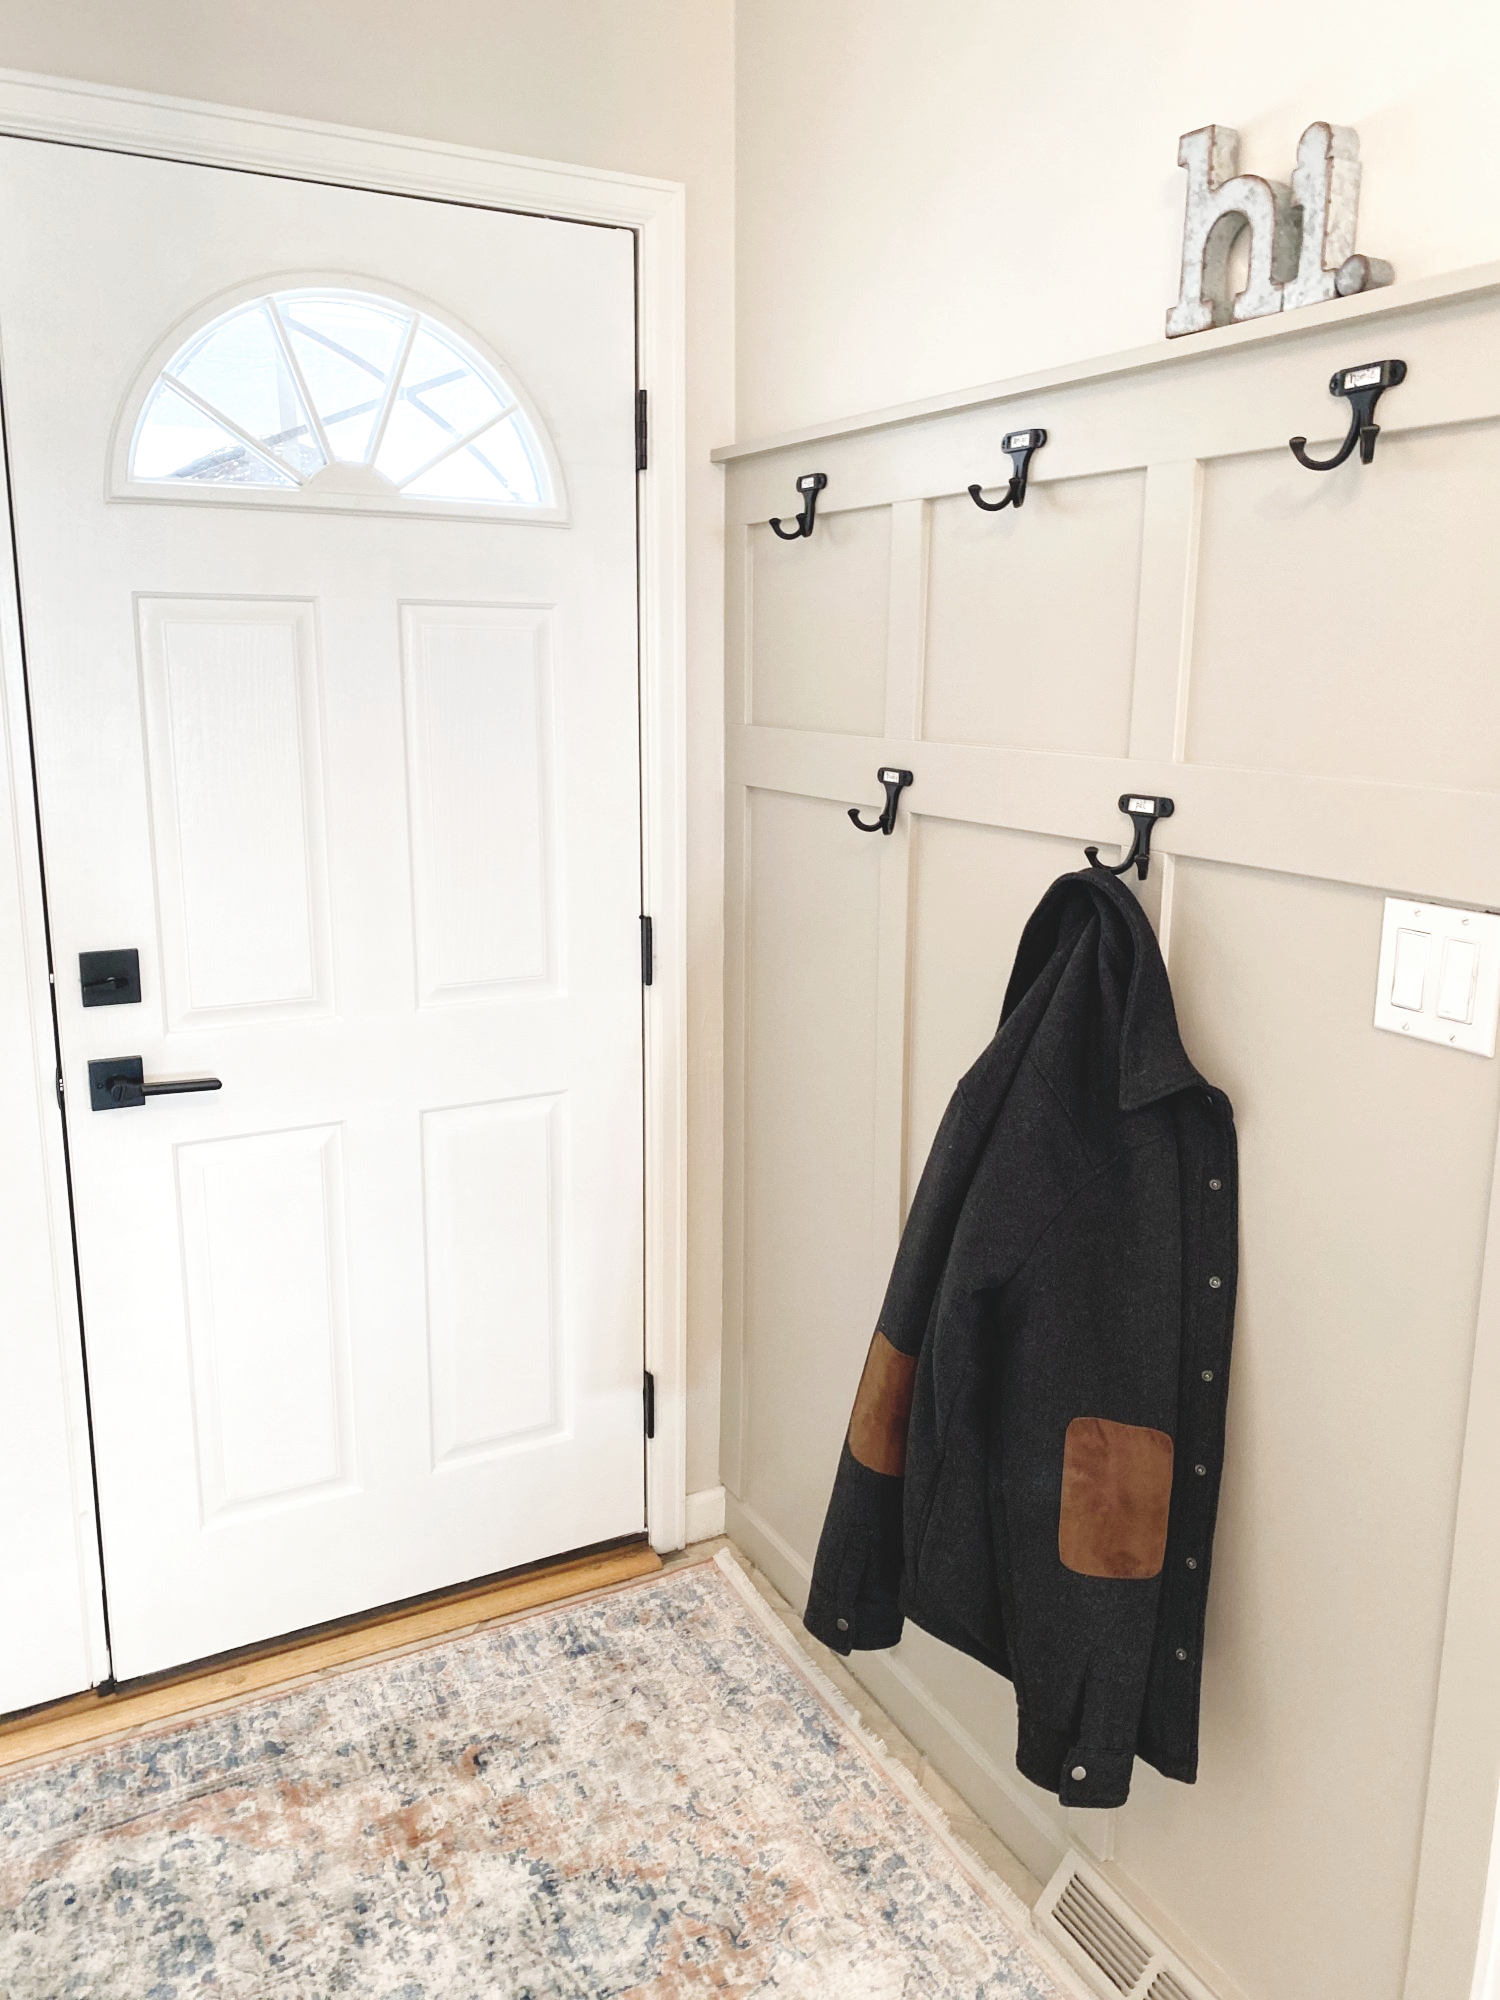
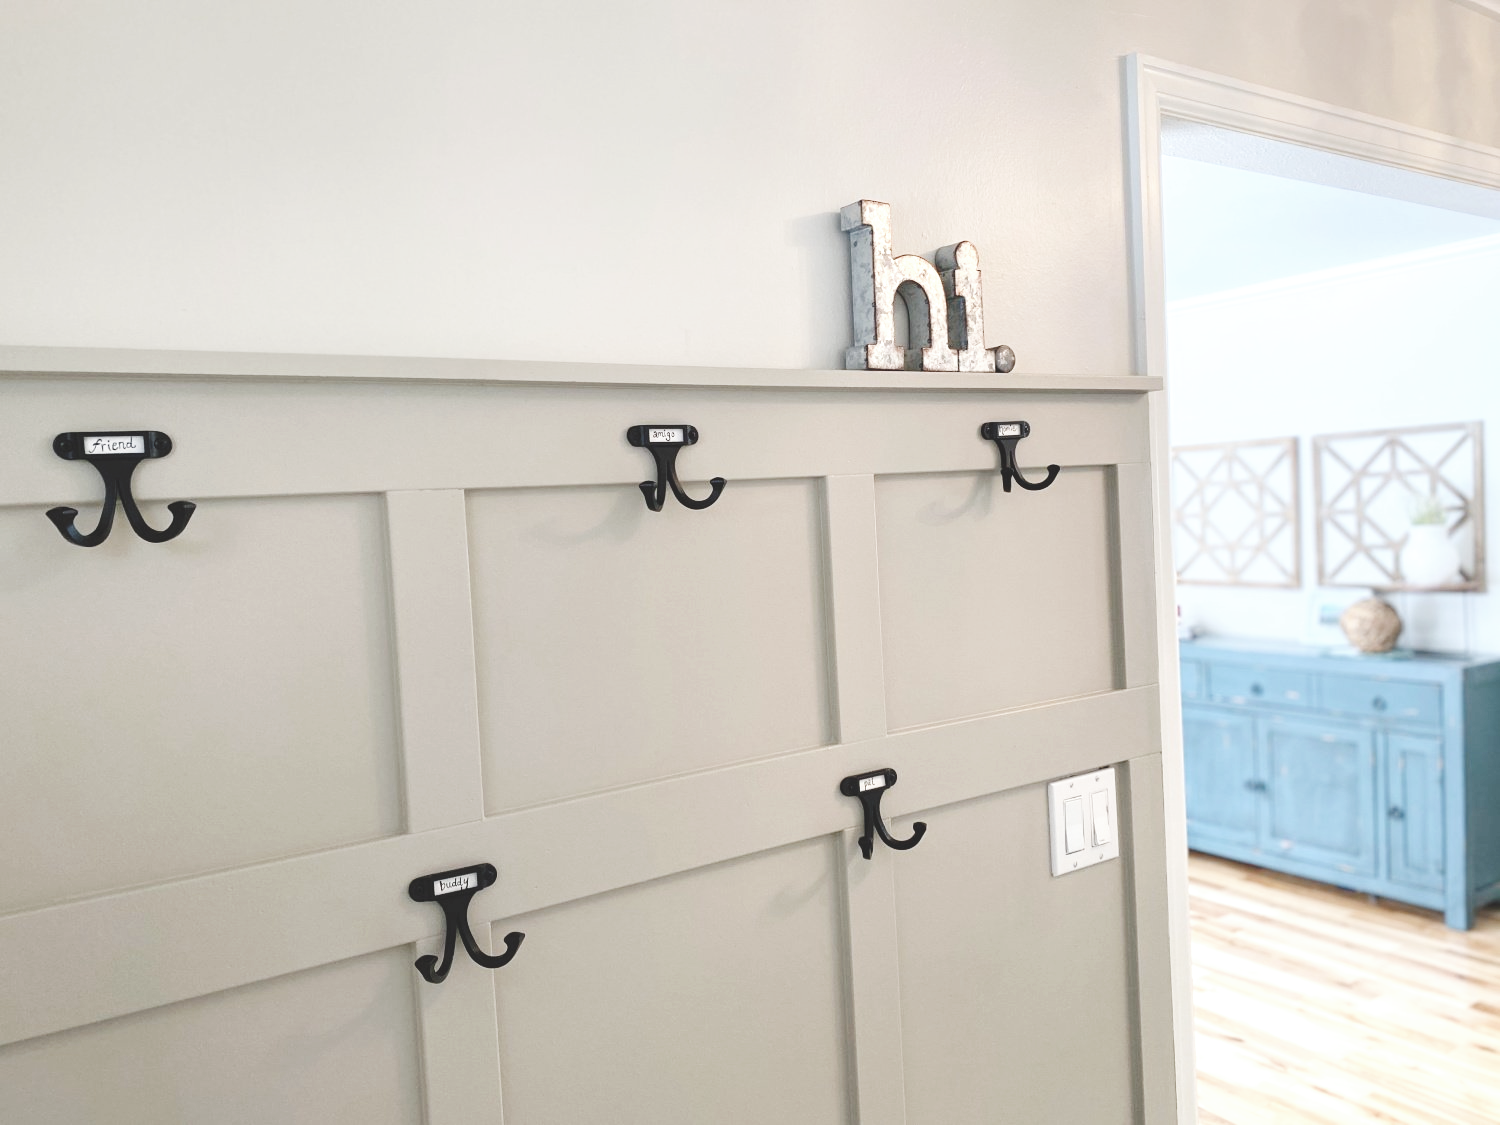
And then I hemmed and hawed over paint color. I was debating about keeping it white or going with a little bit darker color. I chose the color “Pashmina” by Benjamin Moore, and here it is…
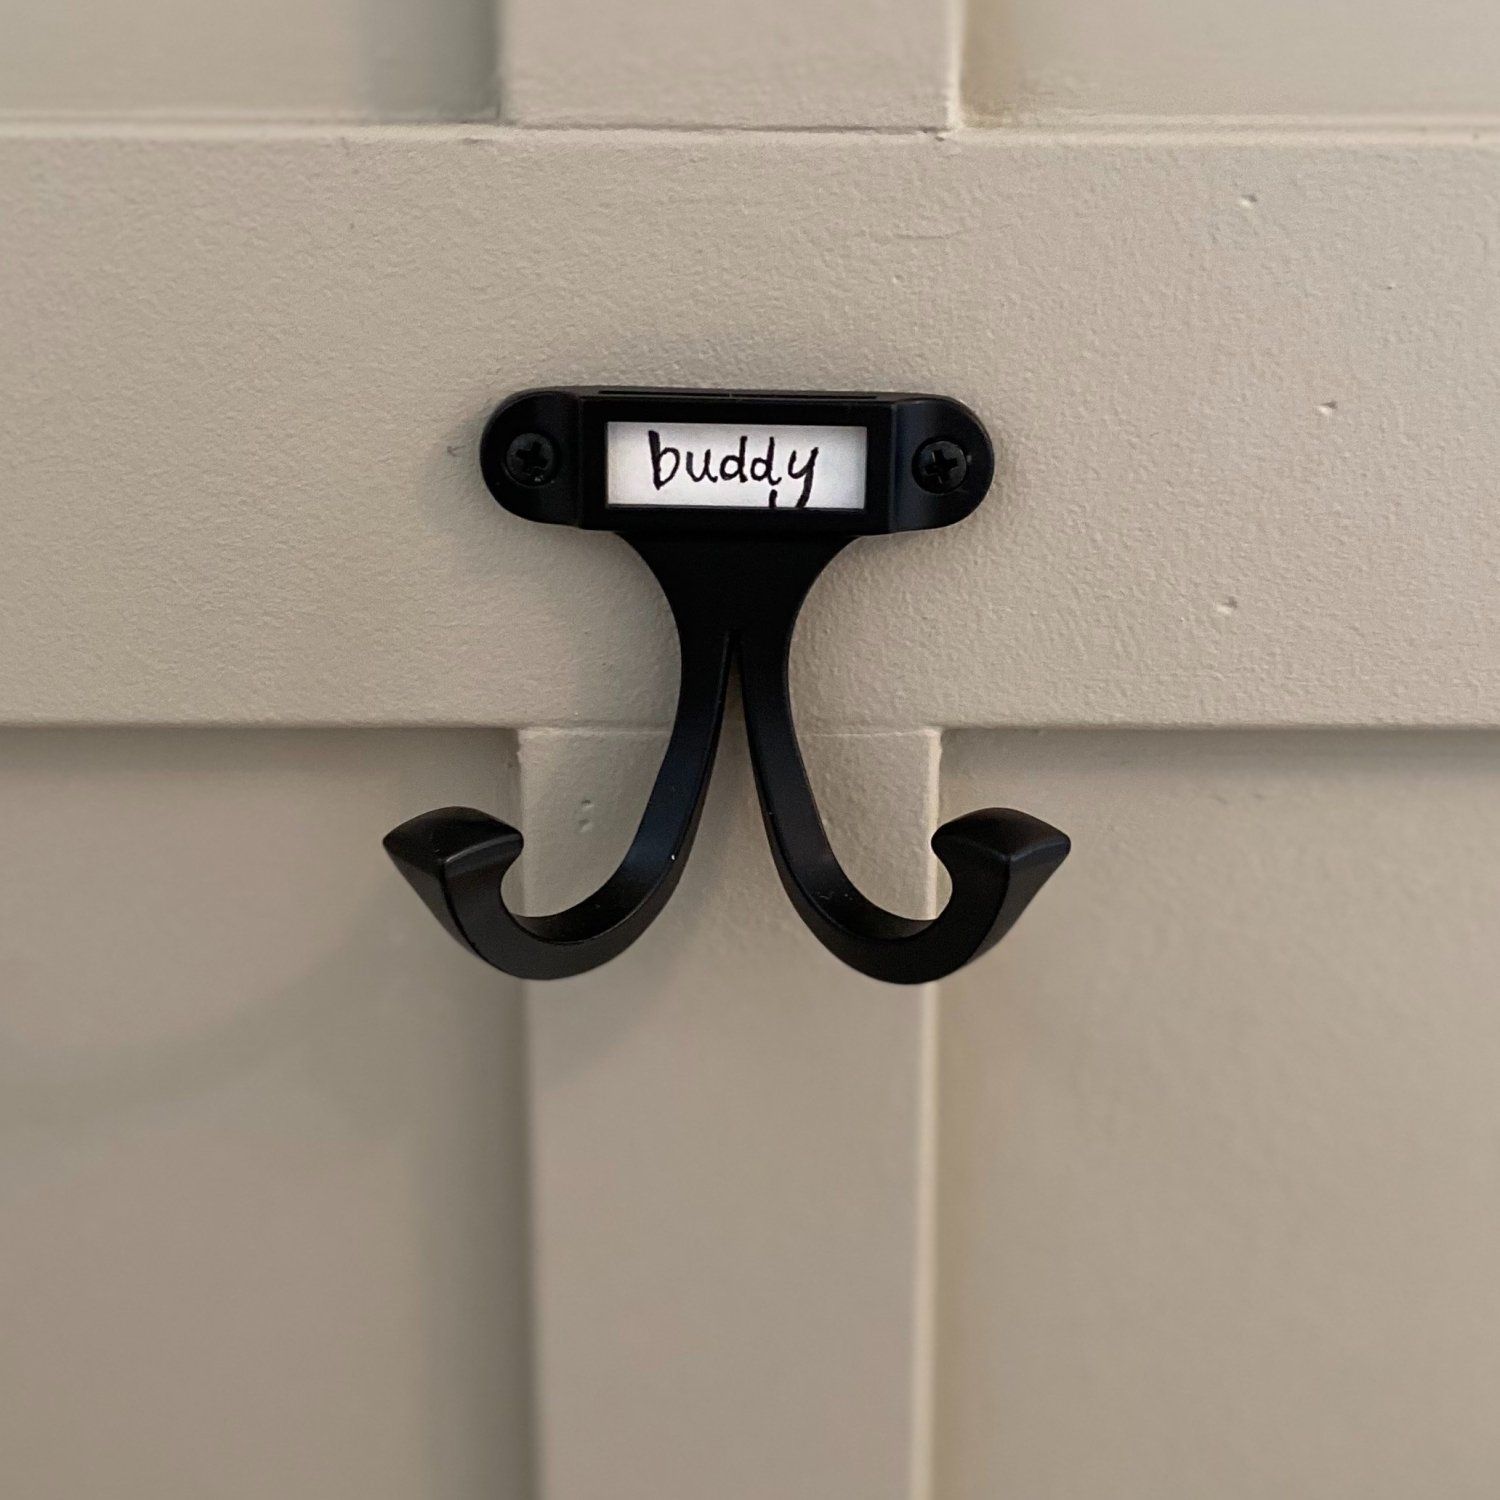
Did we make the right call with the color?? Please say yes. 🙂 And we added really fun coat hooks, but instead of using OUR names, we wanted to use synonyms for FRIENDS, since that’s who the hooks are for! 🙂
If you think of other/better “friend” synonyms, let me know. 😉
I’m so happy to have a place for friends and family to hang their coats and hats, etc. Woo! Project COMPLETE.
The good news is that this project only took Cory a few hours on a Saturday afternoon to complete, and then a little more for us to paint and hang hooks, but it was totally doable as a small weekend project! (But then we re-painted the front doors, got new hinges and hardware AND a new entryway light, but YA KNOW.) 😉
I hope this inspires someone else to create a space in your house that is functional AND beautiful. 🙂
Huge hugs! Xo!
~ Kara

Questions/Comments?...if so, please email me
here.
Disclaimer: Happy Place Happy Face is a participant in the Amazon Services LLC Associates Program, an affiliate advertising program designed to provide a means for sites to earn advertising fees by advertising and linking to Amazon.com. A.K.A. I could earn a small commission, at no extra cost to you, if you purchase items through my links.XO!
Thanks for stopping by this happy little corner of the internet.

