Welcome! If you're looking for a place to be inspired, encouraged, and giggle a tiny bit, you're in the right place!
Learn How to Create a Floating Shelf (and Panel Wall) in your House!
This actually has nothing to do with boats. 🤪😂
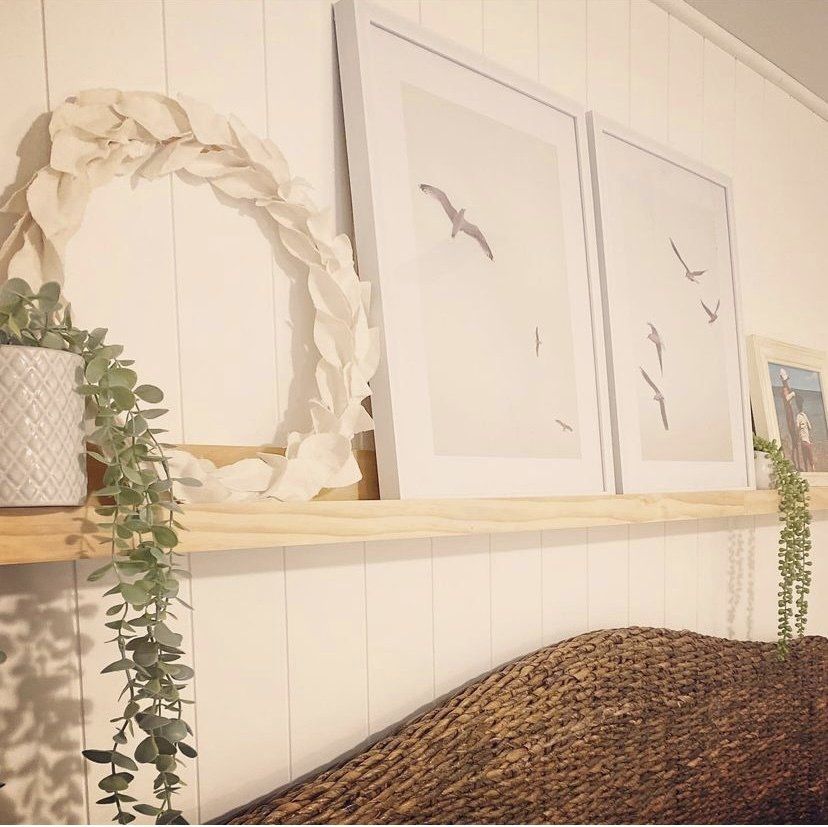
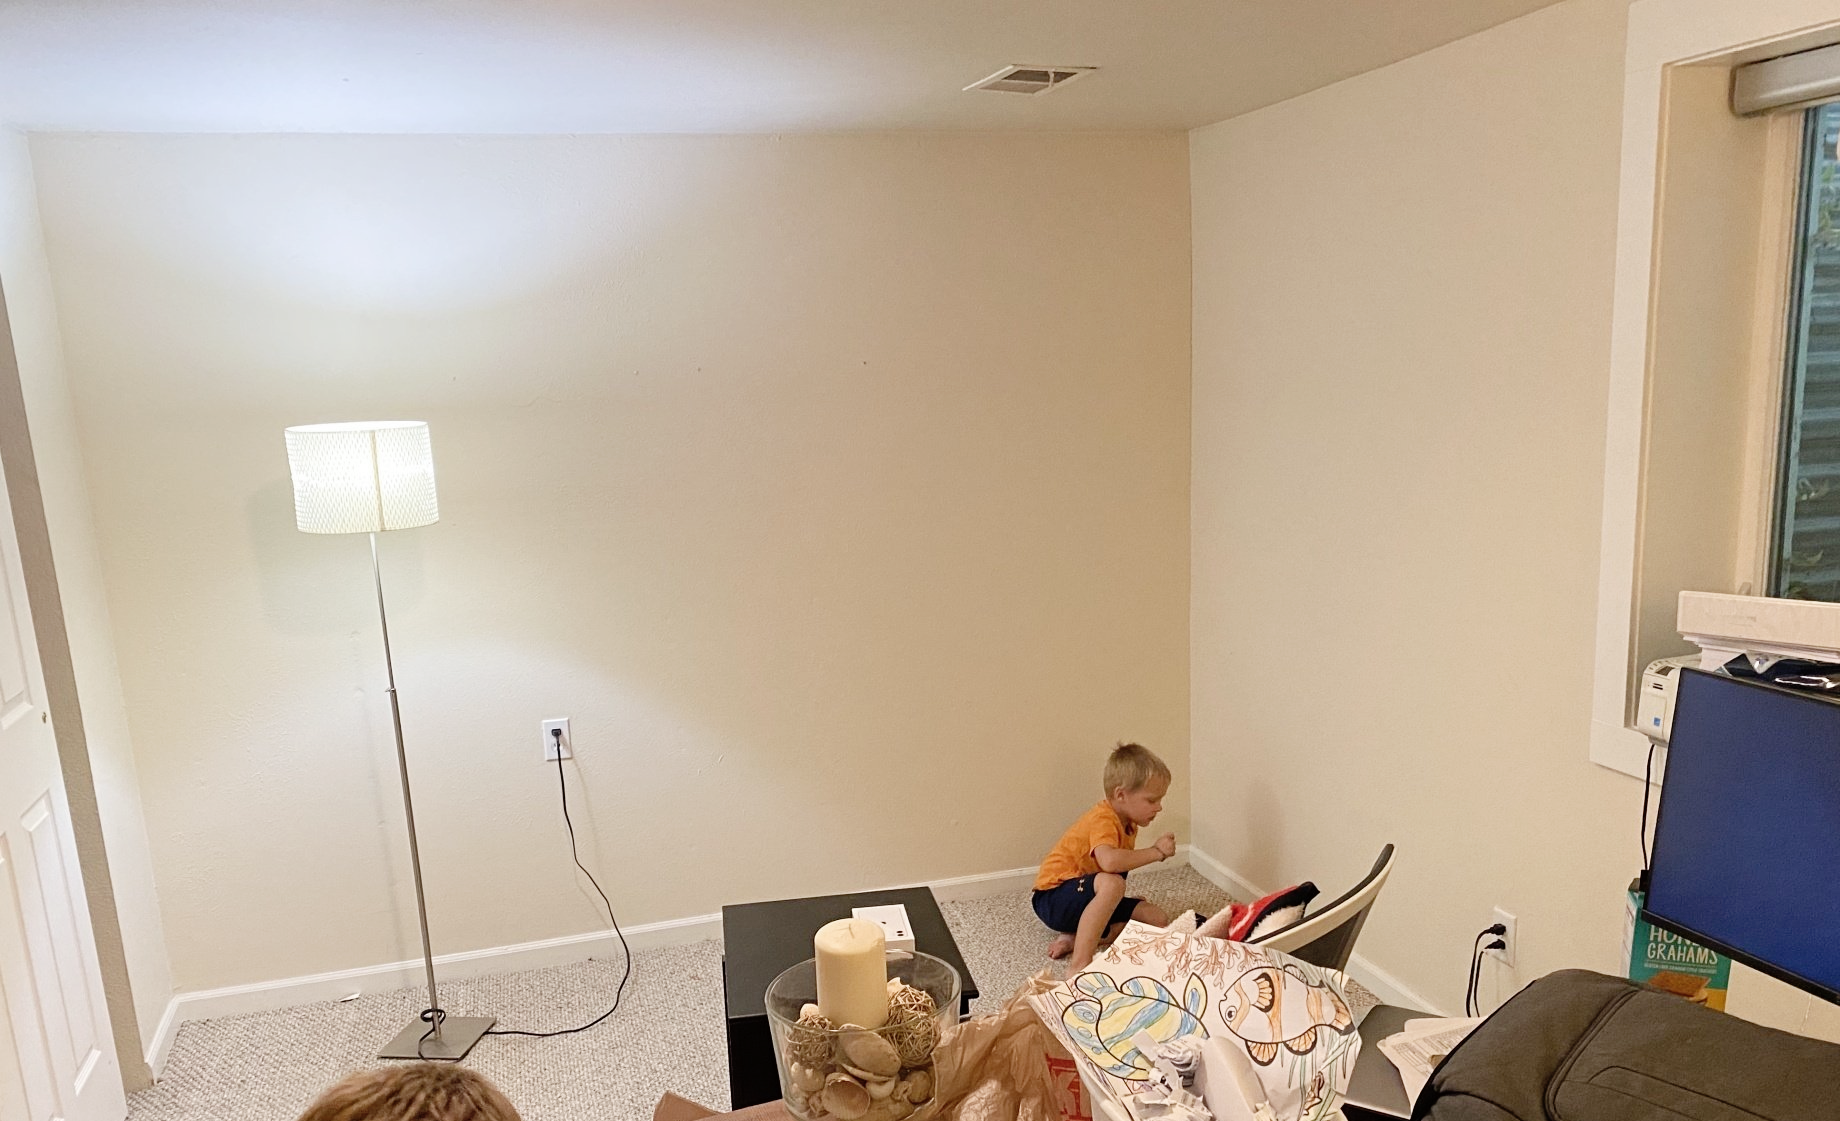
Okay, guys! I'm pumped to show you this project that we did back in October/November, I believe. Things are always a little delayed here. :) This is our guest room, in the basement, next to this lovely little bathroom. It's also turned into a work from home space for Cory since the pandemic, so it's imperative that we make it less of an eye-sore, dontcha think?? 😉
Makeover...here we come! 🤗
First, we needed to clear it out as best we could - we were moving the current bed into our daughter's room and getting a new queen bed and headboard, so it worked out nice to have some space in the room.
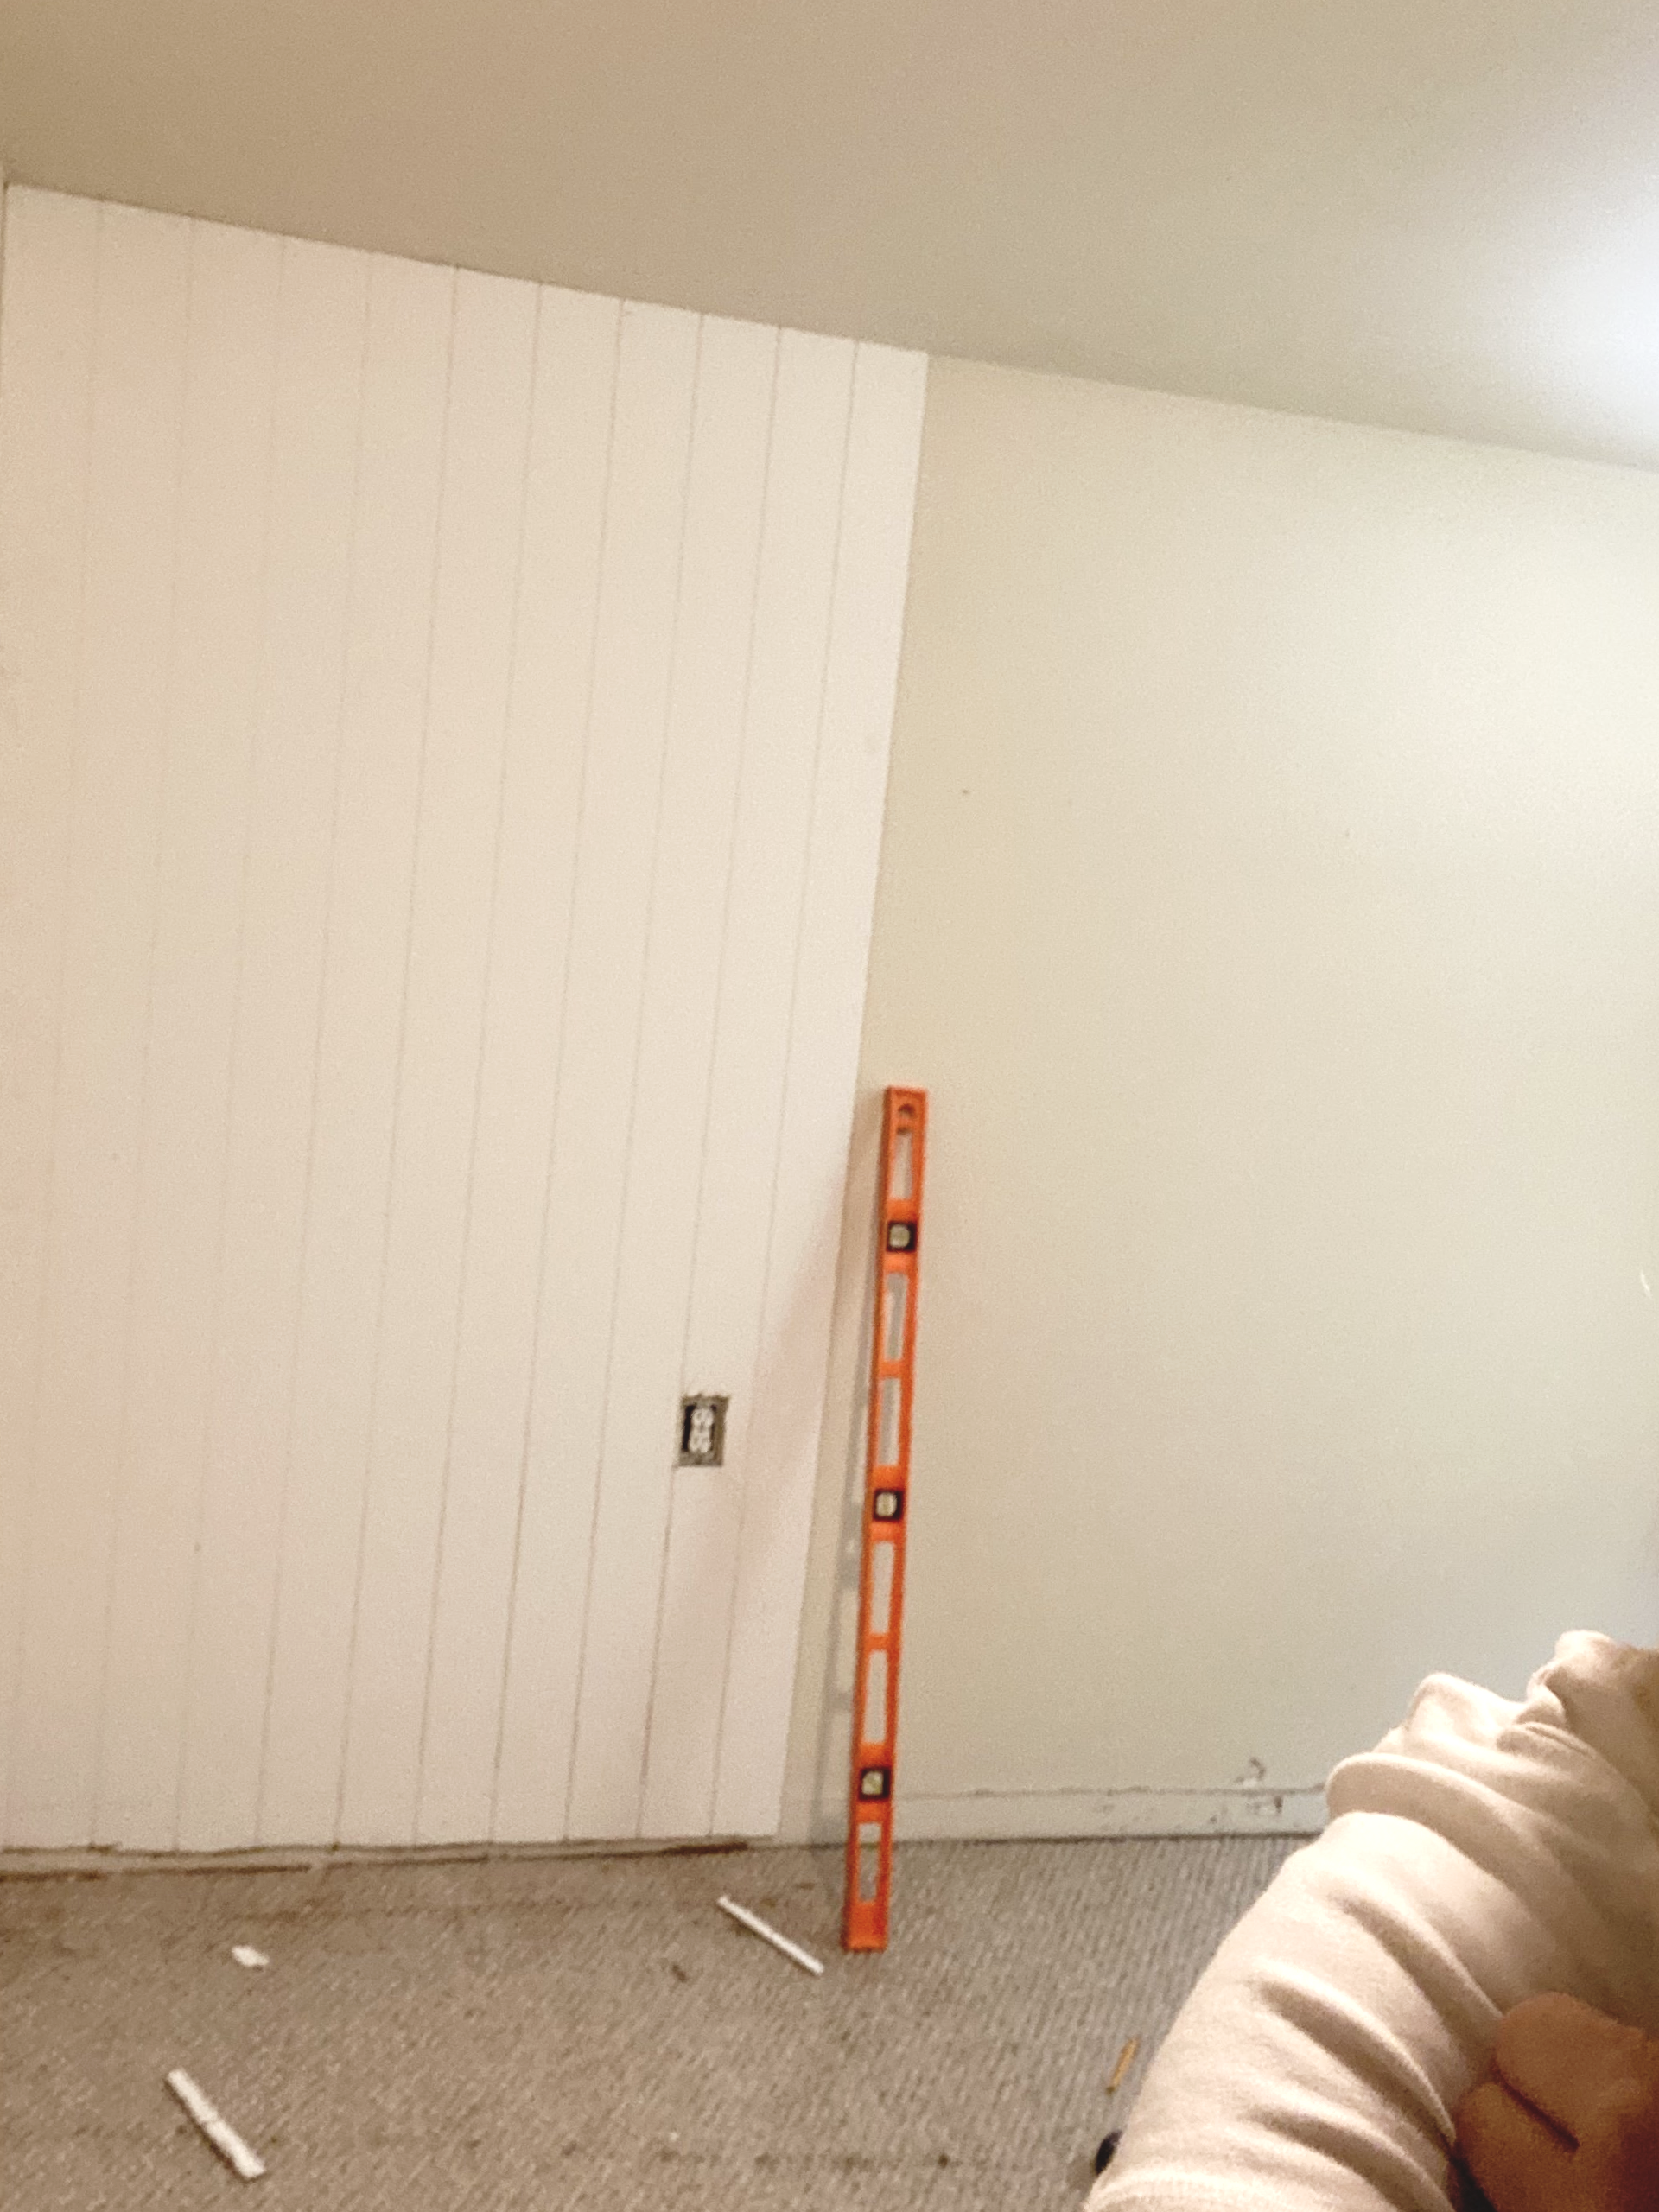
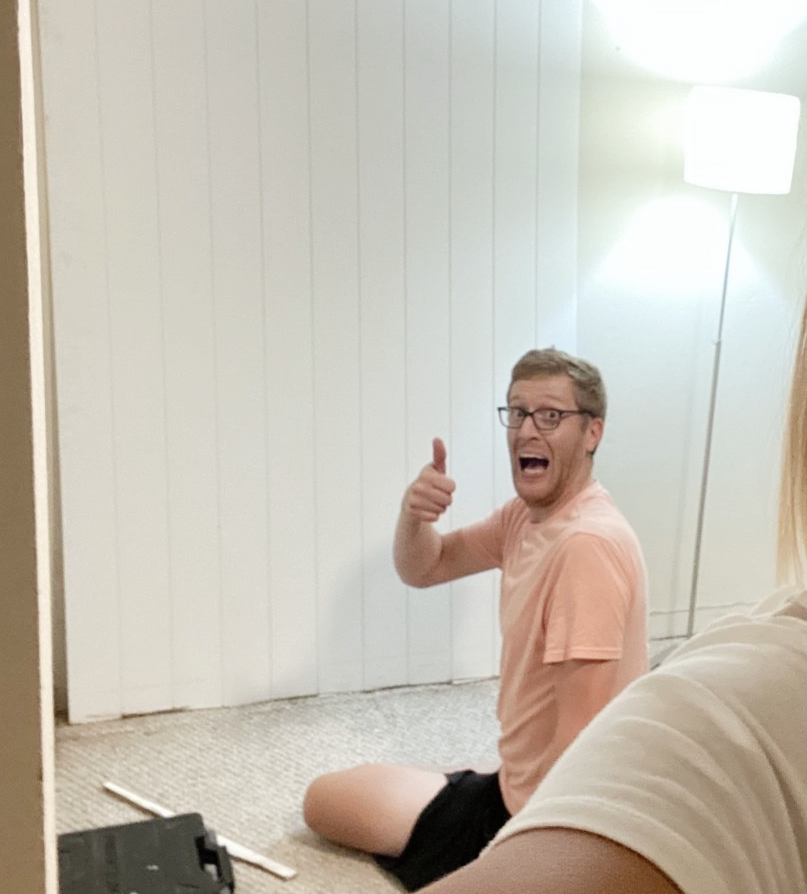
Then, we installed shiplap panel board from Home Depot to create the focal wall. This paneling made the shiplap appearance super easy, without having to worry about cutting individual boards to install. We'd recommend it for something like this. We needed a little over two panel boards so the wall cost a little under $100, with extra paneling leftover to use on another project. 🙌
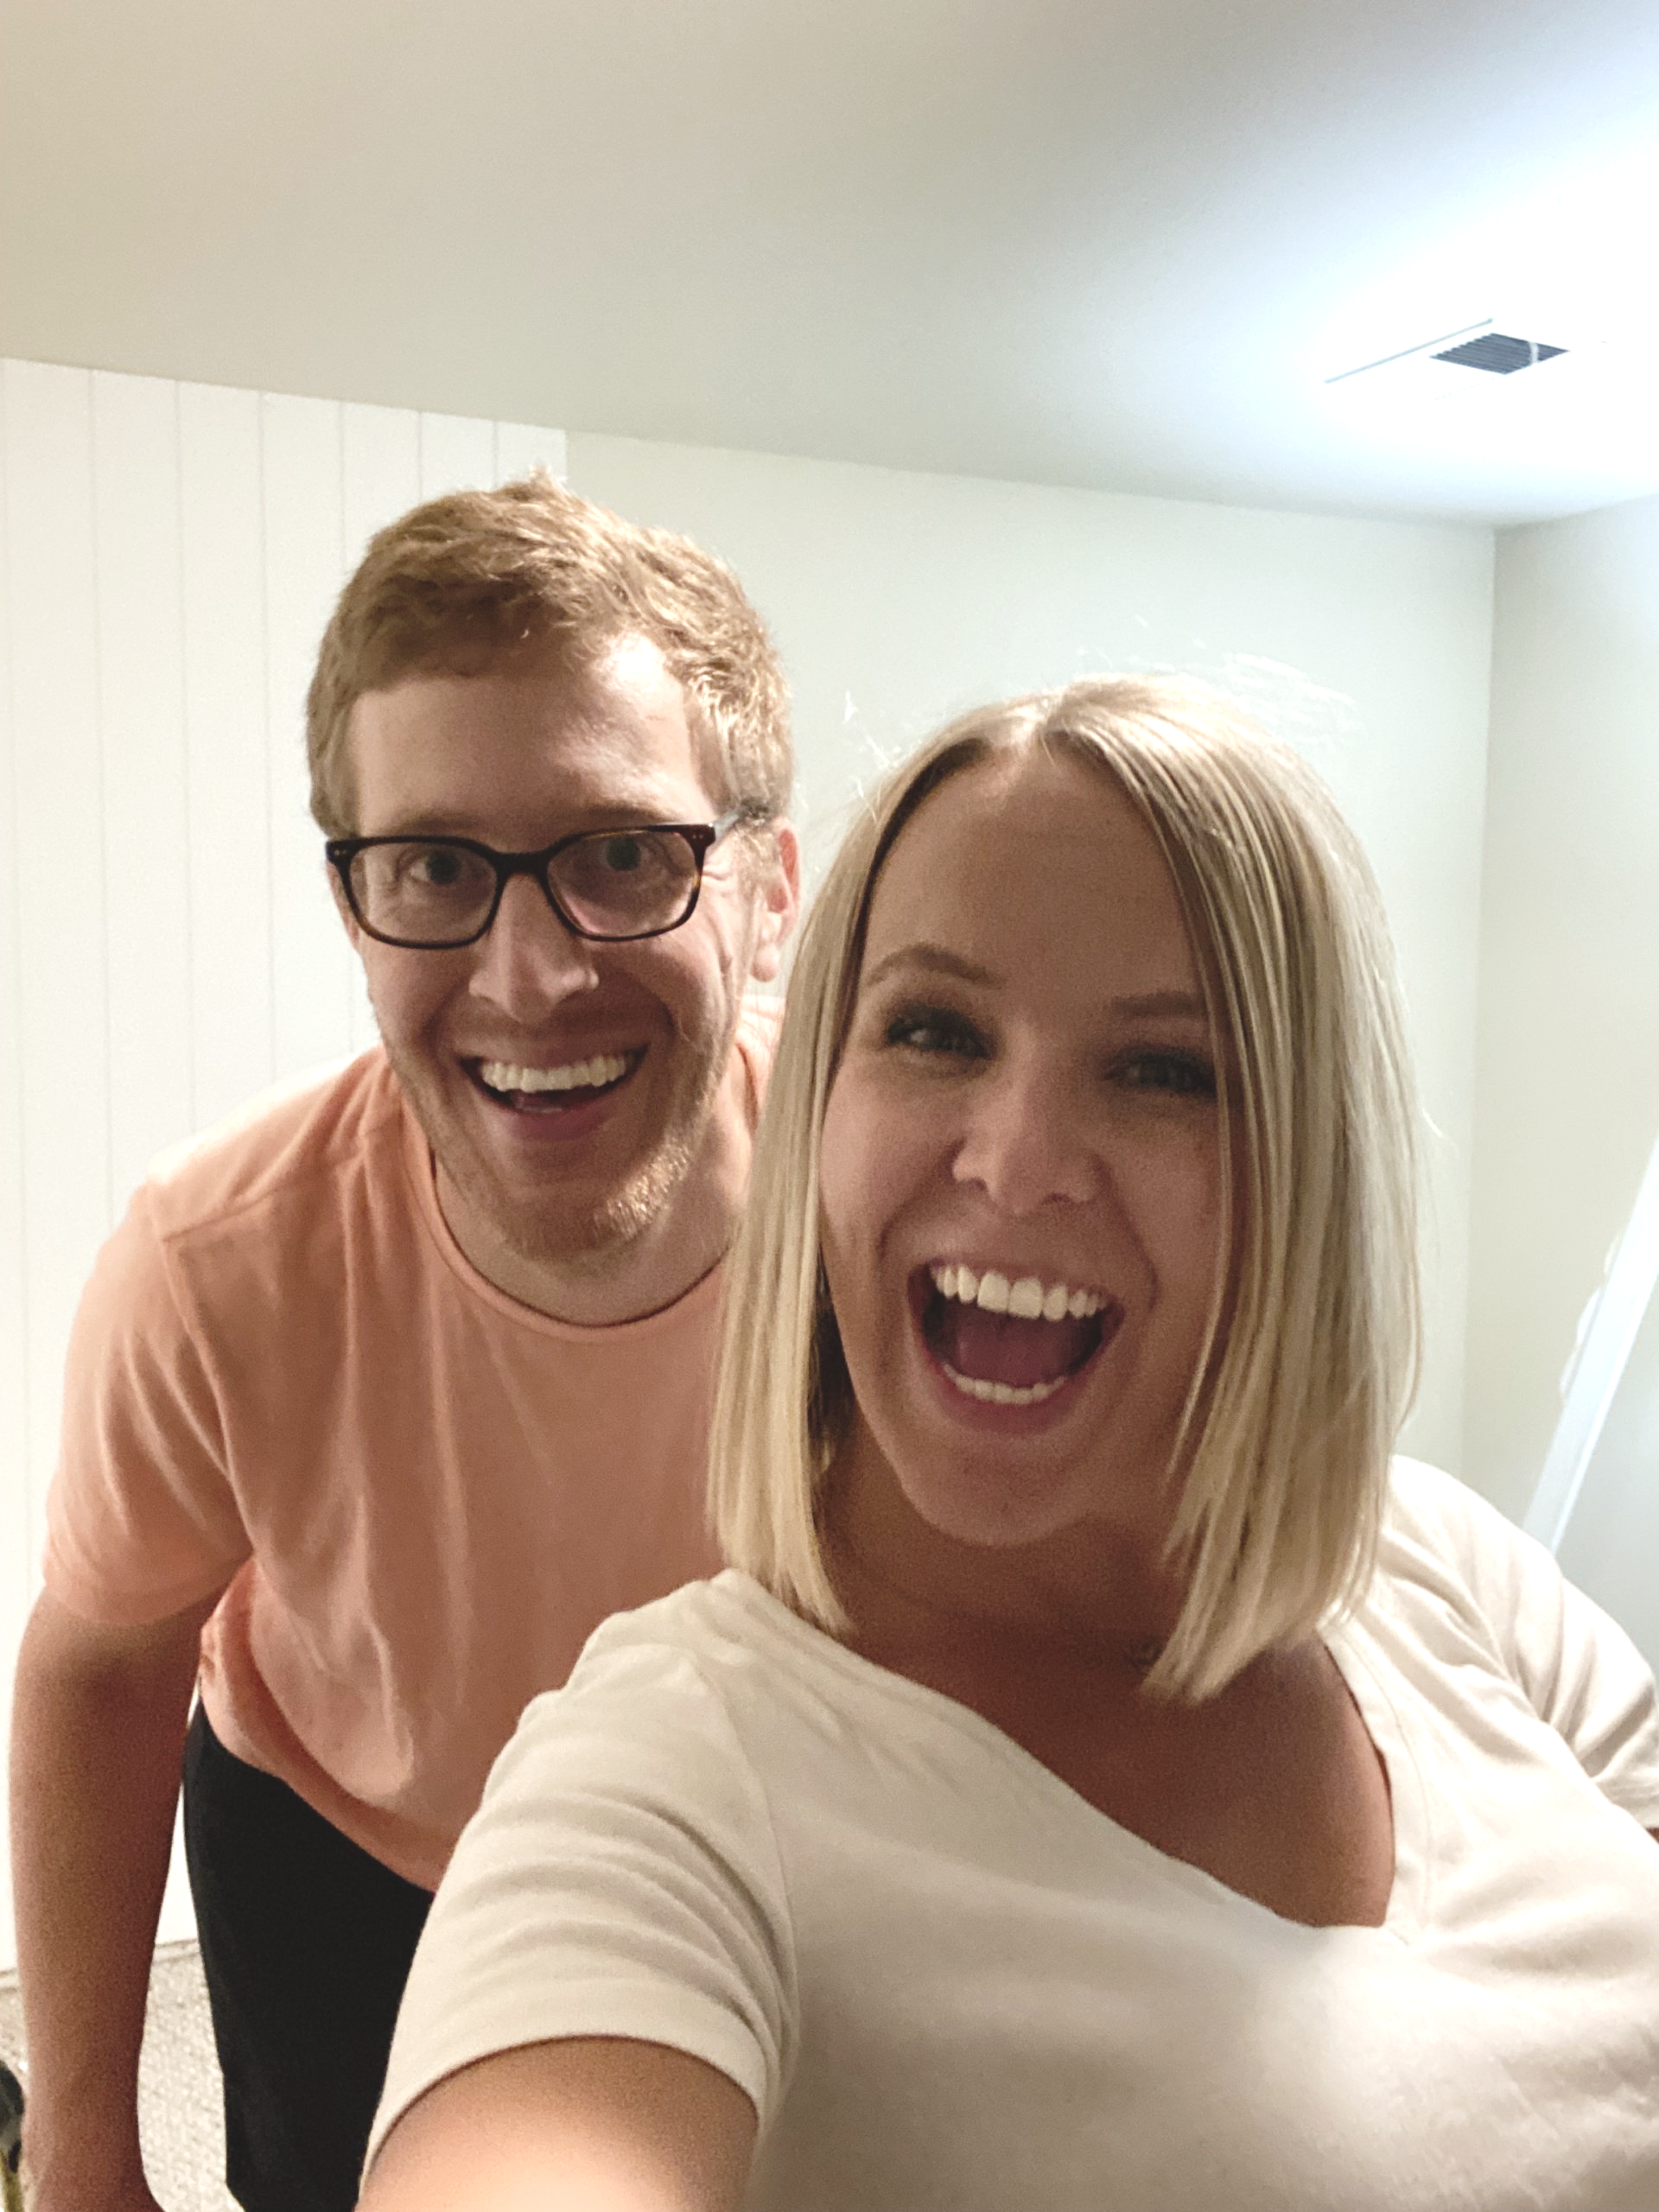
P.S. Don't we look like we're having fun??! 👆 We were!! haha. After the kids go to bed, we blare some music, grab a beverage, and go to work. #nightowls
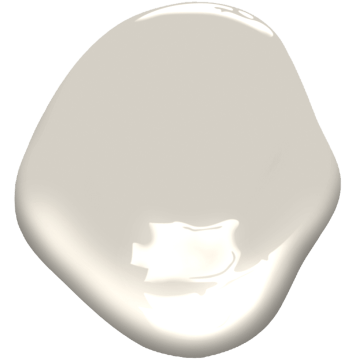
Next up - we painted the rest of the room a new favorite color! It's called Collingwood by Benjamin Moore. I'd say it's similar to Revere Pewter, but not quite as dark. It's perfect for lightening up a dark space. 👌
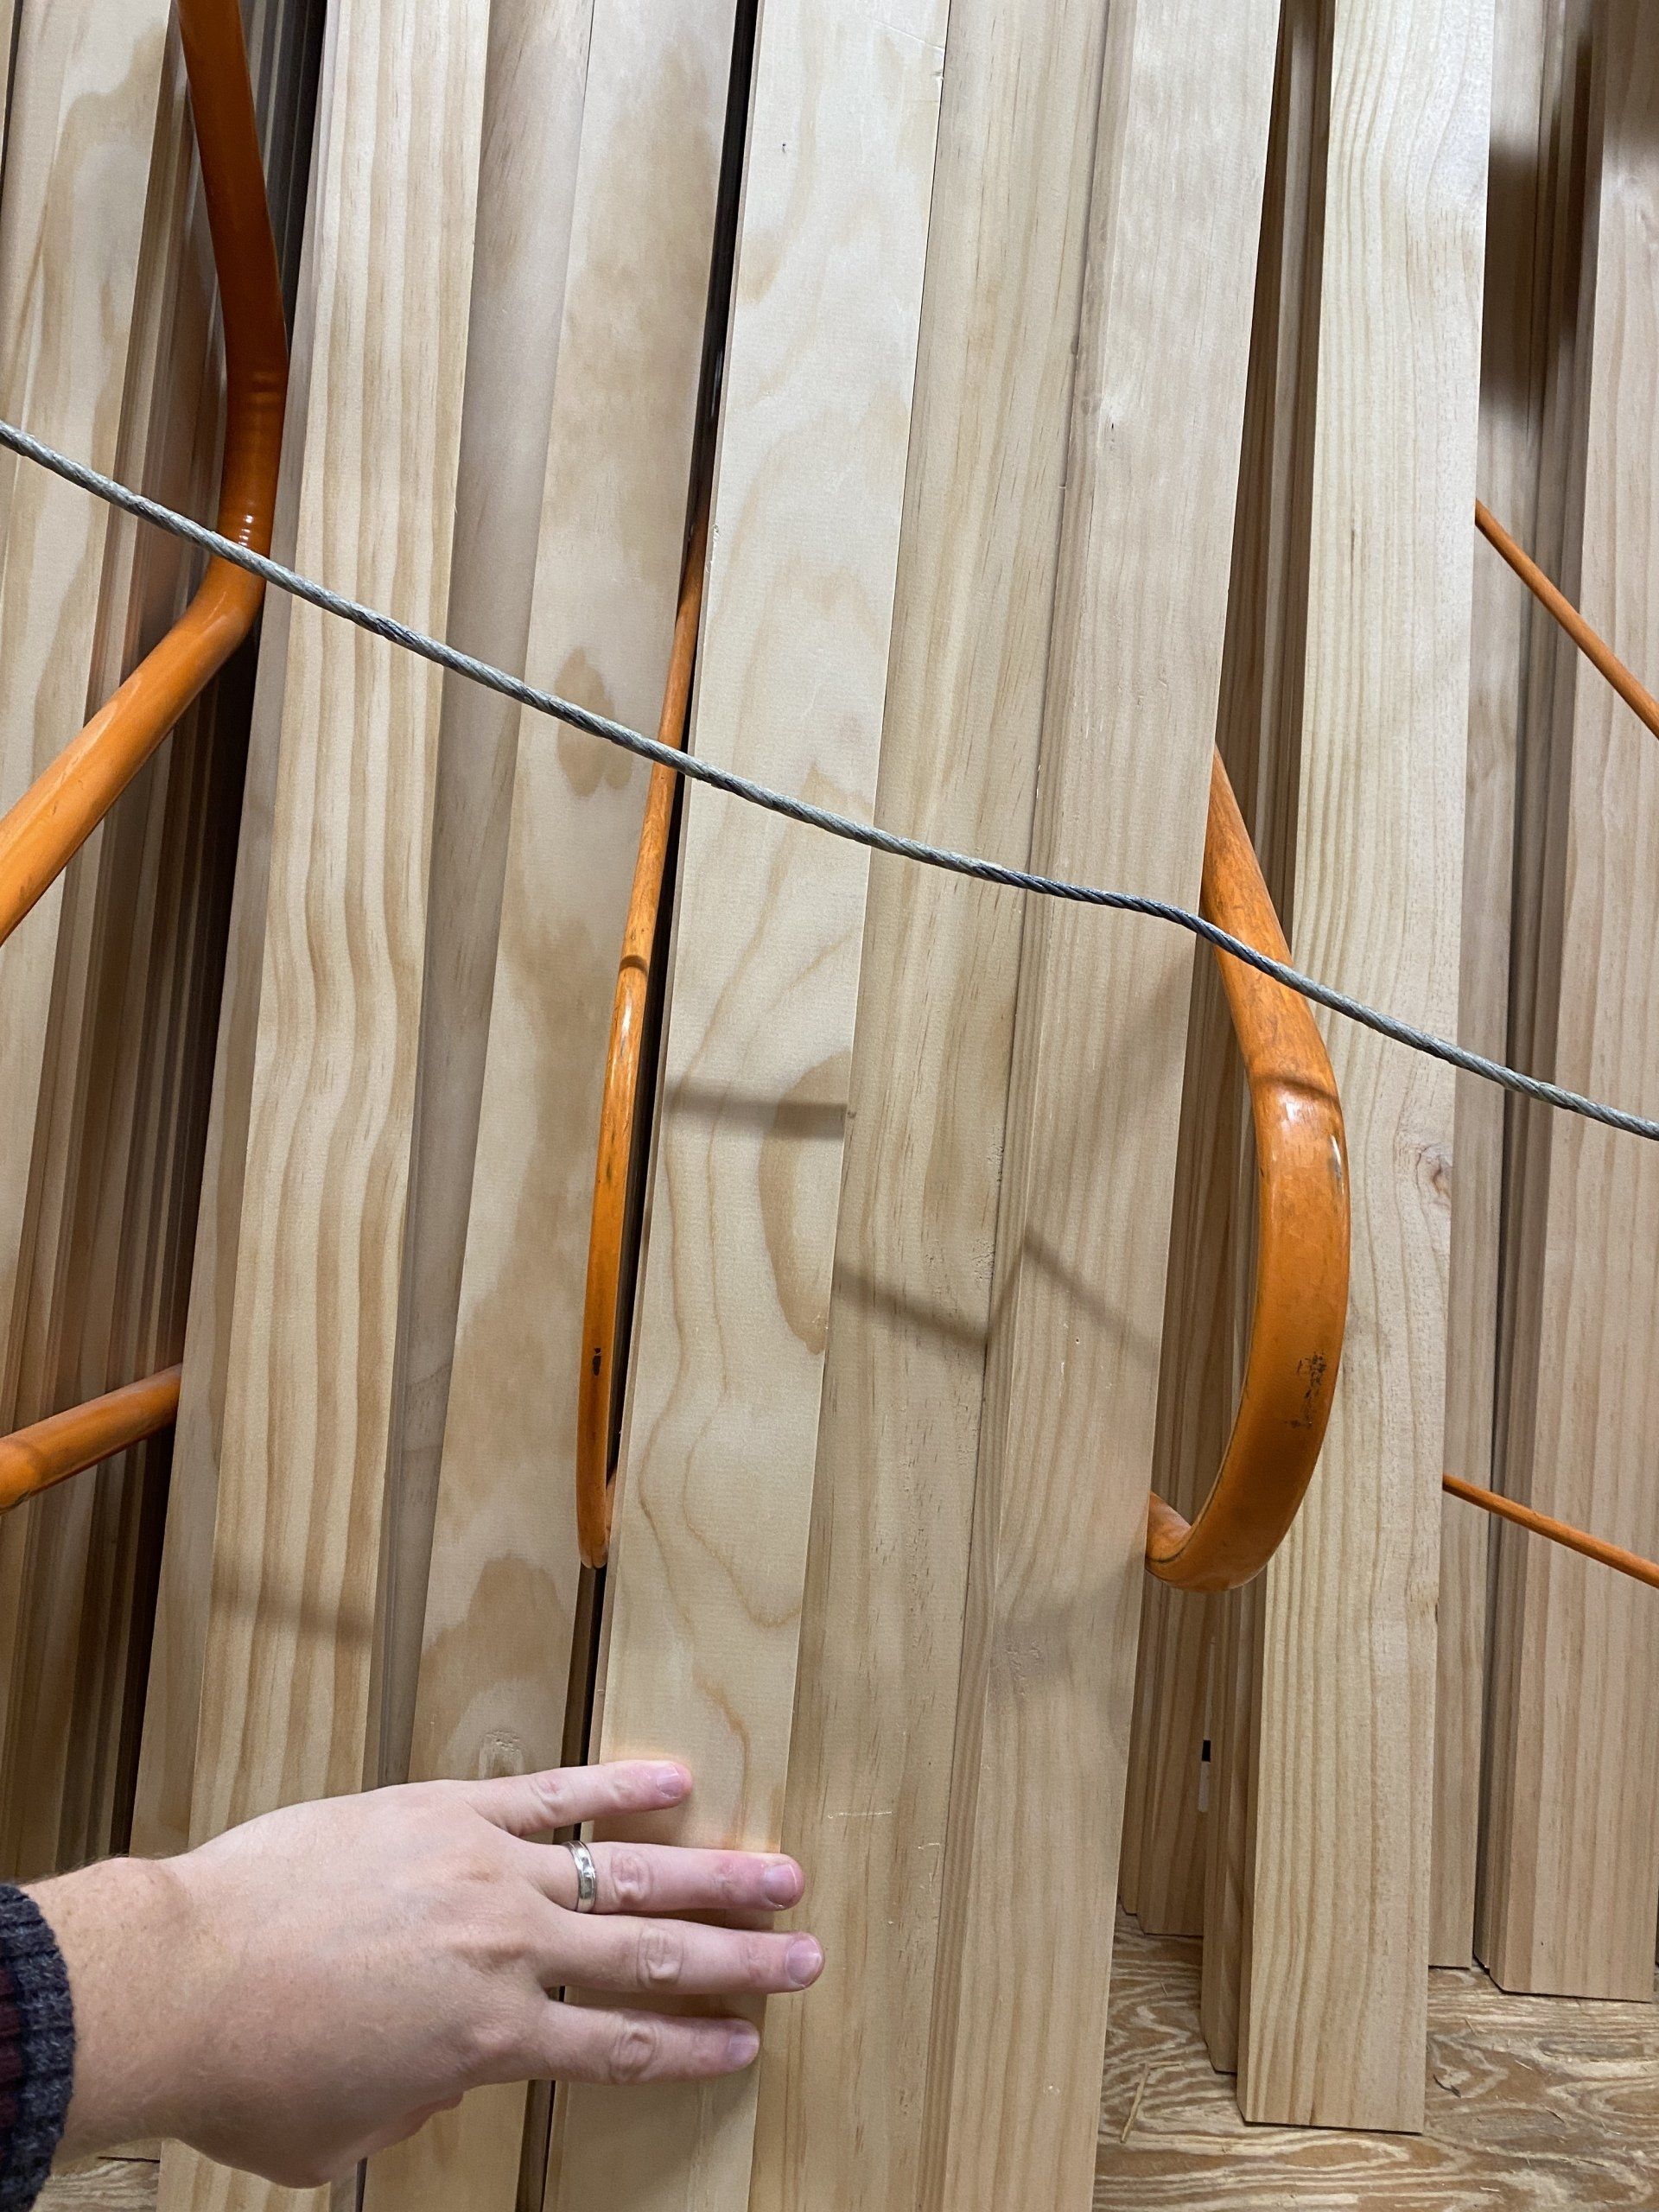
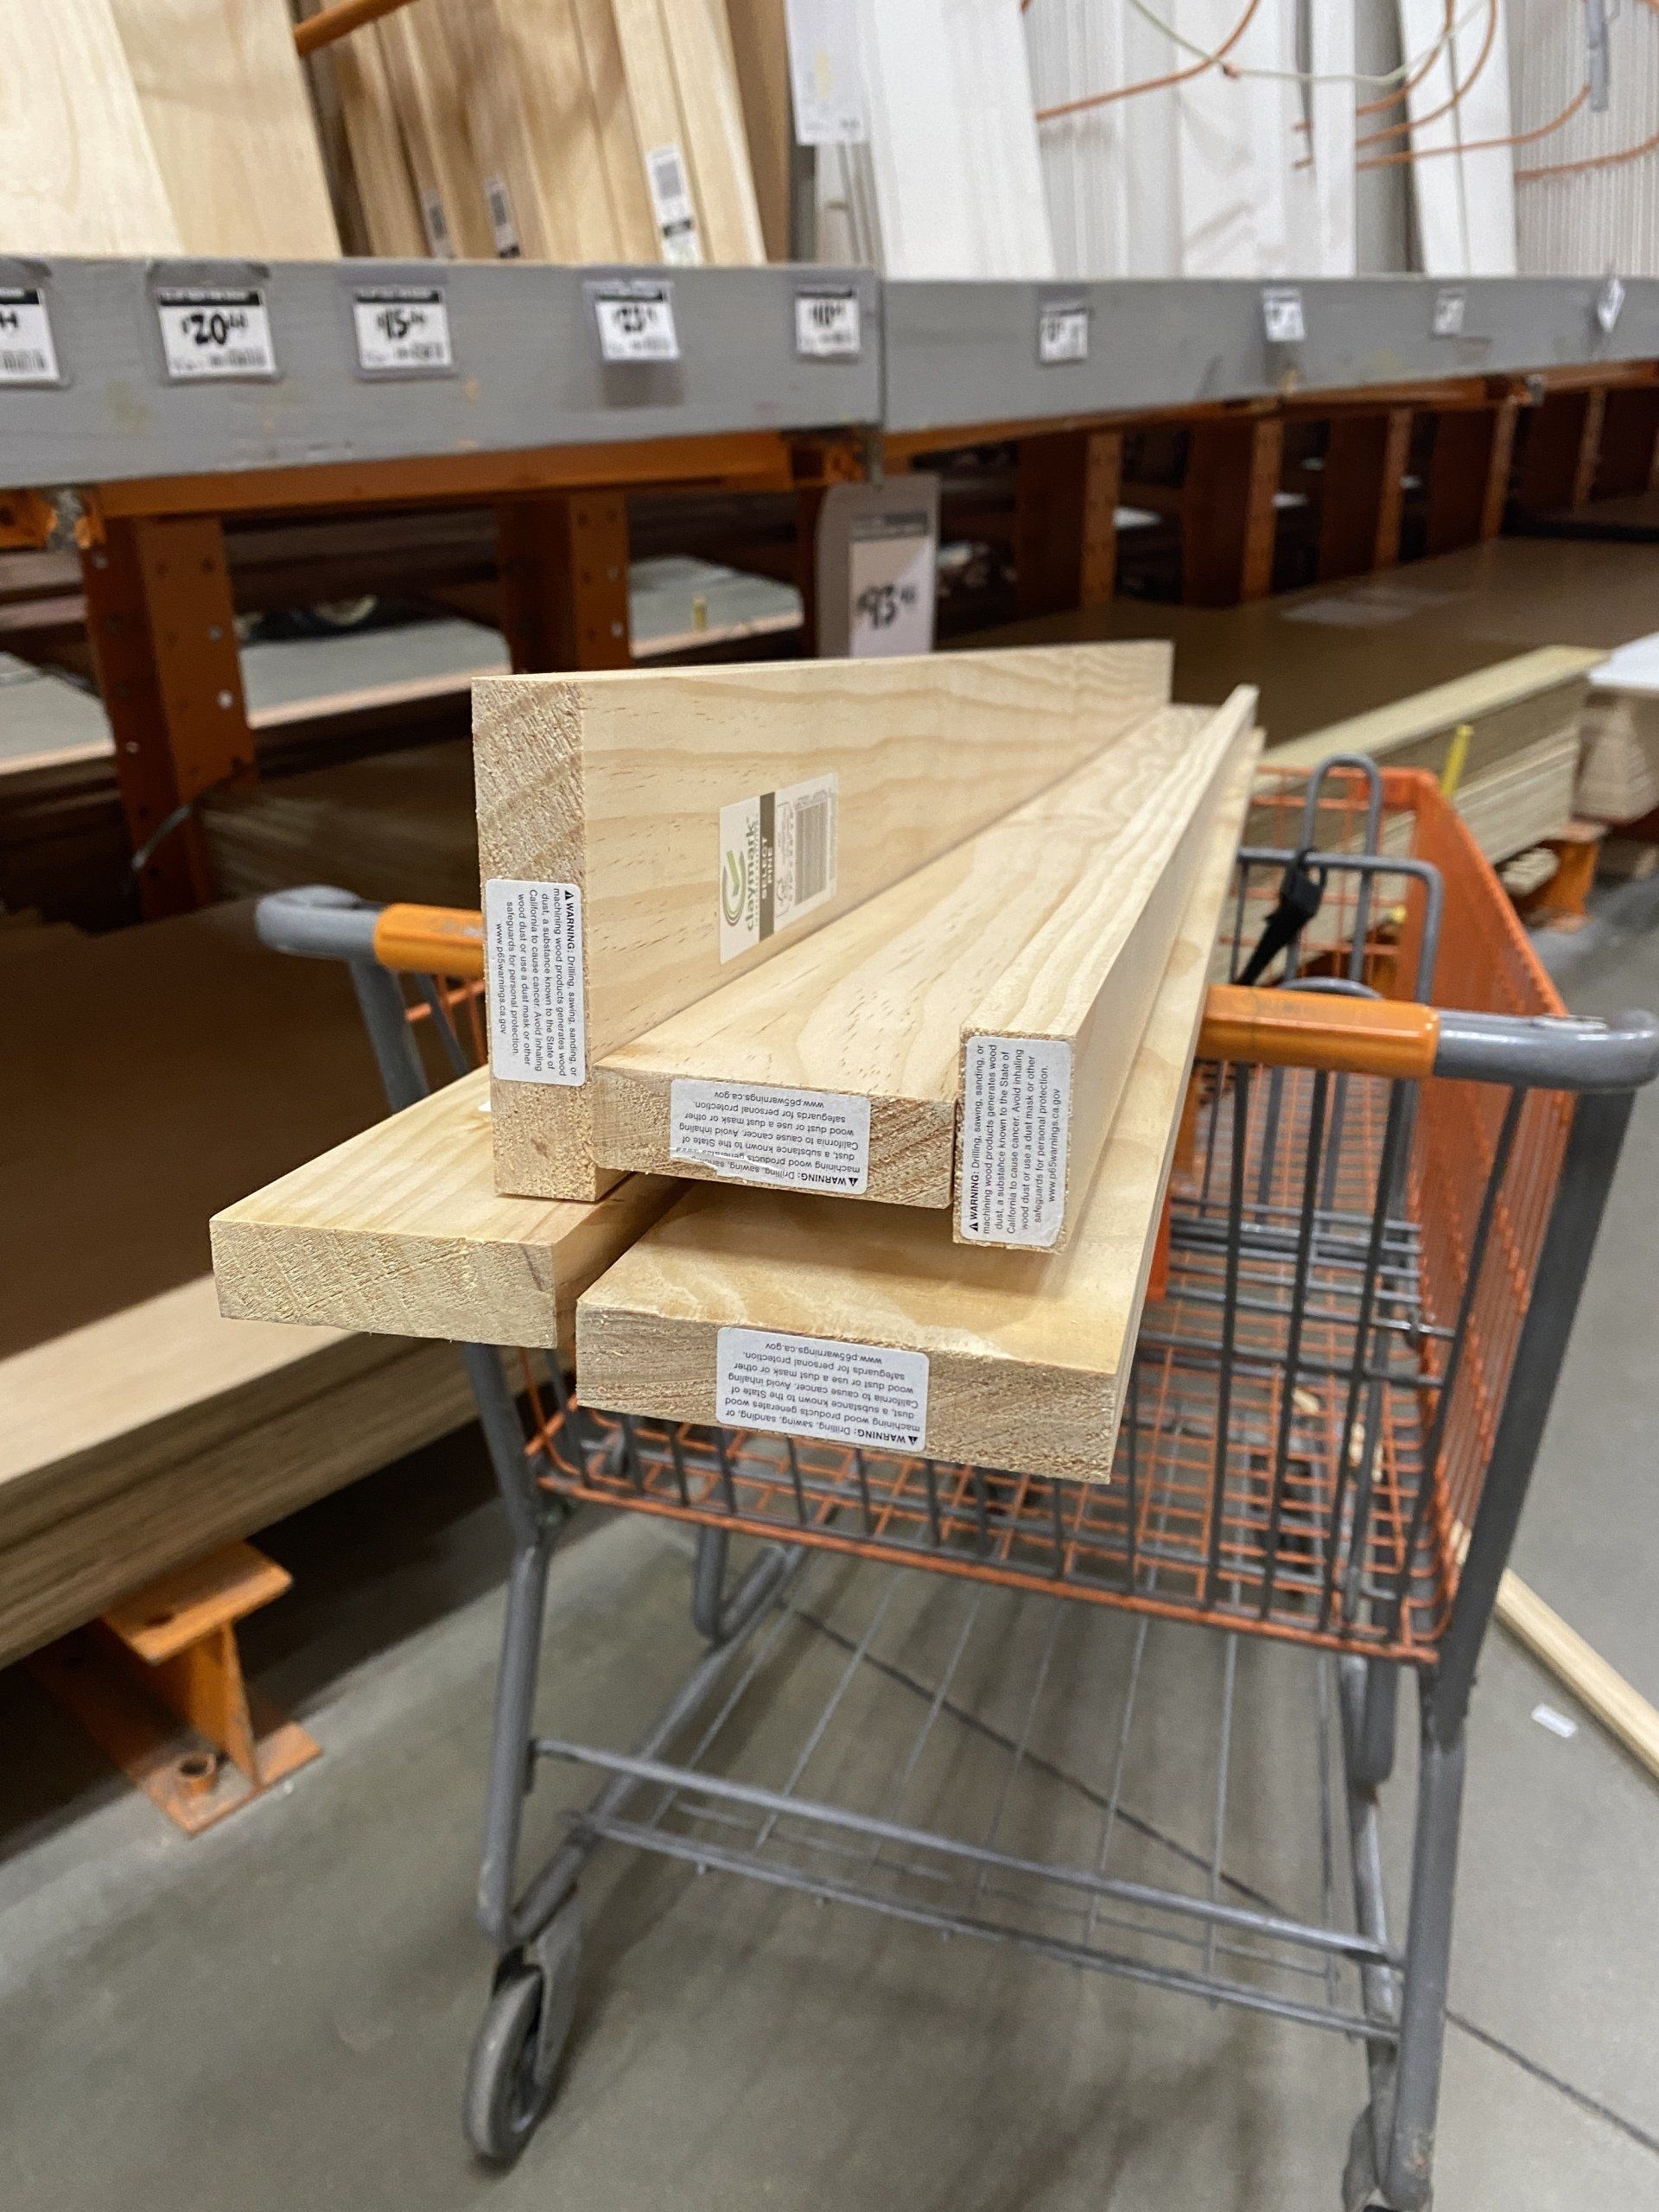
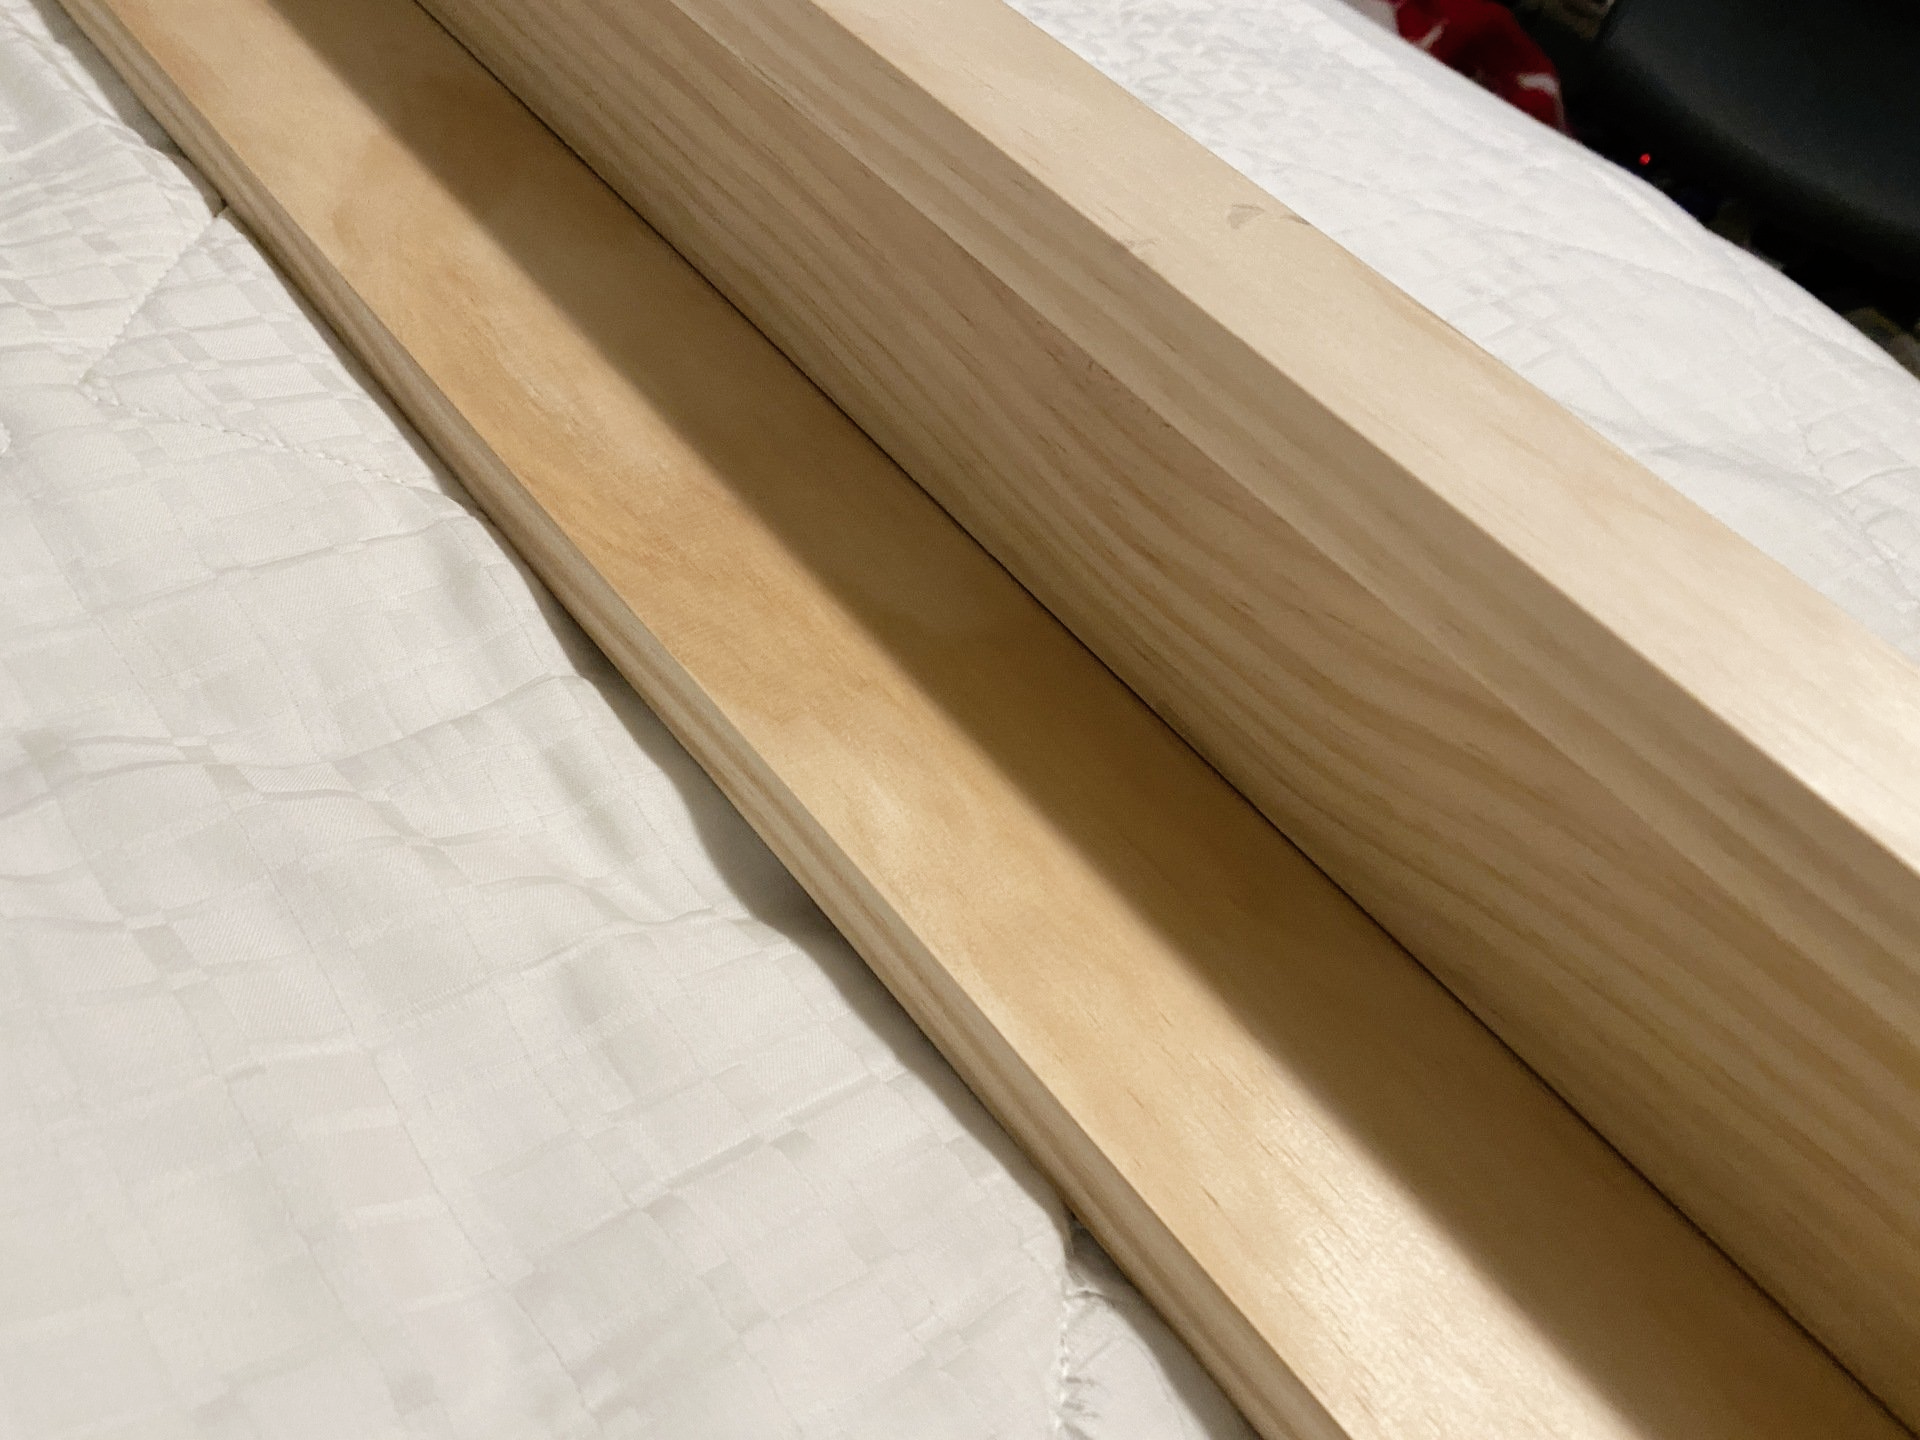
Then, grab some pine boards - we got three different size boards that would create the floating shelf.
- 3.5 inch board x 3/4 inch thick x 8 ft.
- 2.5 inch board x 3/4 inch thick x 8 ft.
- 1.5 inch board x 3.4 inch thick x 8 ft.
Note: These are actual measurements - sometimes the boards are labeled something slightly different. If you're doing the length of a room, like we did, you'll want to measure the room to make sure you get the right length of board, or enough to piece together.
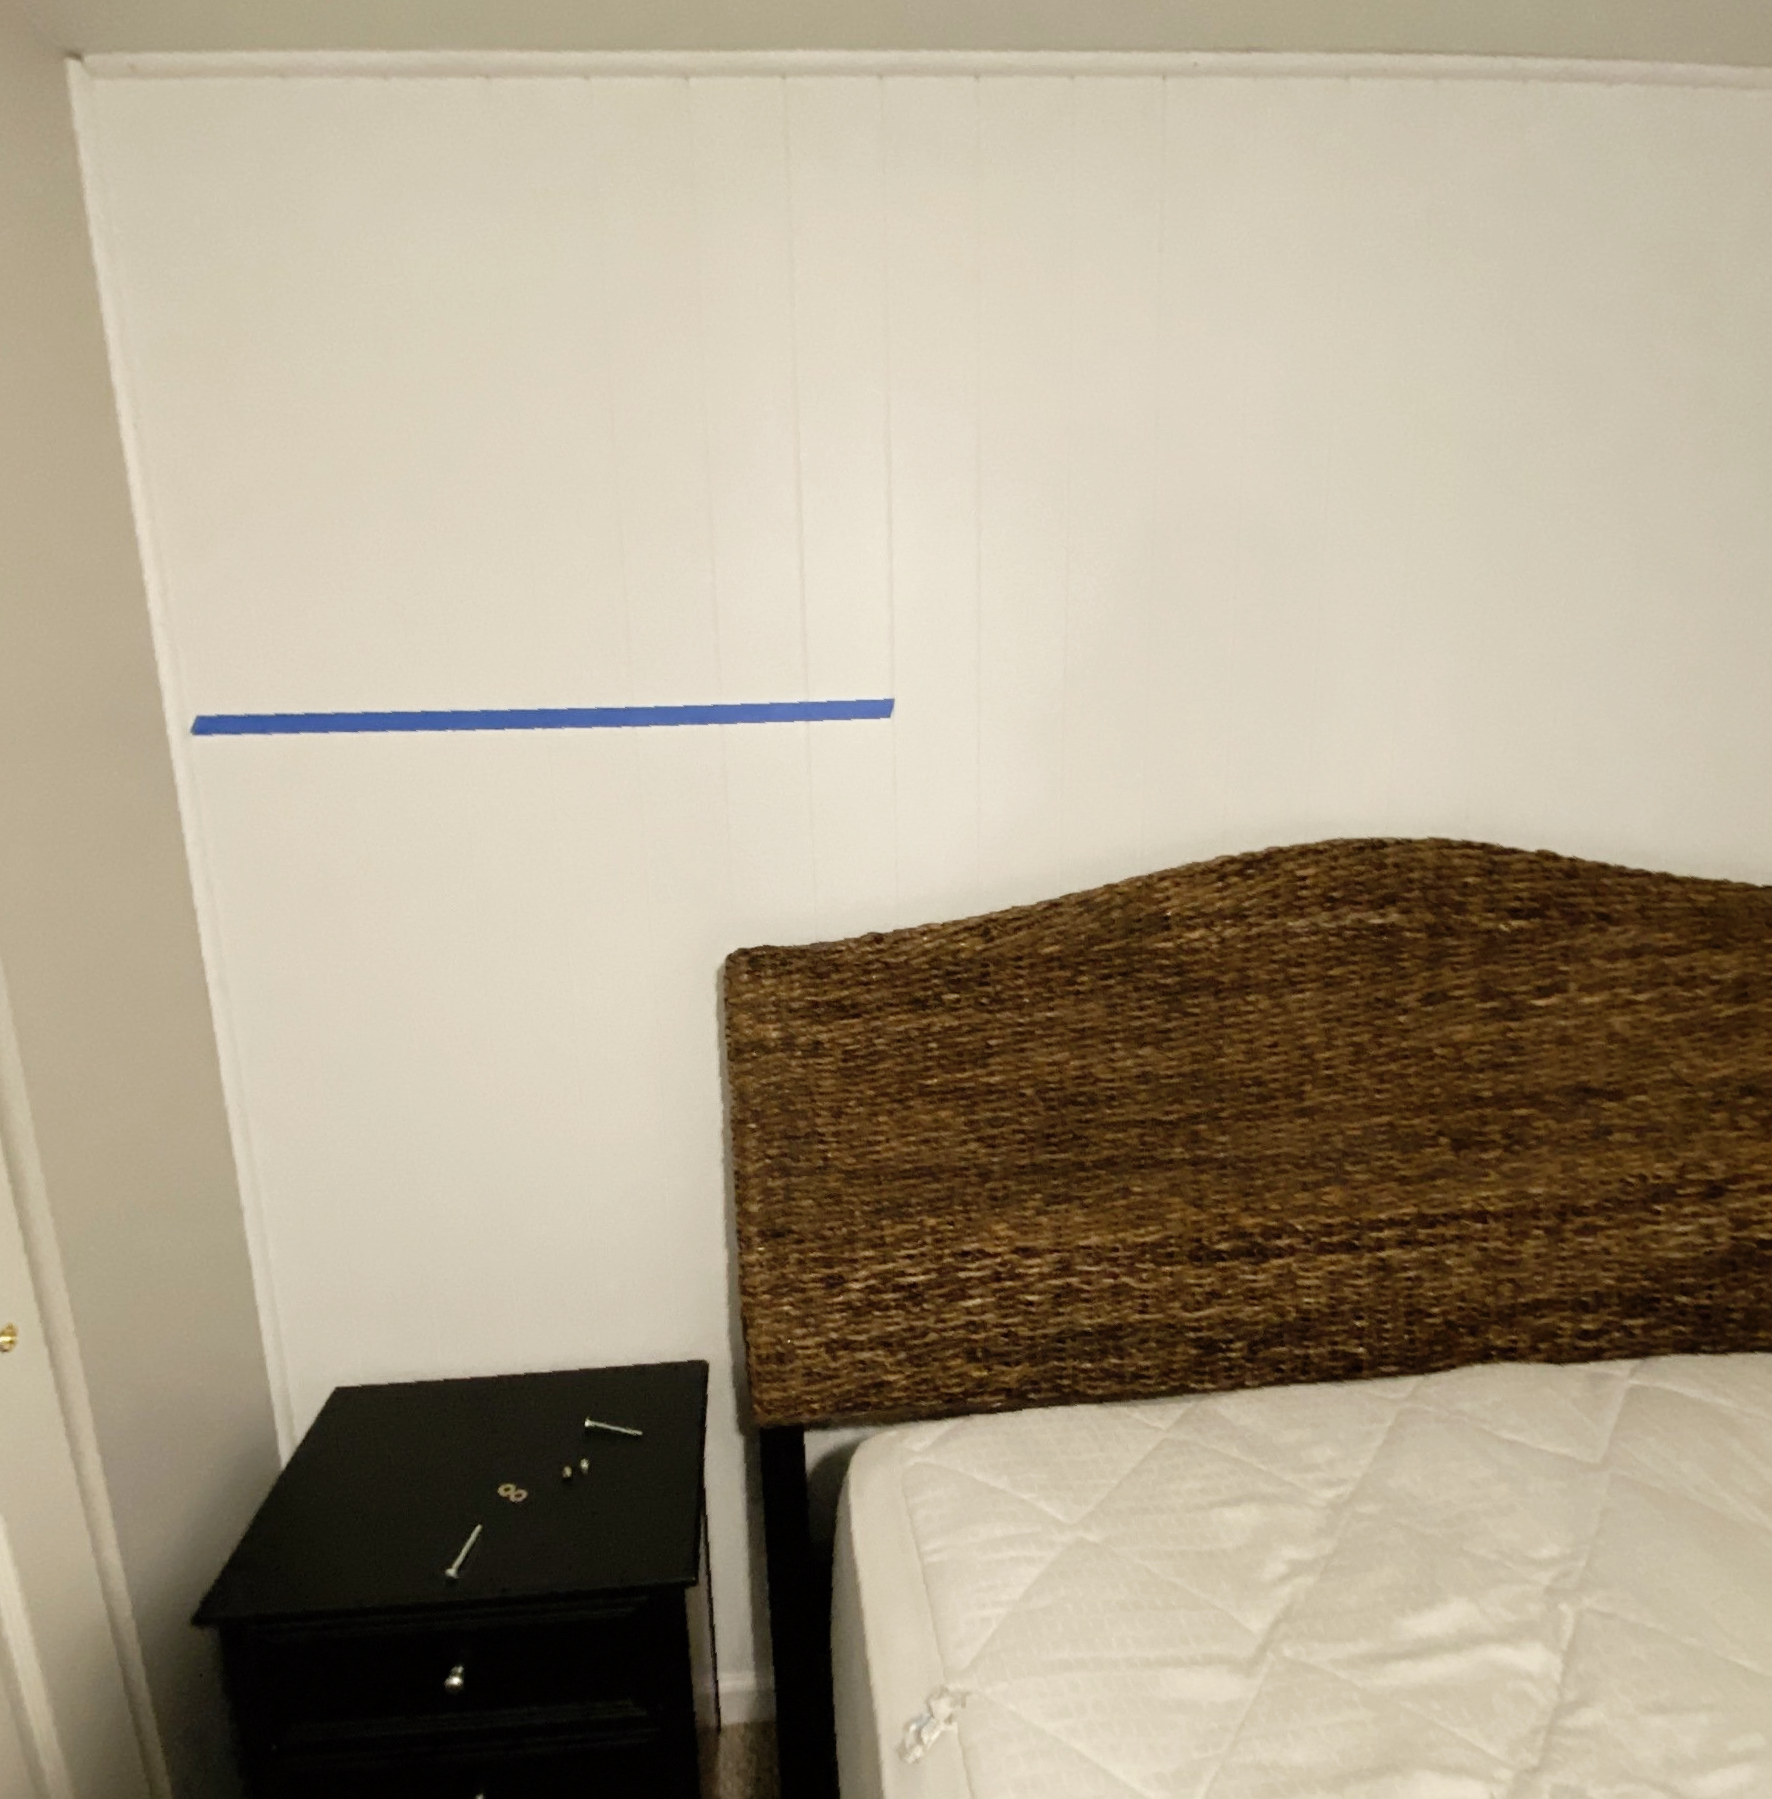
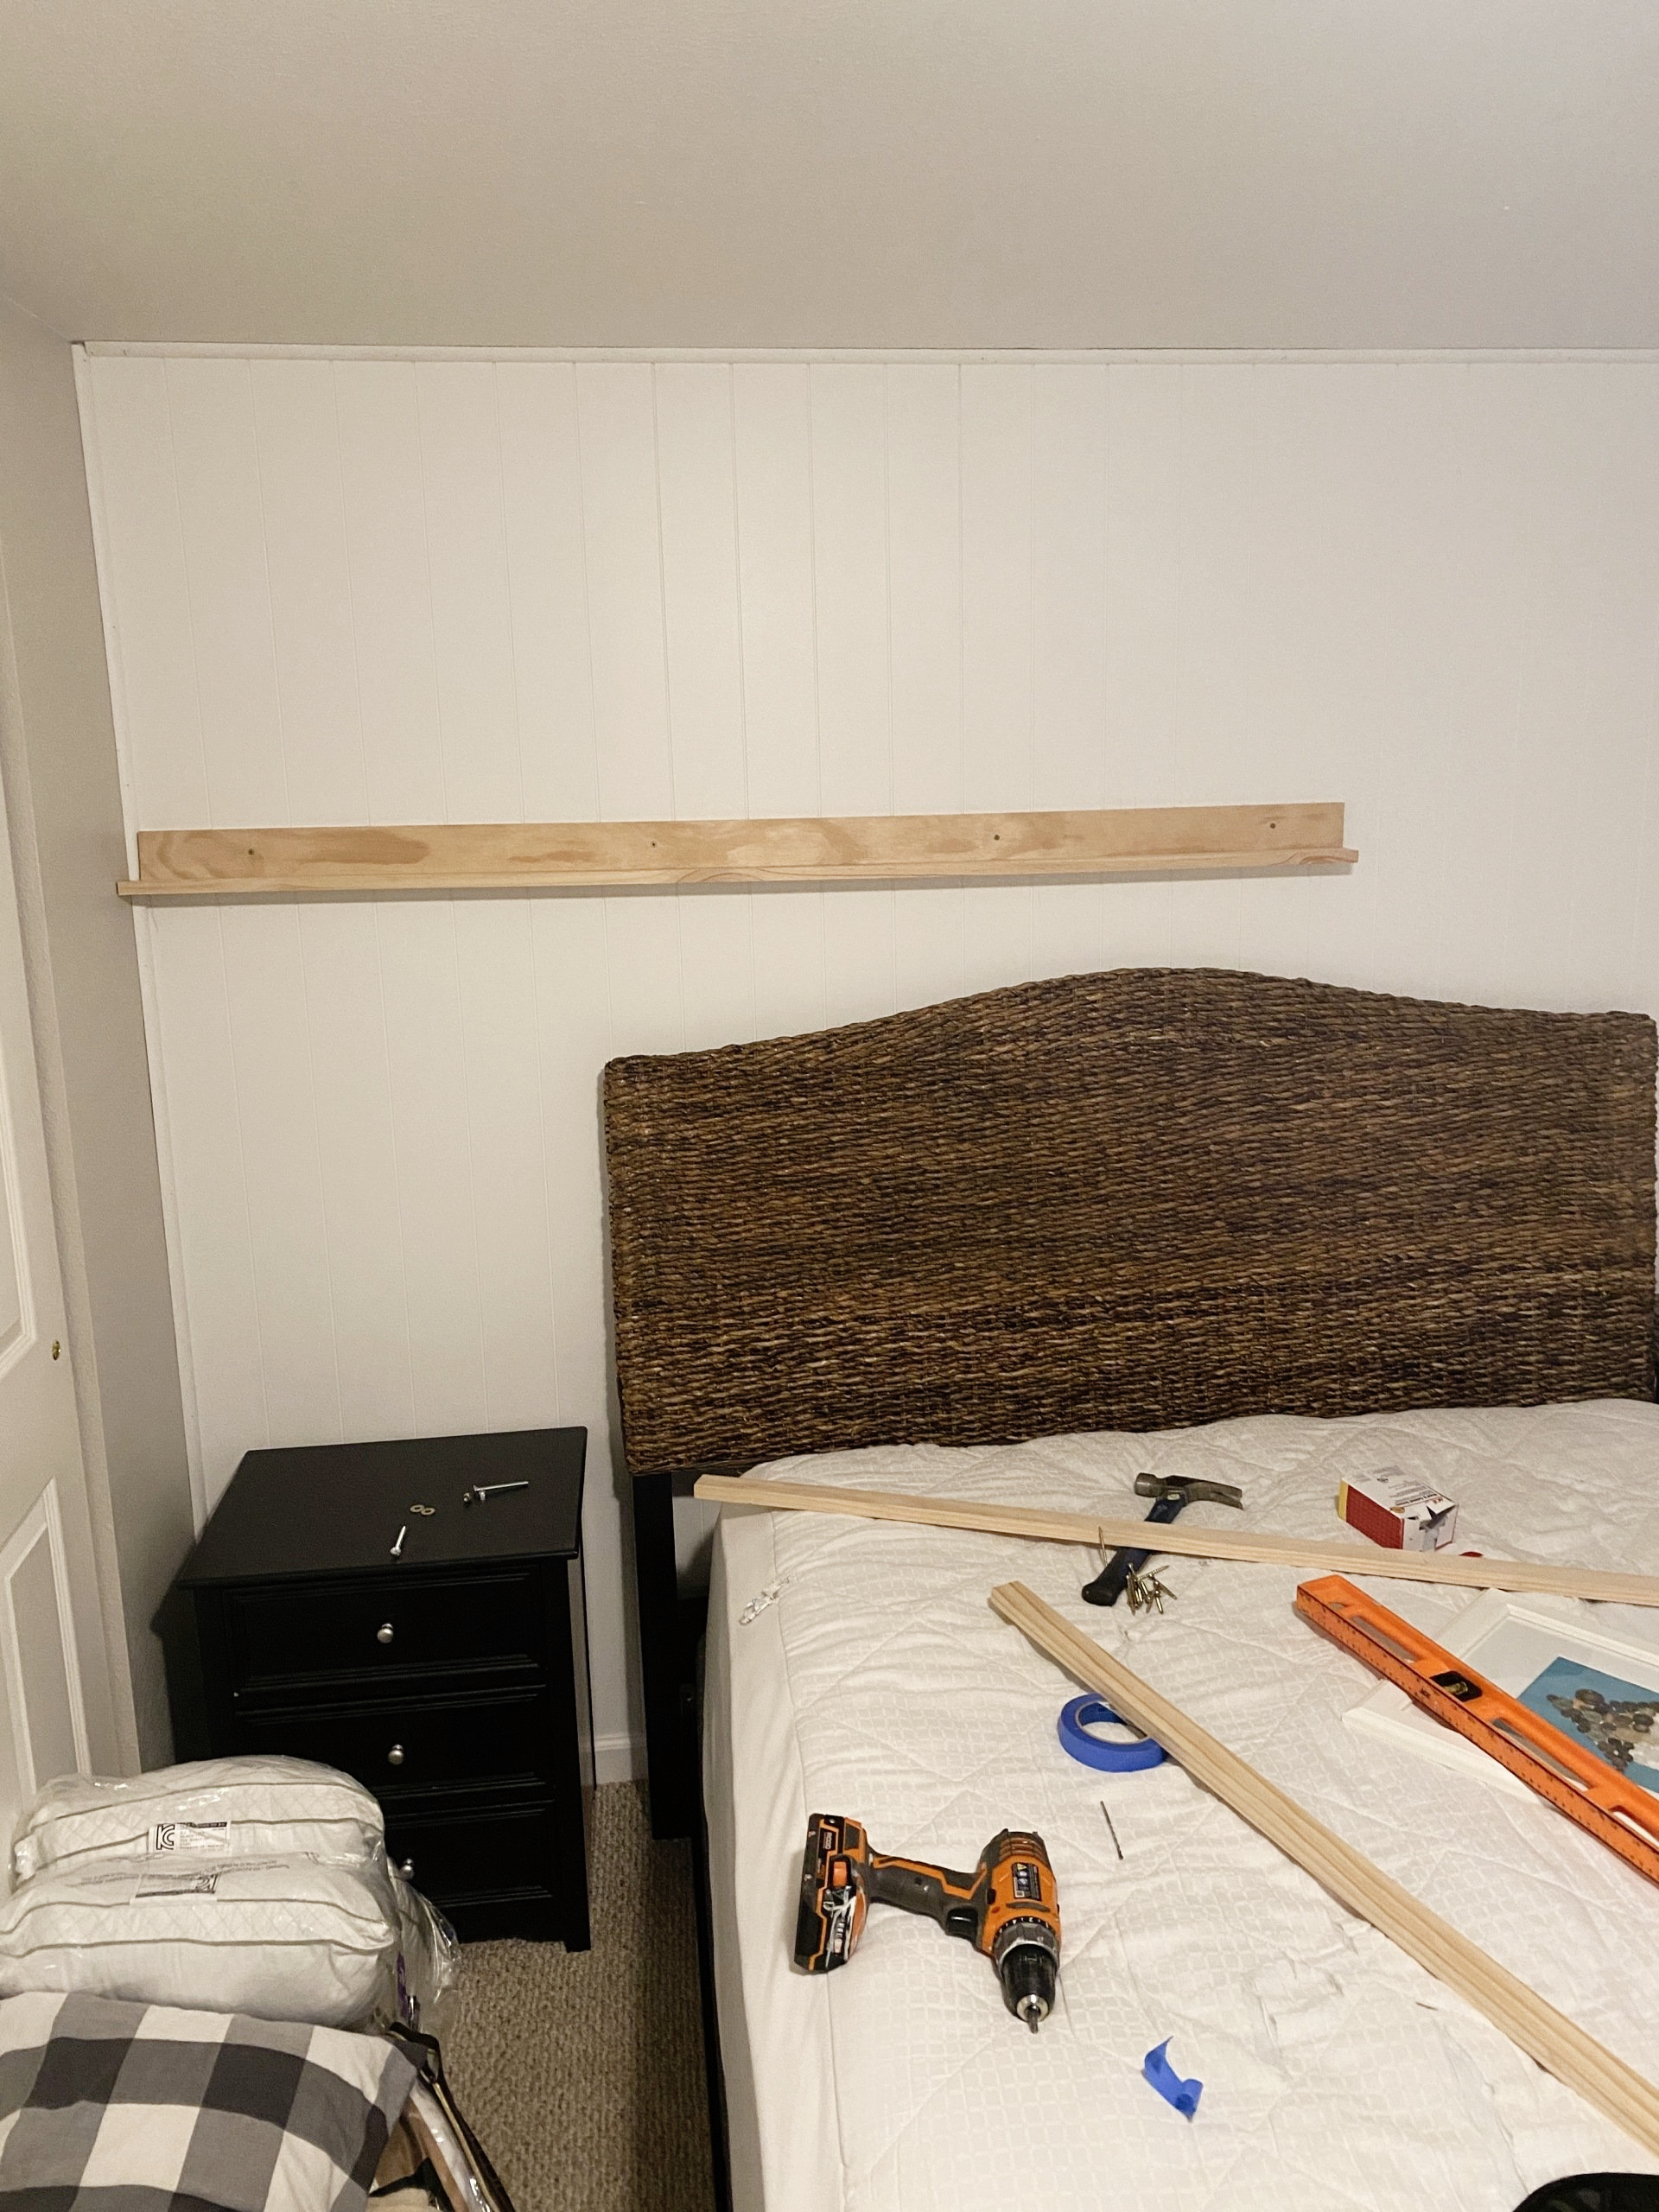
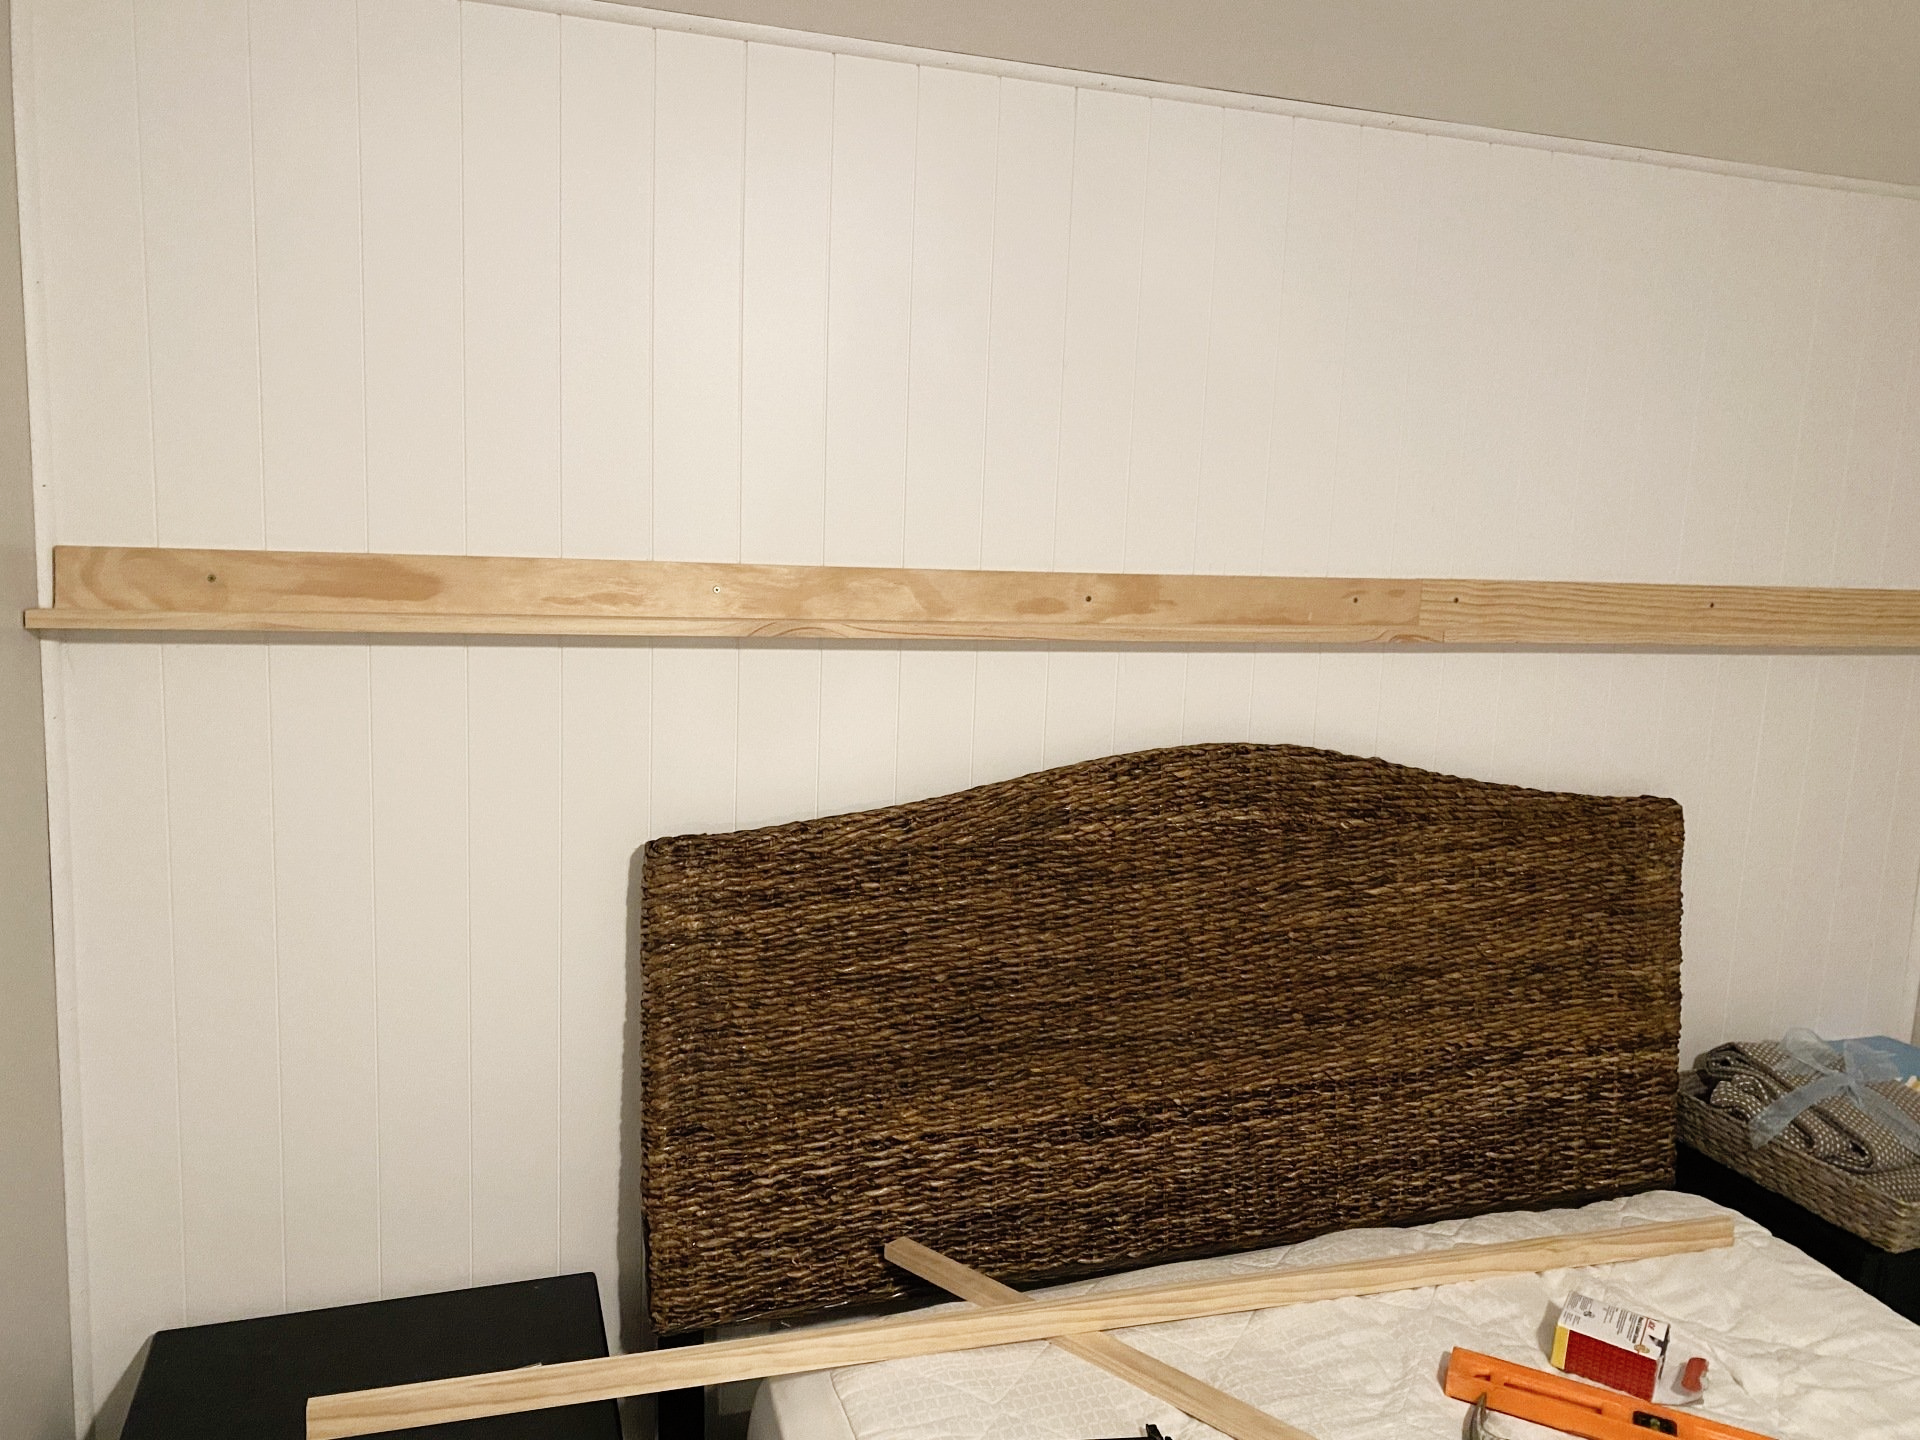
Then, determine where you want your shelf to go. We wanted it slightly above the headboard to give us enough room to add artwork to the shelf, so we added painting tape to the wall to visualize the right height.
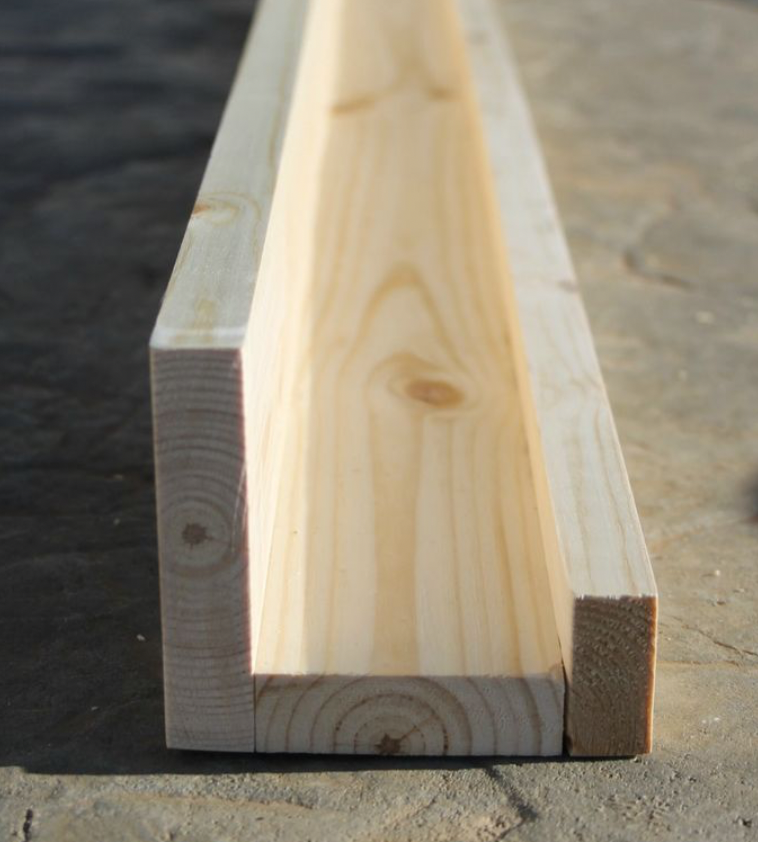
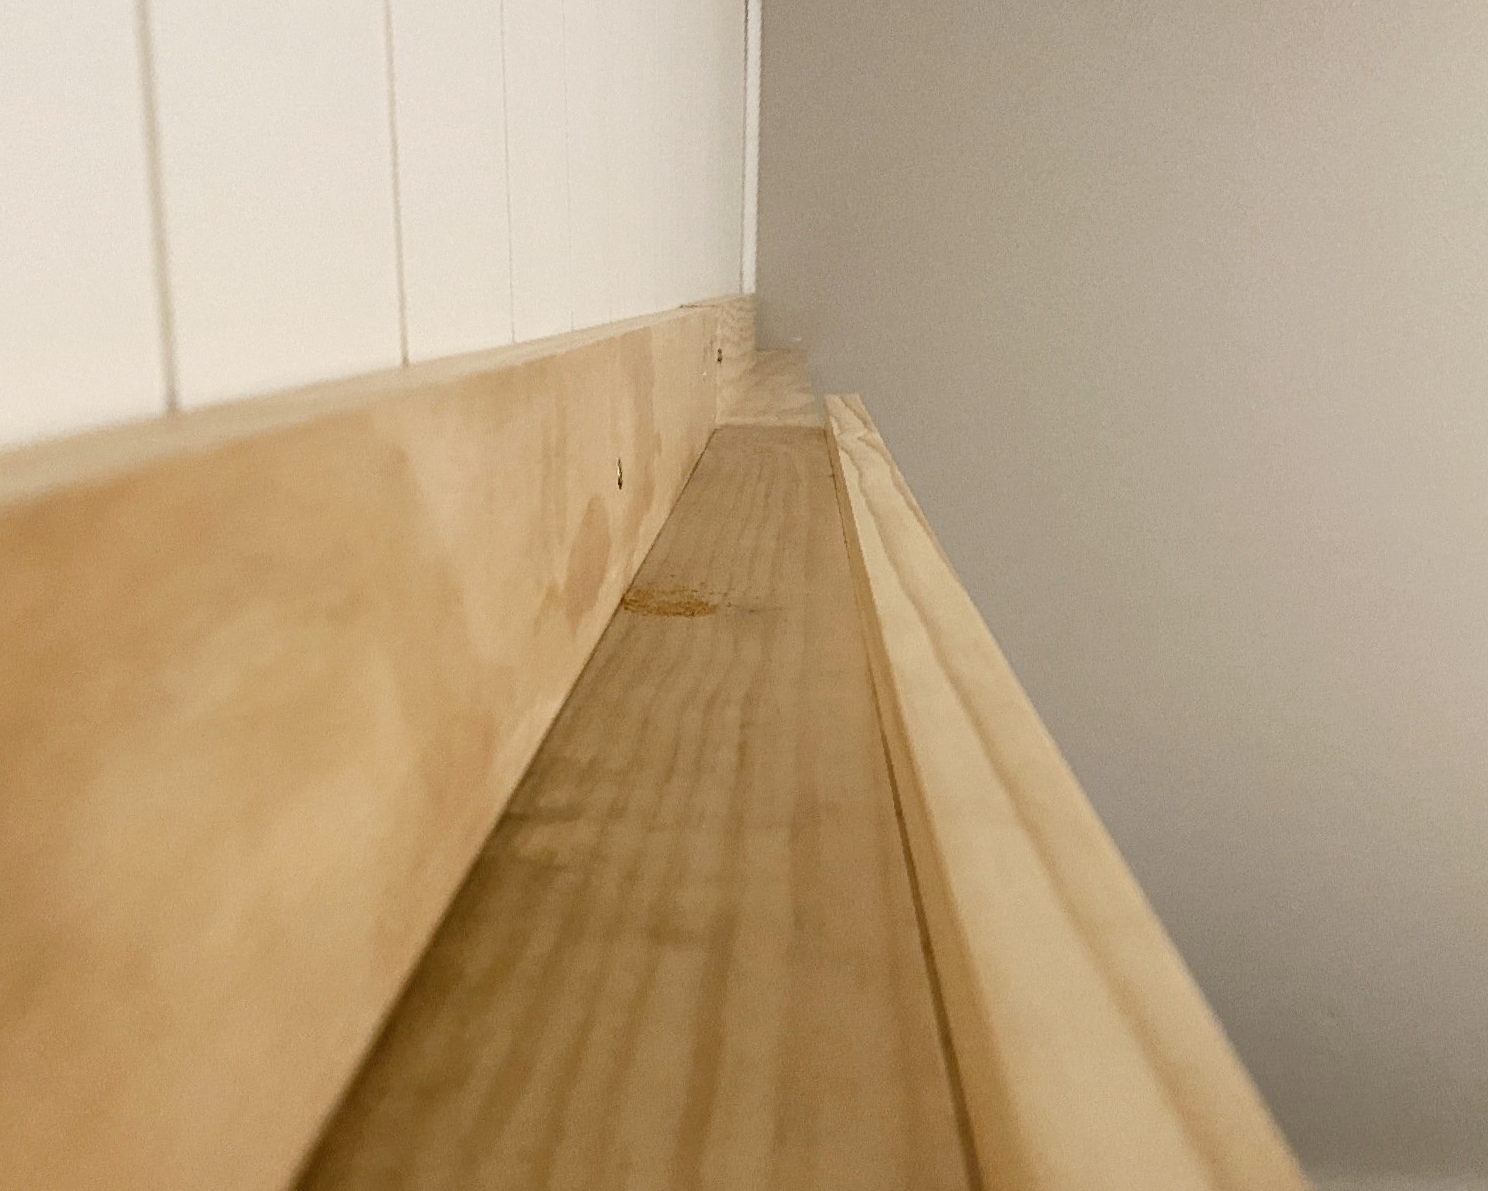
The images above should hopefully show how these are pieced together. Cory actually screwed the bottom board to the back board (you-following?? 😜) BEFORE installing to the wall. That way, you won't see the screws from the back. Brilliant! Then screw the 3.5 inch board to the wall, and add the front (1.5 inch) piece. We used our handy-dandy nail gun for the front piece, which has tiny nails that you'll barely see. Here's a link to a nail gun we recommend that comes with everything you'll need! It's important to note that we used screws for the rest of this project, to ensure the shelf is sturdy and can hold the artwork. 👌
Then watch it come together....
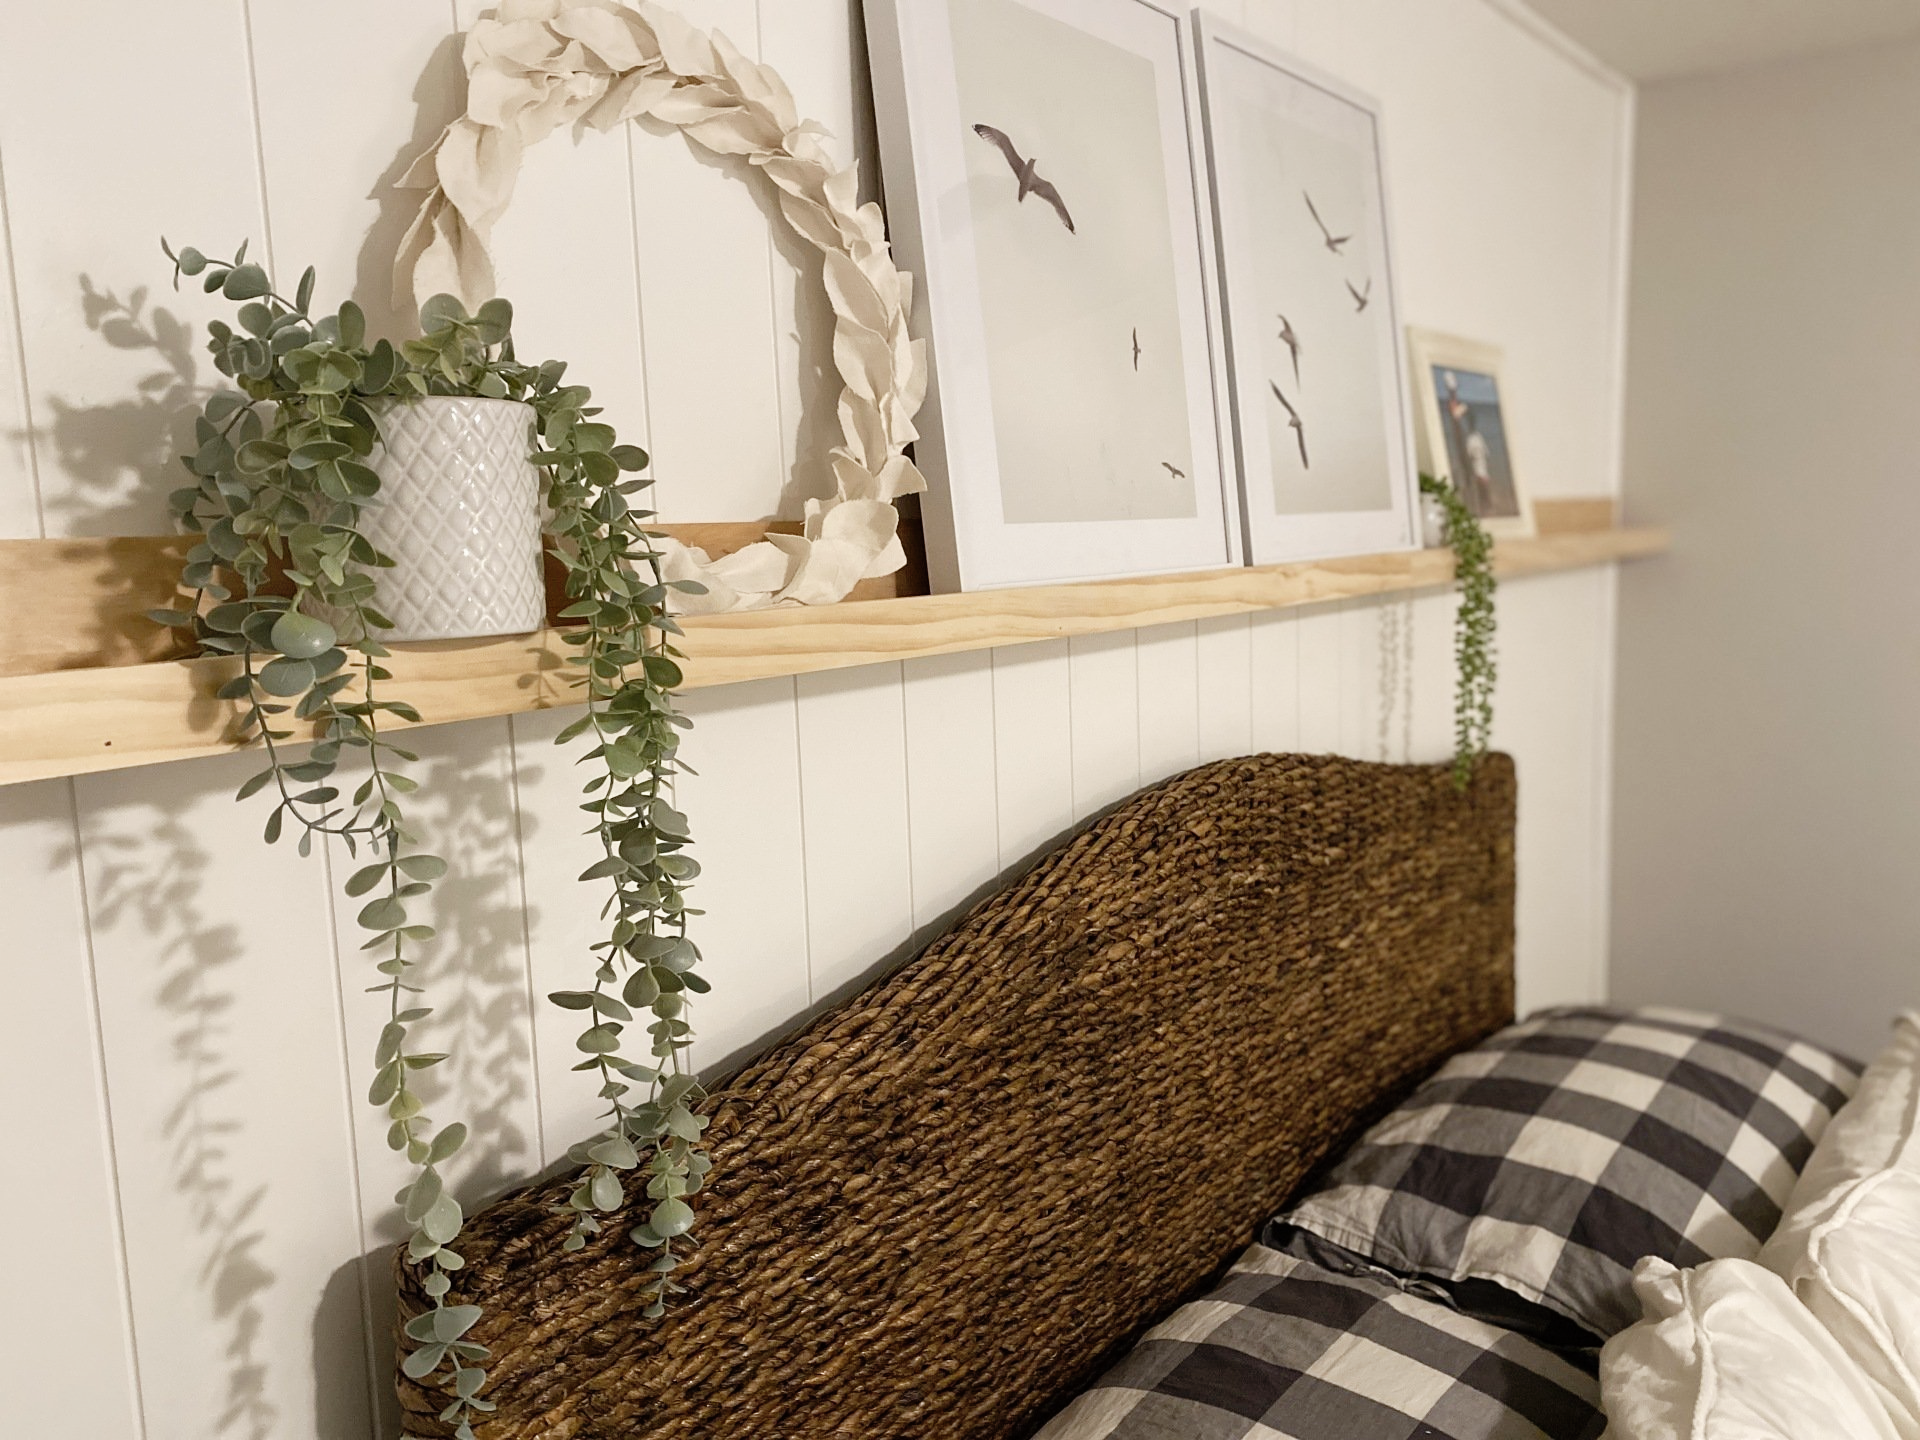
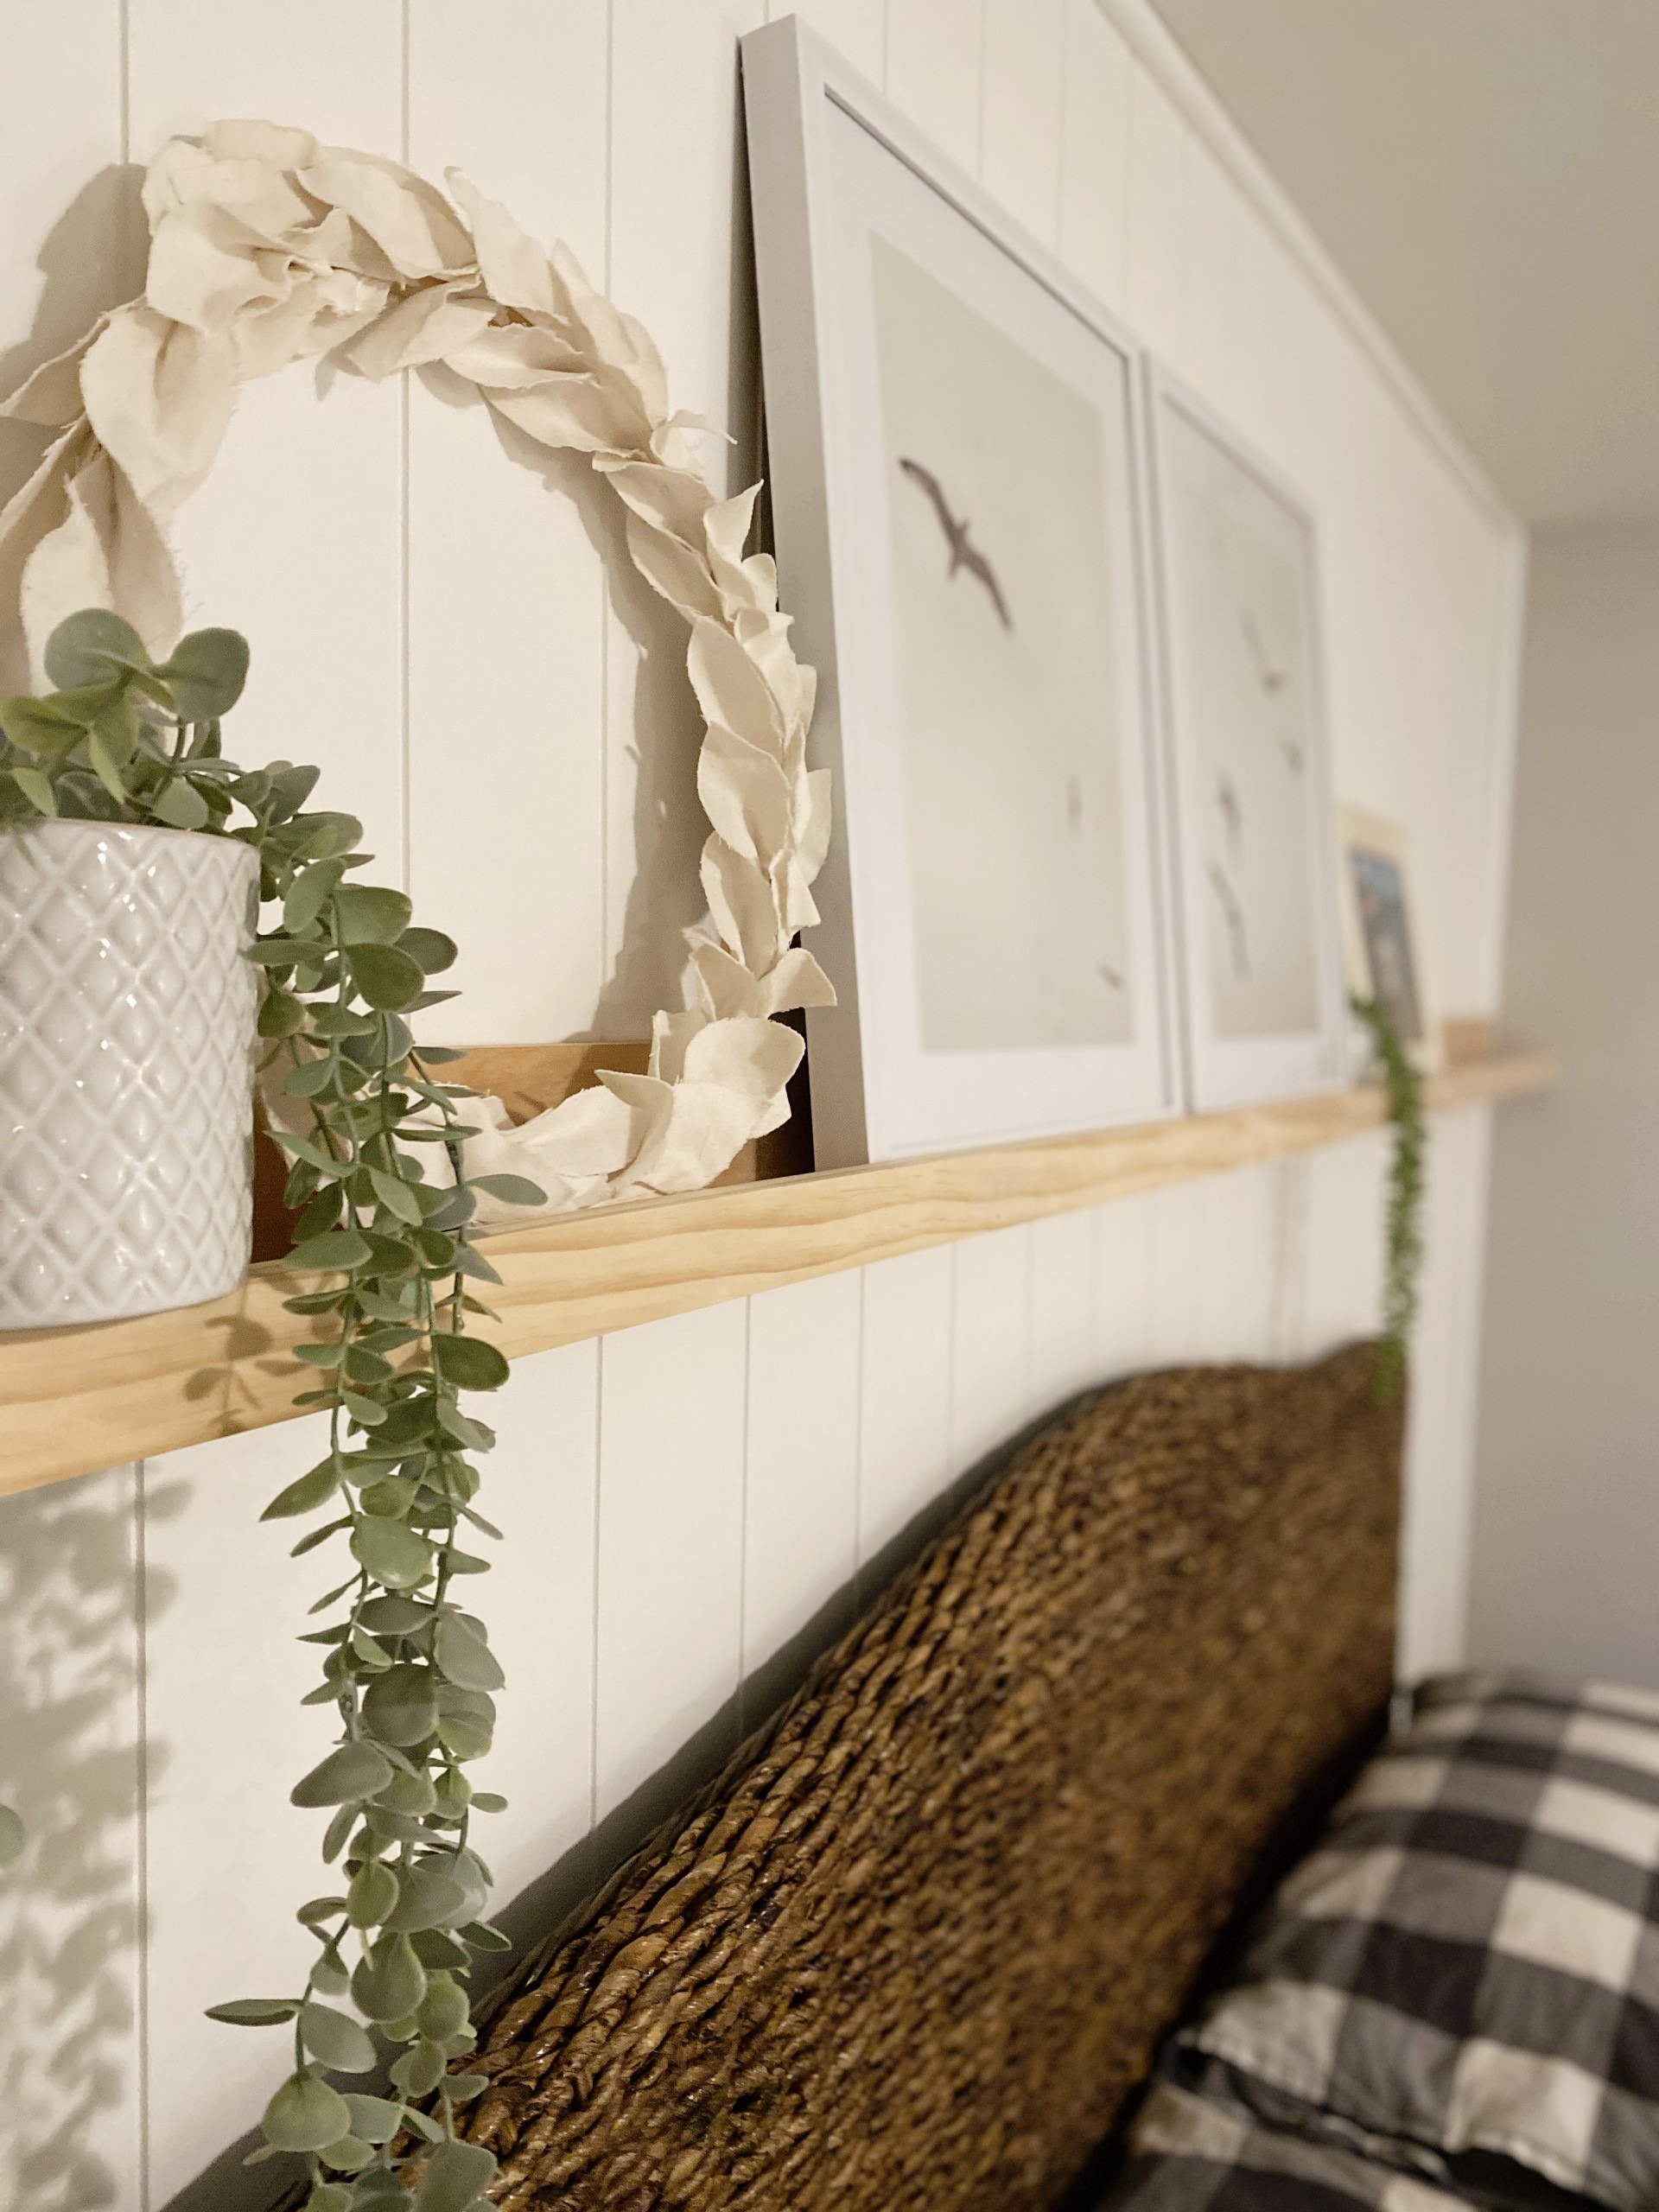
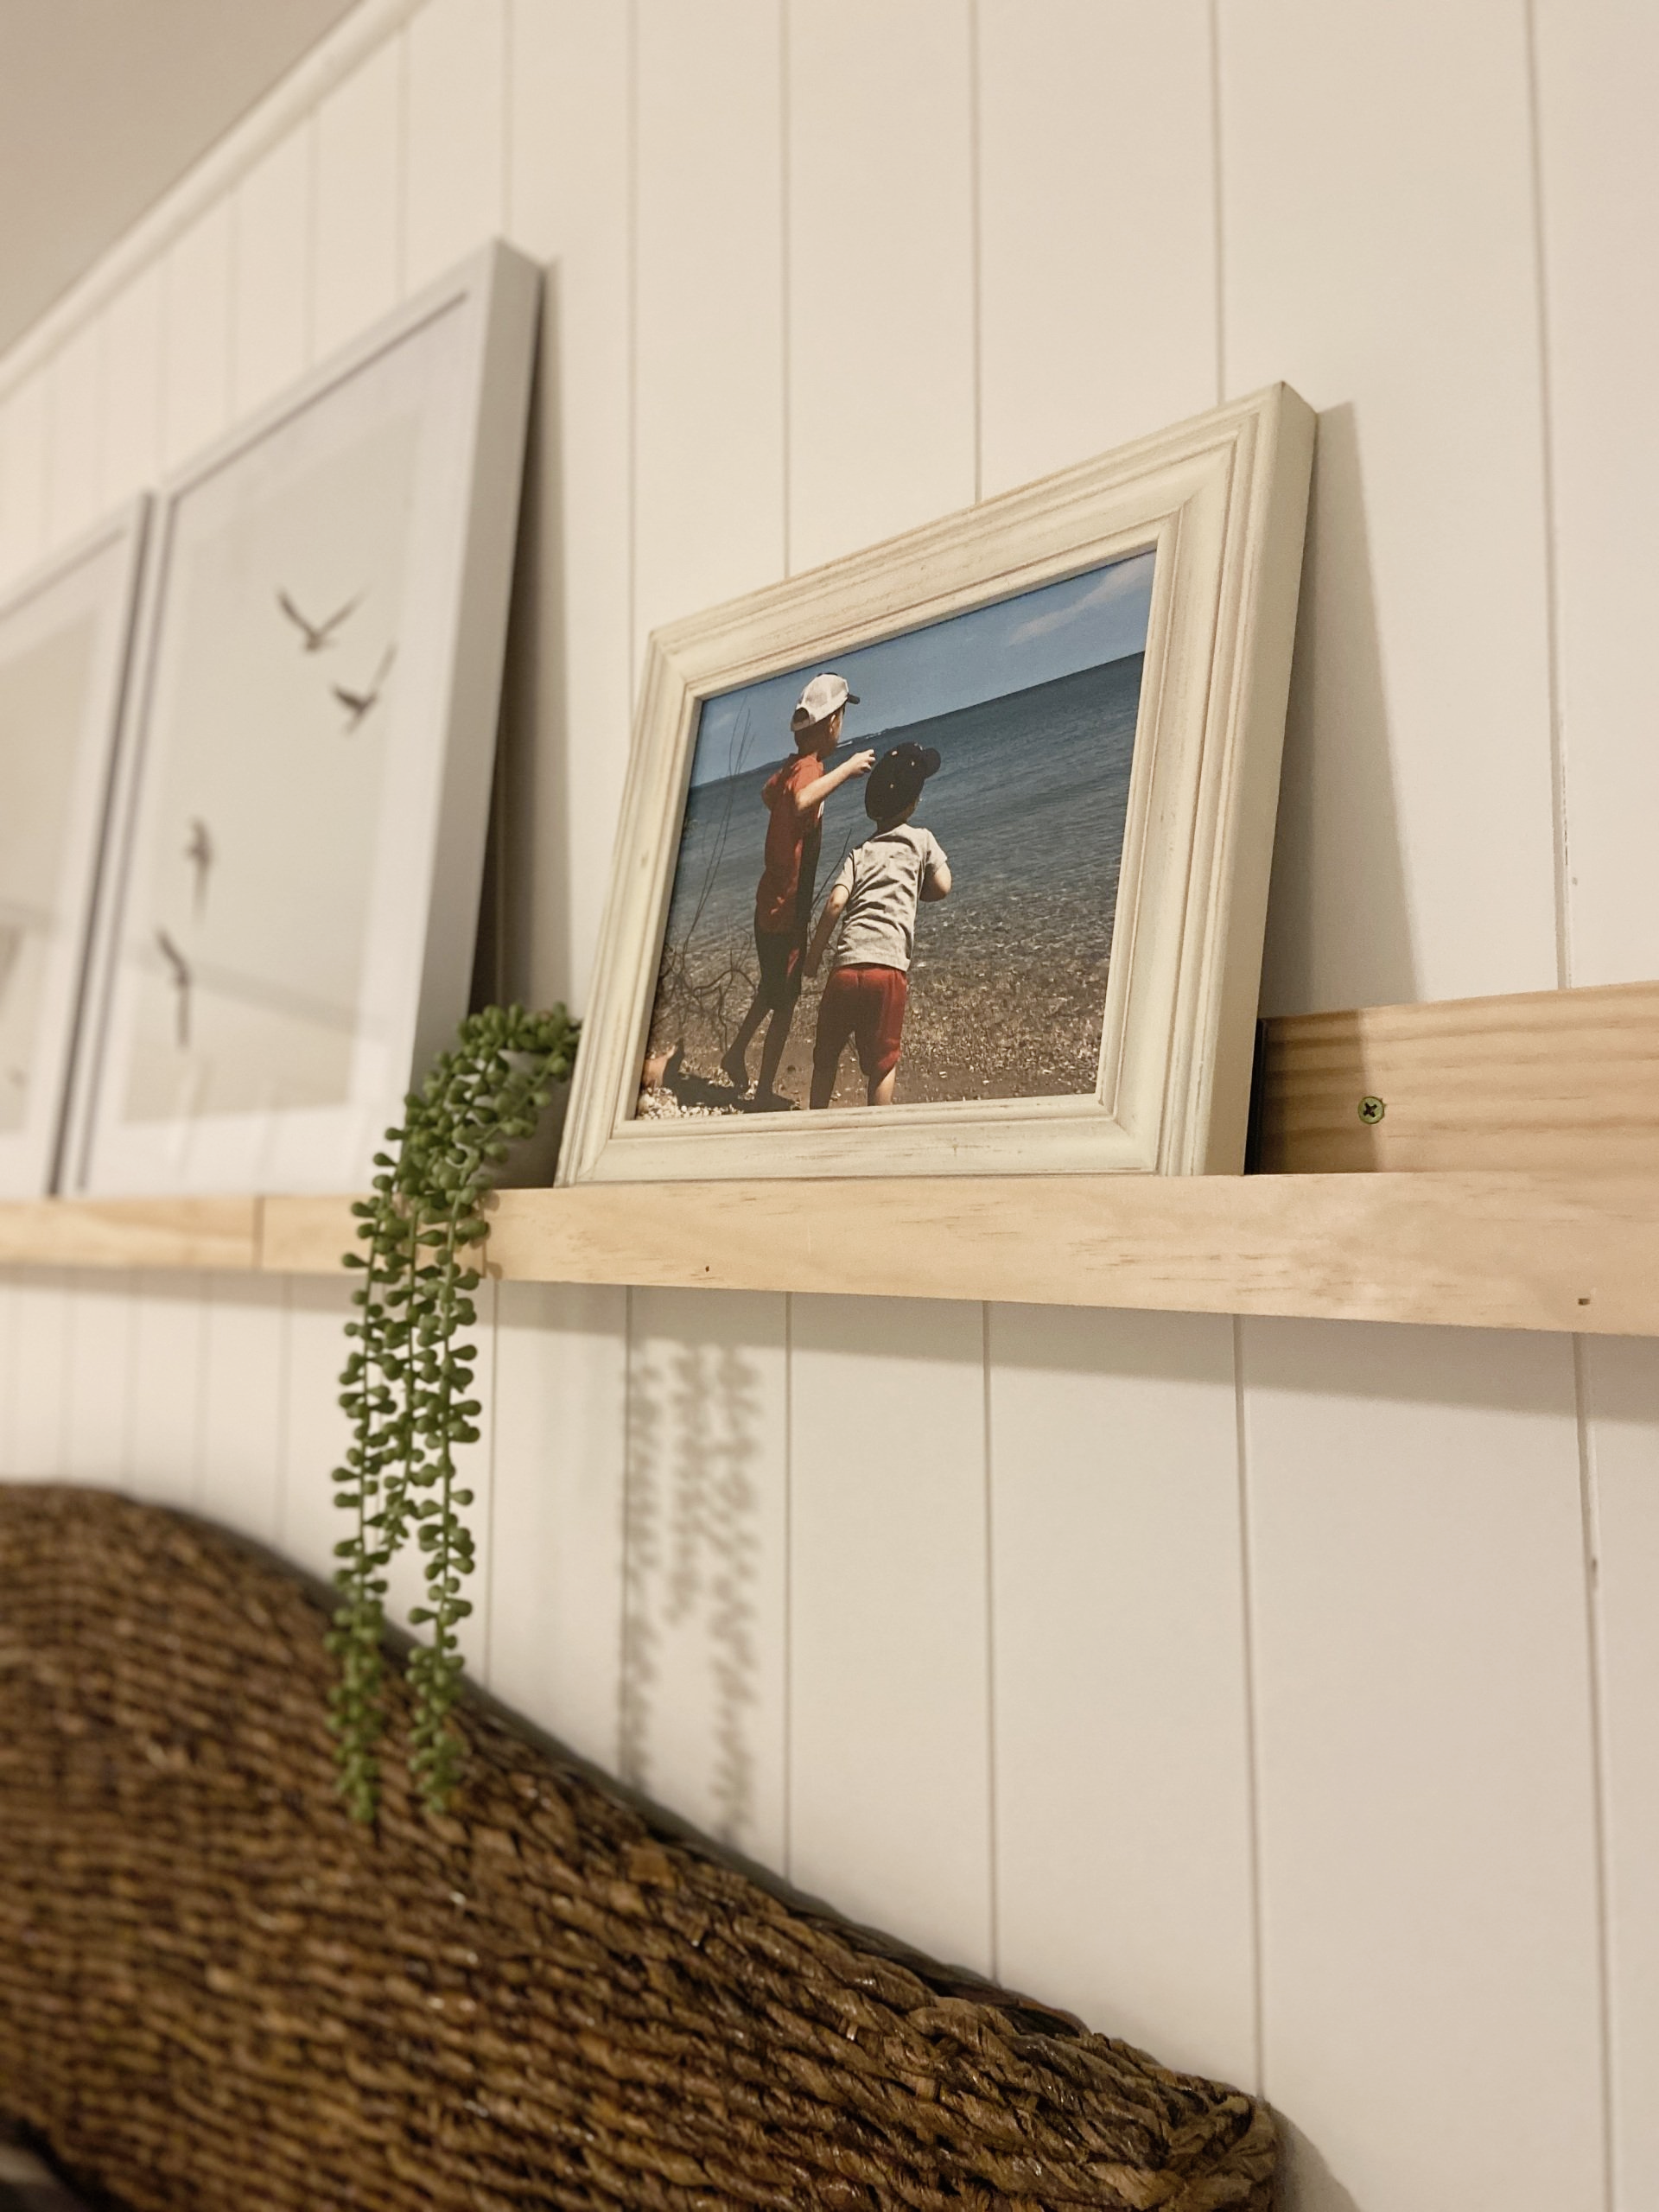
Add some decor, and fun hanging greenery to drape off that shelf and Voilá! We love it! I'm still trying to decide if we should leave the wood unfinished or stain it. What do you think?? Comment below with your thoughts/suggestions. 👇
Thanks for taking a look! Let me know if you try something similar or have any questions!
Huge hugs!
~ Kara

Questions/Comments?...if so, please email me
here.
Disclaimer: Happy Place Happy Face is a participant in the Amazon Services LLC Associates Program, an affiliate advertising program designed to provide a means for sites to earn advertising fees by advertising and linking to Amazon.com. A.K.A. I could earn a small commission, at no extra cost to you, if you purchase items through my links.XO!
Thanks for stopping by this happy little corner of the internet.

