Welcome! If you're looking for a place to be inspired, encouraged, and giggle a tiny bit, you're in the right place!
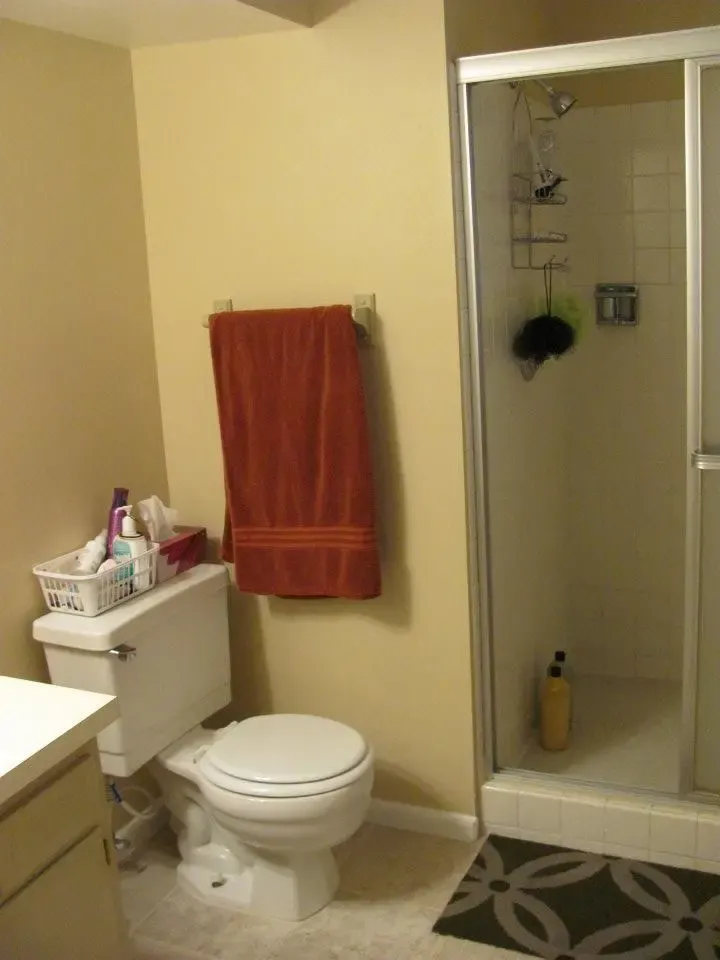
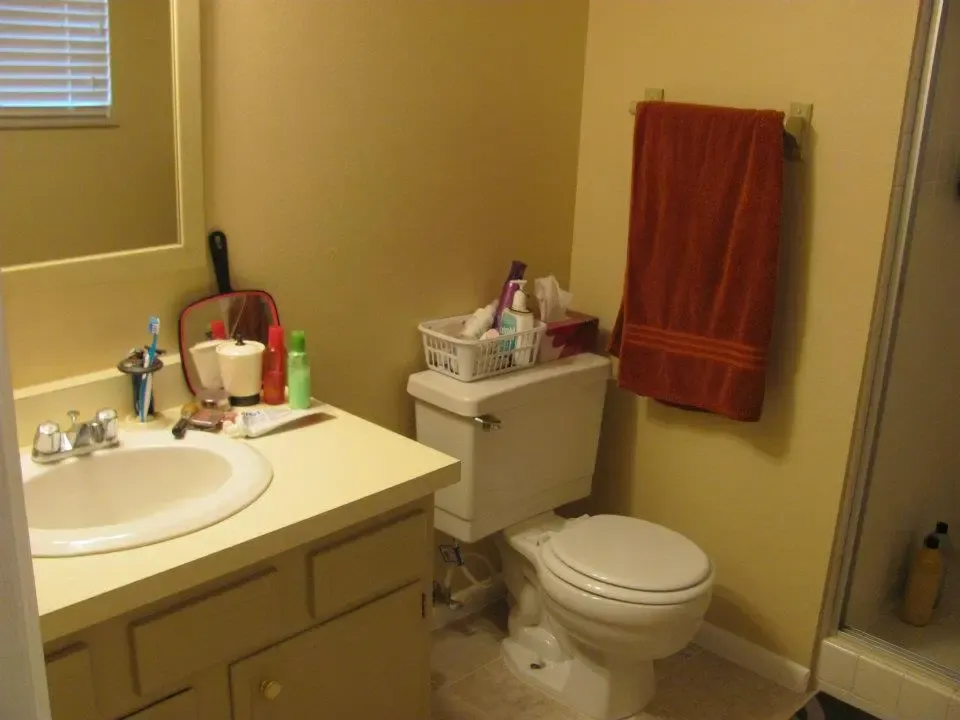
Digging up these old pictures is a blast from the past. This is a project from our dear ole first house that we put so much love into. I wanted to show you a two step transformation that we did on our master bathroom. The first step was to, kind of, “get by” because the bathroom left a loooot to be desired. See here:
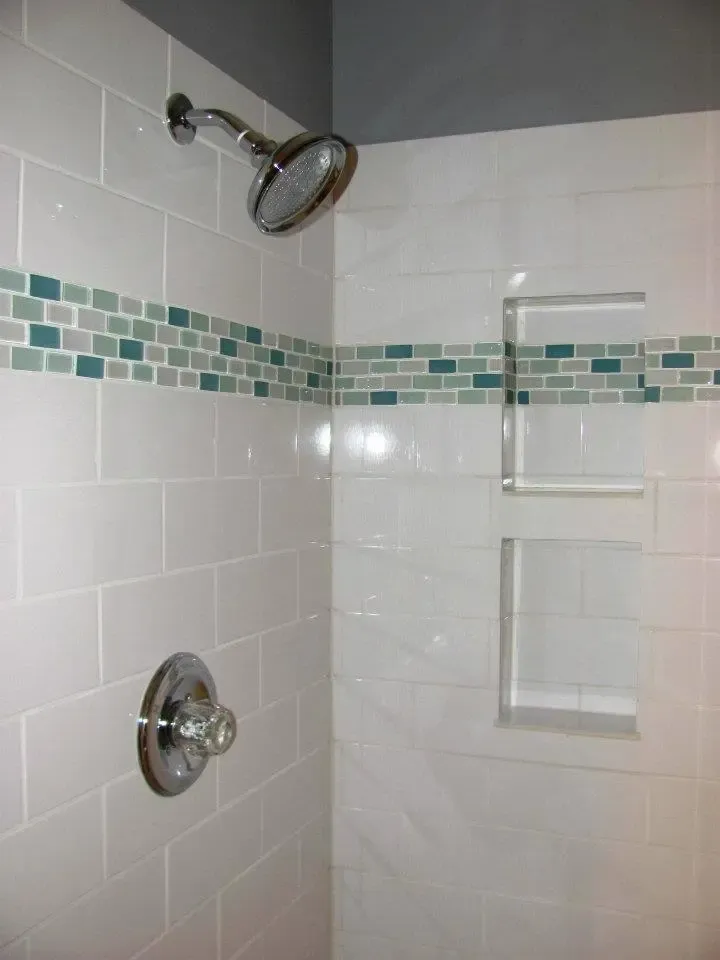
Womp-womp, right?? The first thing we redid was the shower. The grout was cracked in a lot of places so we were worried about water getting behind the tiles, and it was very dated in general. We hired a professional to redo the shower and he did a fantastic job! Those inset cubbies were KEY. And the corner bench?! A MUST in order to shave your legs, right ladies?!

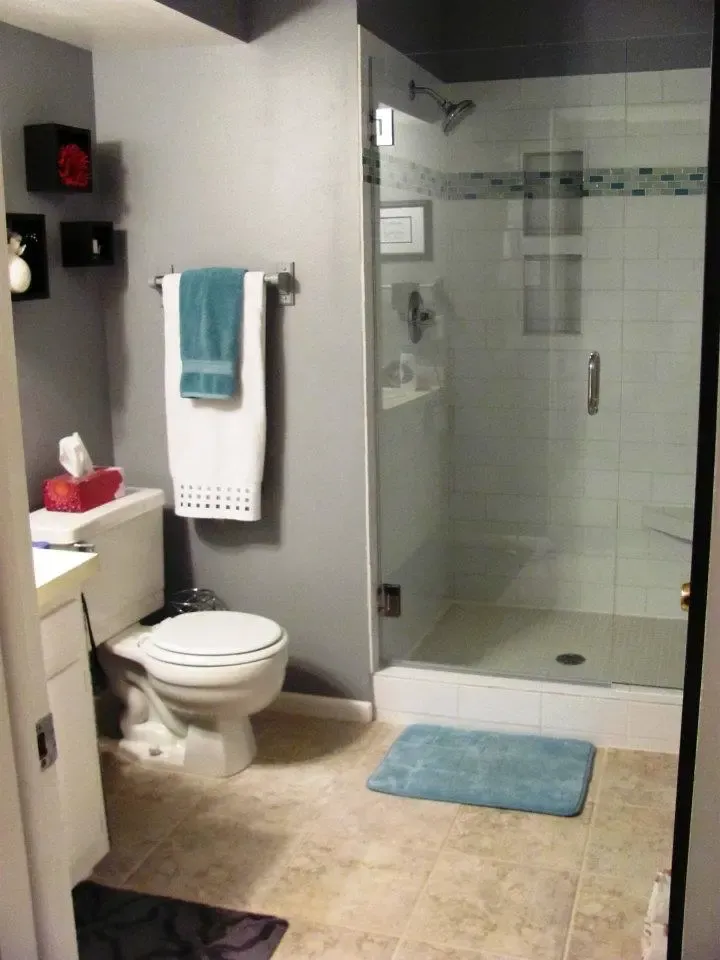
Then, to complete this “first step” of the transformation, we painted the walls, the vanity, and the mirror trim. Basically anything we COULD paint, we did, since paint is such an easy and inexpensive update. At the time we thought it was a big improvement, and it was!
After this little update, we focused on projects in other parts of the house, but we knew we’d love to give this bathroom a proper remodel down the road. As you know, I’m a big advocate of AT LEAST painting a room. The grey paint was MUCH better than the yellowy/tan color that was there before. Just remember that there’s no harm in remodeling in steps, as you get time and money. It’s all part of the process.
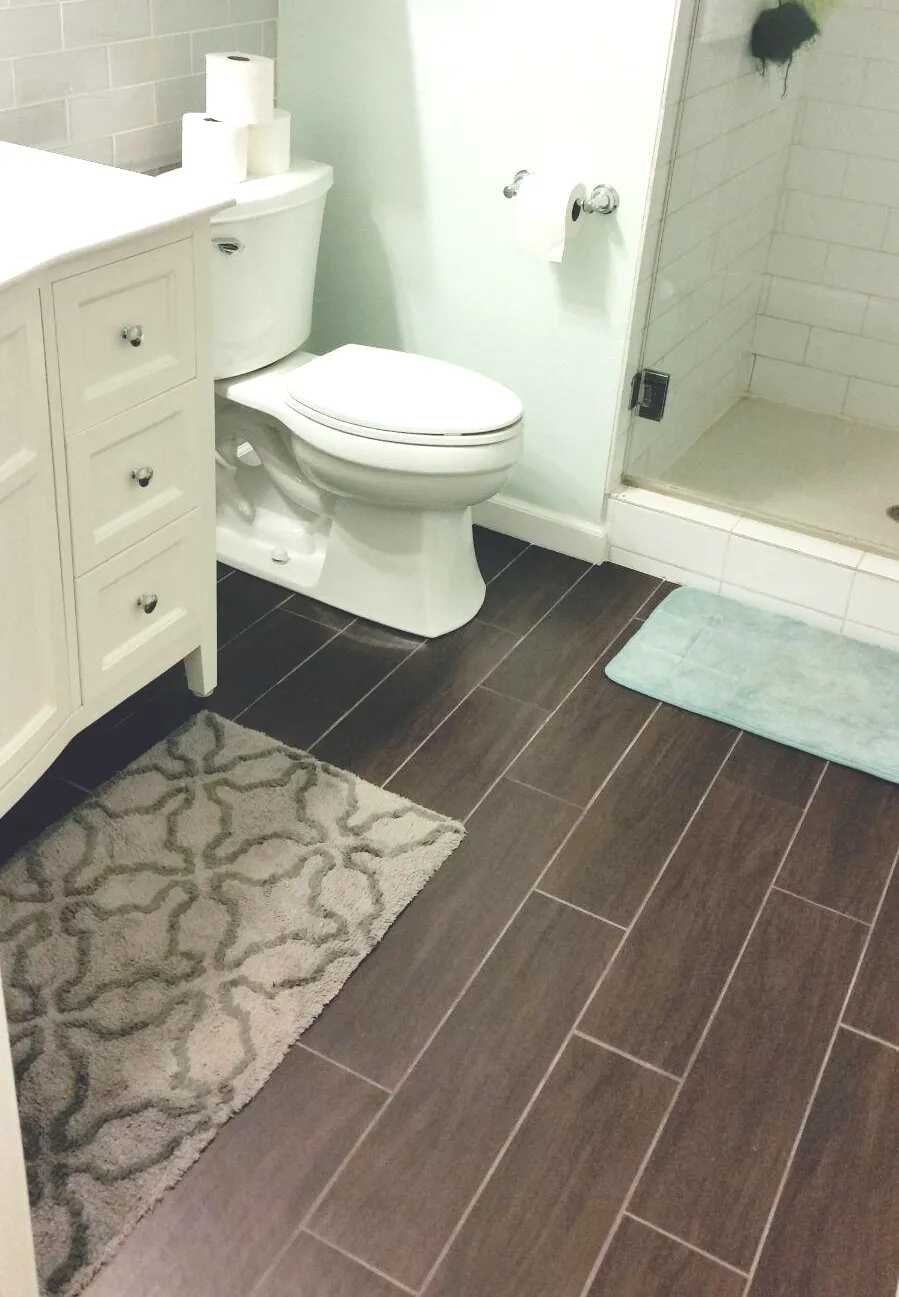
Four years later, it was time for the final step of the transformation. Here’s what we (a.k.a. Cory) did:
- Demoed old vanity, toilet, and floor tile
- Installed new flooring (with his dad – shout out!)
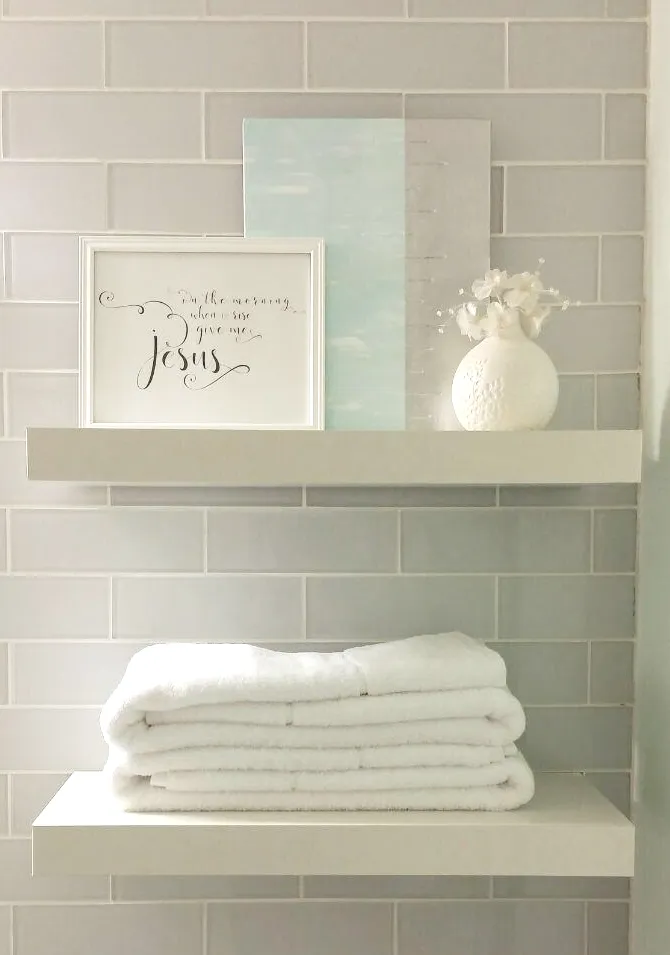
- Installed glass tile accent wall (with help from a friend – another shout out!)
- Added shower tile up to the ceiling
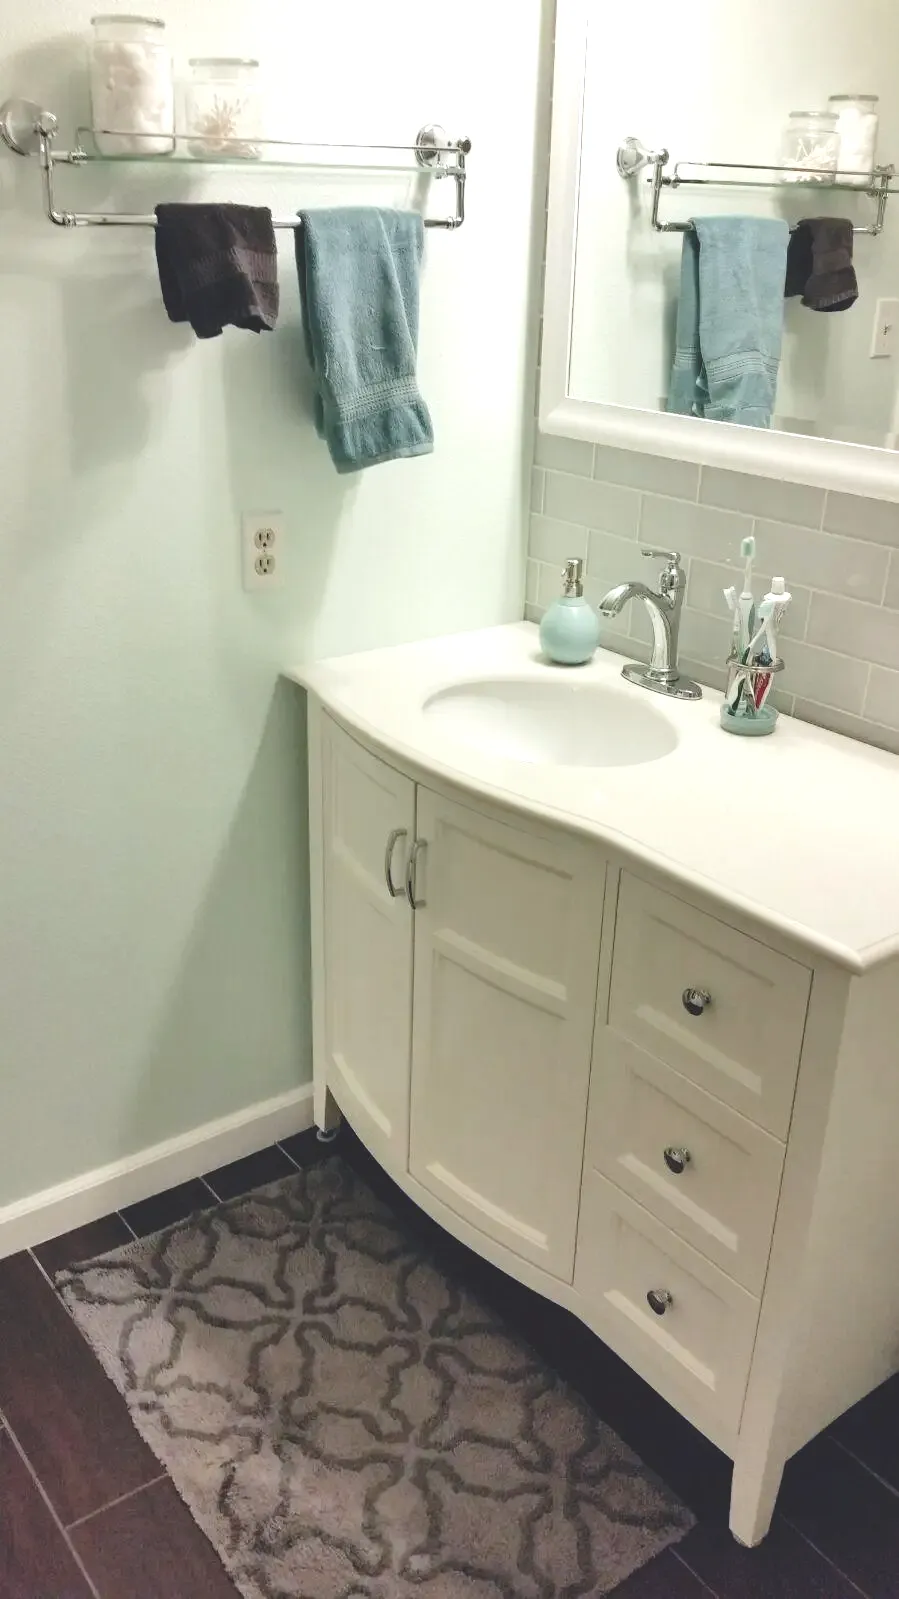
- Installed new vanity & plumbing
- Installed new hardware, mirror, floating shelves, etc.
- Installed crown molding
- Decorated (Me, me, me! That’s the one thing I did!) OH and I sealed aaaaaaall the grout on the floor and accent wall, which is no small task. If you’ve never done that, I basically had to take a tiny paint brush and paint the grout sealer on ALL the grout lines. It took a WHILE. There are better ways to do that now, I’ve heard, or special grout you can buy so you don’t have to do that — thank goodness!! Anyway, I also caulked and painted. We make a good team, although Cory definitely is the All Star.

Here she is…

And, as always, we need a side-by-side “Before and After” picture, just for fun.

This was such a fun transformation. I wanted it to feel very “spa-like” and I think we achieved that look?? I hope you enjoyed seeing this two-step remodel.
Is there anything in your house that you can’t stand but can’t quite afford, or find time for, a full remodel?? If so, is there some way to organize, rearrange, paint, or decorate to enhance the space? Even just a little bit? In my opinion, it’ll be worth the time, effort, and cost if it brings you joy AND allows you to use your God-given creativity and skills to do so.
Huge hugs! Xo!
~ Kara

Questions/Comments?...if so, please email me
here.
Disclaimer: Happy Place Happy Face is a participant in the Amazon Services LLC Associates Program, an affiliate advertising program designed to provide a means for sites to earn advertising fees by advertising and linking to Amazon.com. A.K.A. I could earn a small commission, at no extra cost to you, if you purchase items through my links.XO!
Thanks for stopping by this happy little corner of the internet.

